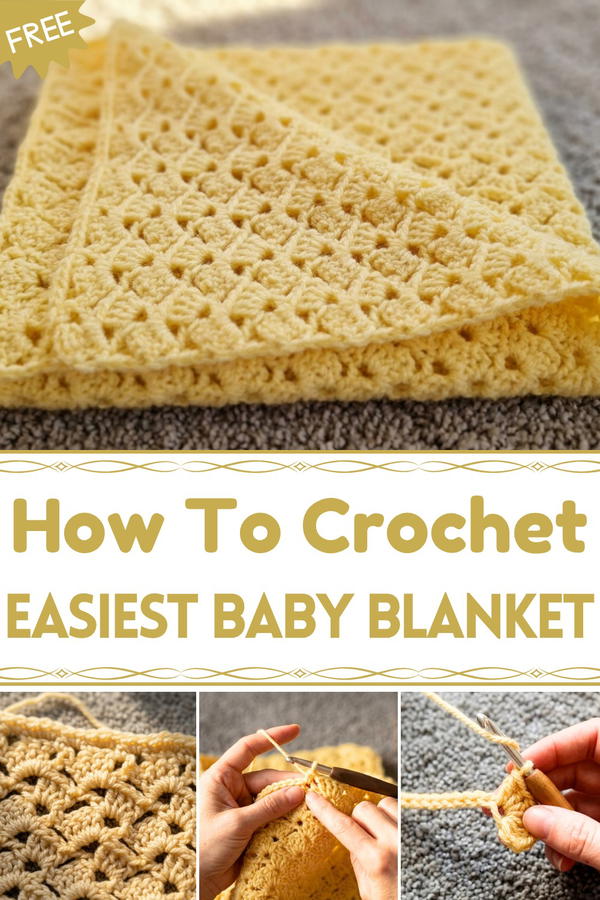
Learn to make a soft and beautiful baby blanket with this easy crochet pattern that’s perfect for beginners and creates a cozy gift for newborns.
It's not always easy to find the perfect baby blanket that is both beautiful and practical, but this crochet pattern changes that completely. With its soft texture and delicate design, this blanket is ideal for wrapping little ones in warmth and love. The pattern is easy to follow, even if you don’t have much crochet experience, making it a wonderful project for everyone.
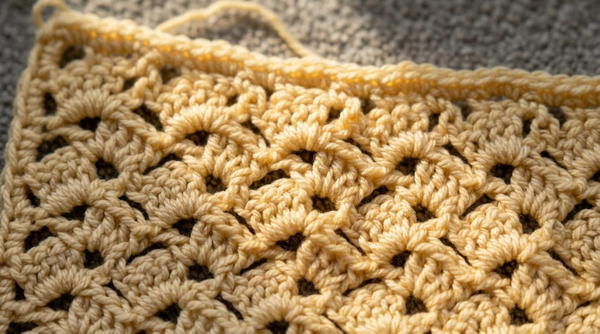
Free Crochet Baby Blanket Pattern - Easy & Reversible Design
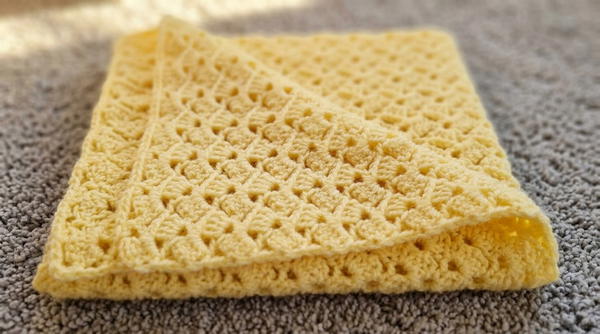
It offers a stunning look with its gentle stitches, and the lightweight yarn ensures the blanket is soothing and cozy for newborn babies. Not only is it a useful and essential item for daily comfort, but it also doubles as a heartfelt gift for loved ones with a new baby. This simple yet charming design is proof that making something beautiful doesn’t have to be hard or complicated.
Drunken Granny Baby Blanket Crochet Pattern
Materials Required
- Yarn: 4 worsted-weight acrylic yarn (approximately 5 skeins for a baby blanket)
- Hook: 6mm crochet hook (you can adjust based on your yarn type; if your stitches feel tight, use a larger hook like 6.5mm or 7mm for a softer finish).
- Scissors
- Tapestry Needle: For weaving in ends.
Gauge
Gauge is not critical for this project; however, the foundation chain determines the blanket's width. Adjust the chain length for your desired size.
Finished Size
The finished blanket is approximately 1.2m x 1.2m (47 inches x 47 inches) when using 5 skeins of yarn, but you can customize the width and length by making additional rows or using less yarn.
Special Tips
- Maintain loose tension when chaining to ensure flexibility in your foundation chain.
- If you notice your chain is tight, go up one hook size for the initial chain (e.g., use a 6.5mm hook for chaining and switch back to 6mm for the rest).
- This blanket works in "shell" blocks, simplifying stitch placement, especially for beginners.
Pattern Instructions
Step 1: Foundation Chain
- Slip Knot: Create a slip knot, leaving a short tail for sewing later.
- Chain Multiples of 5: Chain enough to reach the desired blanket width. Baby blankets typically measure 1.2m to 1.5m (47 inches to 59 inches) across. For a perfect rectangular shape, chain loosely until you reach your desired length.
- When you reach your target length, chain 4 more to start the first row.
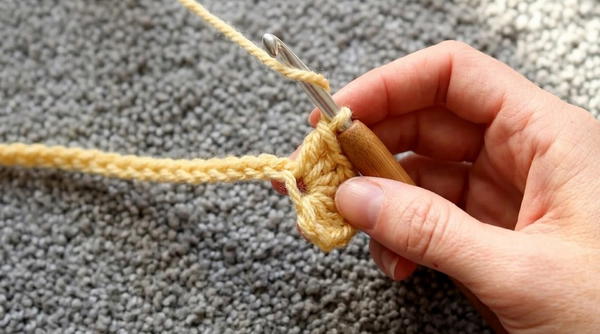
Step 2: Row 1 (Shells)
Start the Shell Block:
- Yarn over and insert your hook into the 5th chain from the hook.
- Make 4 double crochets (DC) into the same chain.
- Chain 2, then make 1 more double crochet into the same chain.
Skip Ahead:
- Skip 4 chains and repeat: Insert your hook into the 5th chain, then work 4 double crochets, chain 2, and 1 double crochet in the same spot.
- Continue this pattern across the row, creating shell blocks in every fifth chain.
End the First Row:
- After completing the last shell, you should have 3 chains remaining.
- Skip the next two chains and make 1 double crochet into the last chain to create a clean edge.
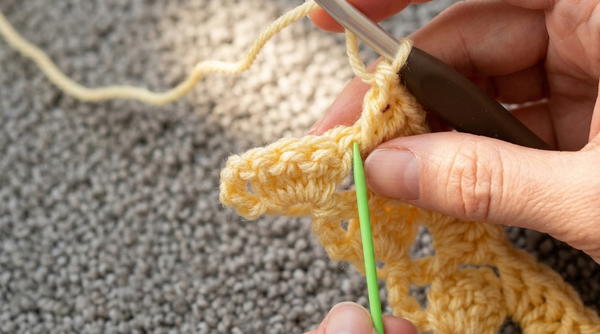
Step 3: Row 2 (Building Shells in Spaces)
Turn Work: Chain 3 and turn your work.
Repeat Shell Blocks:
- Work into the chain 2 spaces from the previous row—not the top of the stitches.
- Insert your hook into the space, make 4 double crochets, chain 2, and 1 double crochet, skipping over the previous stitches entirely.
Continue Across: Repeat this pattern for every chain space across the row.
Edge Finish: At the end of the row, make 1 double crochet into the last chain from the previous row (top of chain 3).
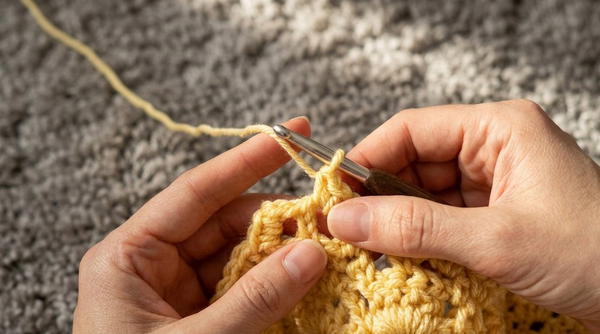
Step 4: Fixing Mistakes
If you forget to complete a shell block properly (e.g., missing chain 2 or extra stitches):
- Use the top of the double crochet from the previous row instead of ripping out your work.
- Build your shell (4 double crochets, chain 2, 1 double crochet) into the top of the previous stitch, ensuring alignment with the row pattern.
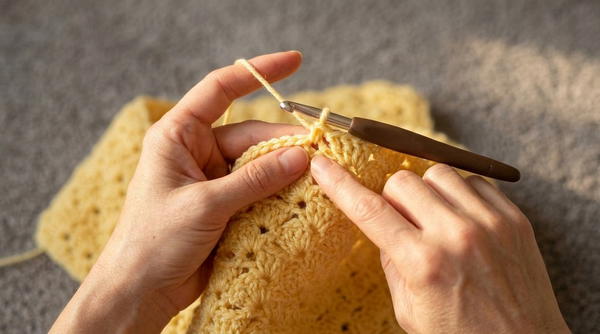
Step 5: Continue Rows
Repeat Row 2 until the blanket reaches the desired length.
Step 6: Border Instructions
Row of Single Crochet:
- At the end of the last row, chain 3 as usual and turn your work.
- Work a row of single crochet stitches to stabilize the edges:
- Into each chain 2 space, make 1 single crochet, chain 2, and skip 1 double crochet.
- Into the next chain space, make 1 single crochet, chain 2, and continue along the row.
Side and Bottom Edges:
- Rotate the work to the first long edge:
- Make 2 single crochets in each space across the row edge for a clean finish.
- For the bottom edge:
- Do 2 single crochets in each stitch and 3 single crochets in chain spaces to maintain stitch count consistency.
- Rotate the work to the first long edge:
Round the Corners:
- At each corner, work 2 single crochets, chain 1, and 2 single crochets to give a neat, rounded edge.
Continue single crochet stitches around the blanket until it is bordered completely.
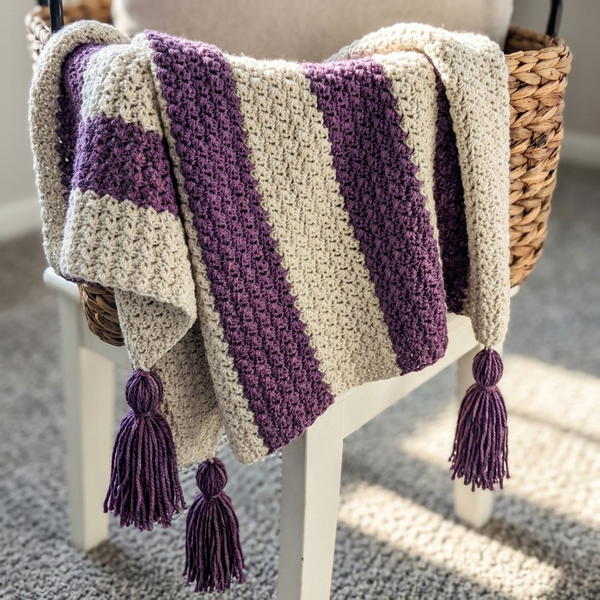
Customization Ideas
- Color Choices: Add stripes, color blocks, or change yarn colors between rows for an eye-catching design.
- Larger Blanket: For a larger blanket, increase your foundation chain and add rows following the pattern.
- Softness Upgrade: Use a larger hook with softer yarn (e.g., a 7mm hook with baby-weight yarn for extra softness).
- Decorative Border: Add picot, scalloped, or lace edging to personalize the blanket further.
Special Techniques
- Slip Stitch Joining: To secure the last stitch neatly, slip stitch into the first single crochet, ensuring the corner stitches align perfectly.
- Loose Loop Technique: When chaining, avoid pulling too tightly for even flexibility across edges.
Conclusion
Your Drunken Granny Baby Blanket is now complete! This beautiful reversible blanket, with its intricate yet approachable pattern, offers a timeless look for various uses. Whether gifting it at a baby shower or keeping it for cozy moments, this handmade piece is sure to impress.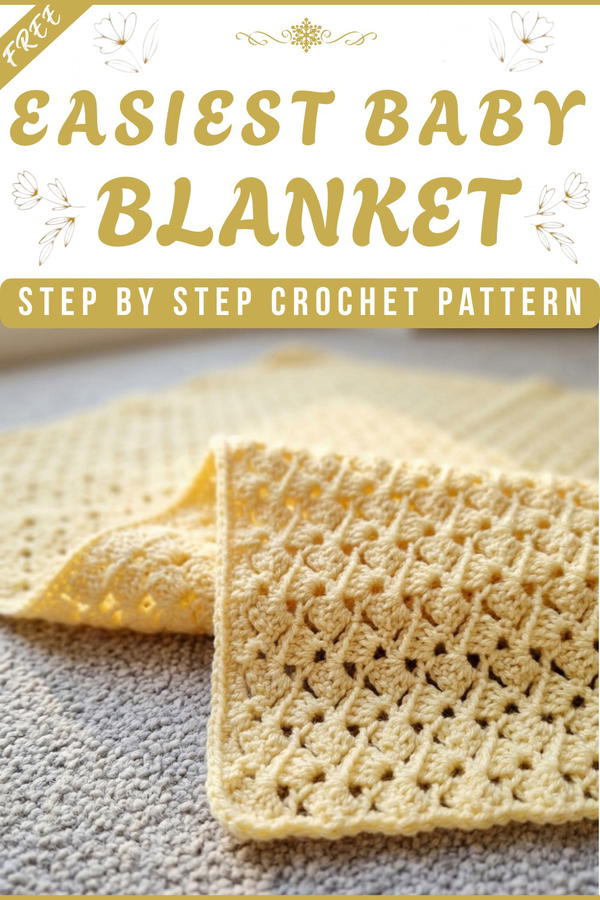
Final Remarks
- Always keep checking your stitch counts at the corners and edges for consistent results.
- Mistakes can be fixed without frogging; work adjustments in real-time.
- The edges should lie flat, highlighting the neat texture of the pattern.