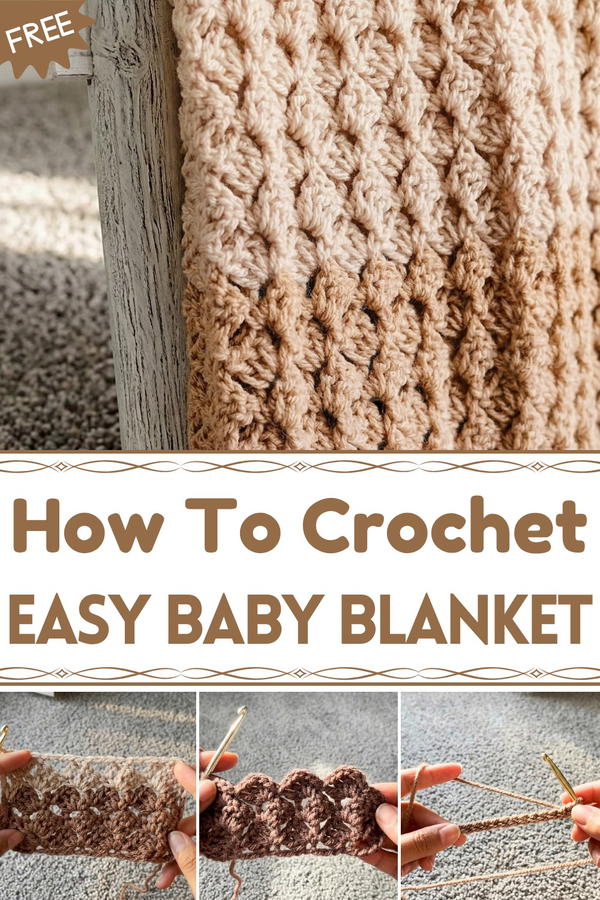
See this free crochet baby blanket come to life with its soft texture, cozy feel, and charming design that's perfect for keeping little ones warm and snug.
Snuggling into something soft and cozy is one of the best feelings, especially when it’s made with love. A handmade baby blanket is not only warm but also a special keepsake that stands out with its charm and uniqueness. Soft to the touch and gentle for delicate skin, it often features beautiful patterns and designs, making it perfect for both naps and playtime.
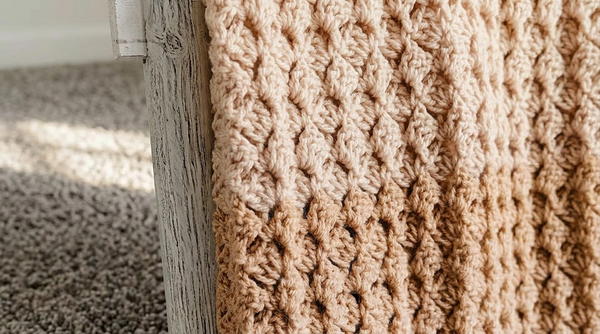
Free Crochet Baby Blanket Pattern with a Modern Design
This blanket can be made in lovely pastel colors, neutral tones, or bright shades, fitting for any nursery or style. Lightweight and easy to carry, they’re ideal for keeping babies comfy at home or while traveling. The intricate stitch details give it an elegant yet simple look, and it’s made to last, becoming a cherished item in any home. It’s the perfect mix of beauty and function, adding a personal touch filled with care.
Super Easy Beginner-Friendly Baby Blanket Crochet Pattern
Skill Level
- Beginner to Intermediate
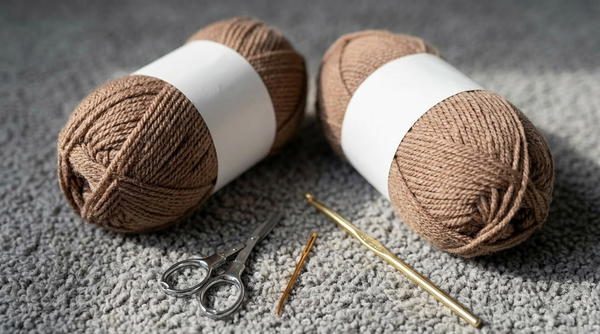
Materials Required
Yarn:
- Two colors of worsted-weight yarn (Category 4).
- Recommended: Hobby Yarn Amigo XL (100% acrylic).
- Alternative: Any worsted-weight yarn of your choice.
- Two colors of worsted-weight yarn (Category 4).
Hook:
- Size H/8 (5 mm) crochet hook.
Additional Tools:
- Tapestry or yarn needle (for weaving in loose ends).
- Scissors.
Key Abbreviations
(All in US Crochet Terminology)
- ch: chain
- dc: double crochet
- sc: single crochet
- rep: repeat
- st(s): stitch(es)
Special Notes and Tips
- Gauge is not crucial for this project; adjust the chain length to achieve the desired width.
- Use a multiple of 4 for the starting chain to customize the blanket.
- The blanket works up evenly if you ensure to crochet into the turning chains at the end of each row. Missing the turning chain may cause the blanket’s edges to narrow over time. Use stitch markers if necessary to mark the turning chain.
- When changing colors, always join the new yarn at the last step of completing a stitch for a seamless transition.
- For beginners, work slowly, especially when crocheting into chain spaces, to maintain even tension.
Pattern Instructions
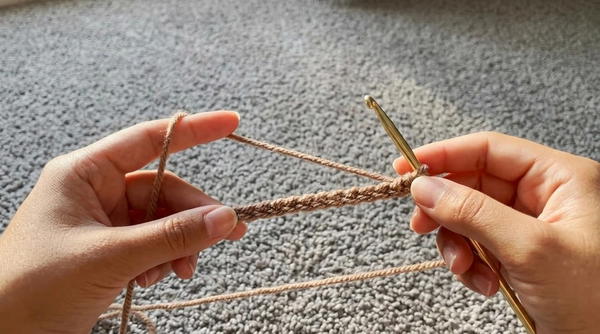
Foundation Chain
- Slip Knot: Make a slip knot and insert your hook.
- Set Up the Chain:
- For a blanket: Chain 120 sts (multiples of 4).
- For practice: Chain 24 sts.
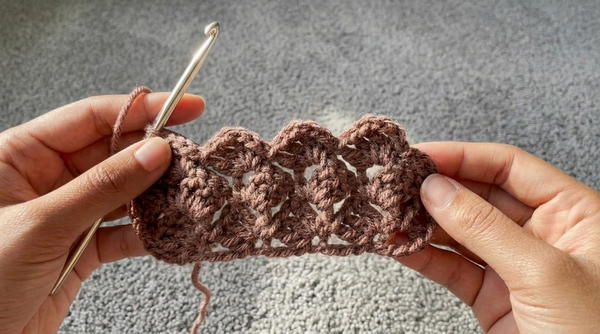
Row 1: Setup Row
- Start Double Crochet: Work 1 dc into the 4th ch from the hook.
- Repeat Sequence:
- Skip the next 3 ch, then work the sequence [sc, ch 3, 3 dc] into the next chain.
- Continue the sequence across the row (skipping 3 chains, then working [sc, ch 3, 3 dc] into the following chain).
- Finish the Row:
- When 4 chains remain, skip the next 3 chains.
- Work 1 sc into the last chain of the row.
- Turn: Chain 3 and turn your work.
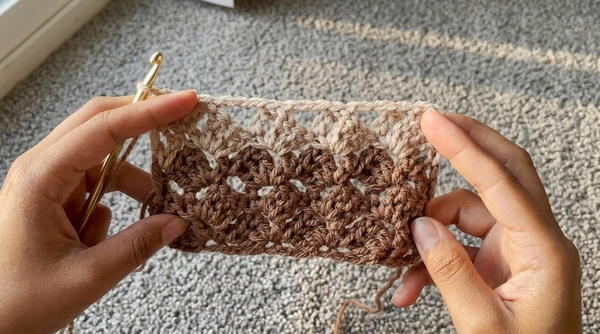
Row 2: Row Repeat
Start of Row:
- Work 1 dc into the first sc of the previous row.
Main Pattern:
- Skip all intermediate stitches and work directly into the ch-3 space of the shell created in the previous row.
- Into each ch-3 space, work [sc, ch 3, 3 dc].
Finish the Row:
- Locate the turning chain from the previous row; it is often tucked behind other stitches and may appear slanted.
- Work 1 sc into the top of the turning chain.
- Turn your work, chain 3, and repeat Row 2 for the remainder of the blanket.
Adding a New Color
In your last sc of the row, avoid completing the stitch. Instead:
- Leave the last two loops on your hook.
- Drop the current yarn and grab the new color. Place it on your hook, ensuring the tail of the new color is on the right and the working yarn is on the left.
- Pull the new color through the last two loops to complete the stitch.
Ensure the yarn is pulled snug for a seamless transition.
Begin the next row with the new color. Continue crocheting with the Row 2 sequence.
Final Row: Flat Top Edge
- Begin as usual: Work 1 dc into the first sc from the previous row.
- Sequence for Last Row:
- [sc, ch 3] across each ch-3 space, skipping the 3-dc clusters from the previous row.
- Finish the Row:
- Work 1 dc into the last sc of the previous row.
- Work 1 dc into the turning chain of the previous row.
- Fasten off and weave in the ends using a yarn needle.
Conclusion
This super easy one-row repeat baby blanket is perfect for relaxing crochet time or multitasking while listening to music or watching a show. The simple yet elegant stitch pattern creates a beautiful texture and makes it ideal for gifting or personal use. Feel free to experiment with colors and yarn types to customize the look of the blanket to your liking!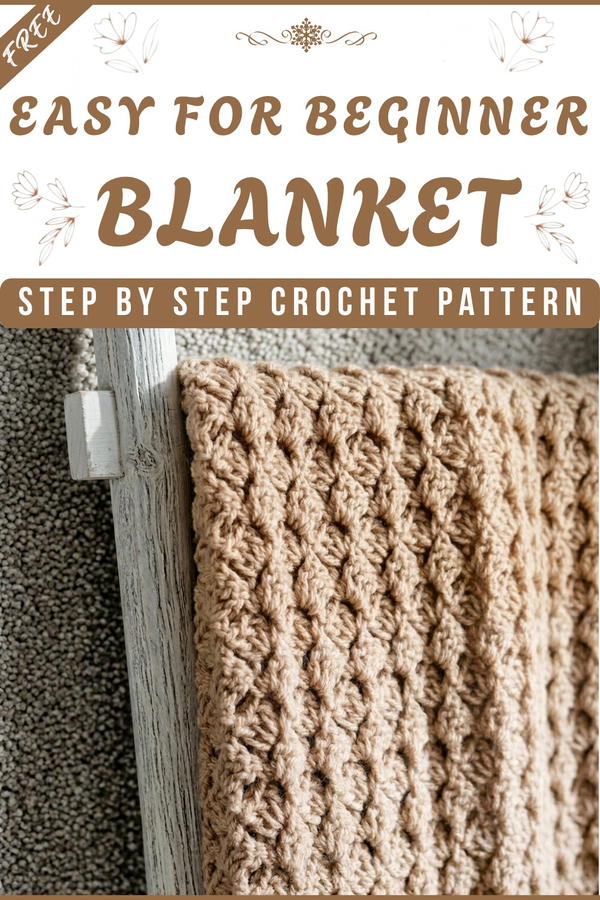
Pattern Corrections
- Edges Narrowing: If your blanket edges begin to pull inward, ensure you are working into the turning chain at the end of each row to maintain an even edge. Recheck your last stitch and ensure it is correctly placed into the turning chain.
- Skipping the Chain-3 Space: Double-check that you work into every ch-3 space—skipping one will create uneven gaps.
Tips for Perfection
- Use a stitch marker to mark the first or last stitch of each row to avoid accidentally missing a stitch. This ensures clean, straight edges for the blanket.
- Weave in yarn ends as you go during color changes to save time when finishing the project.
- Block the final blanket to even out edges and enhance the stitch definition.


