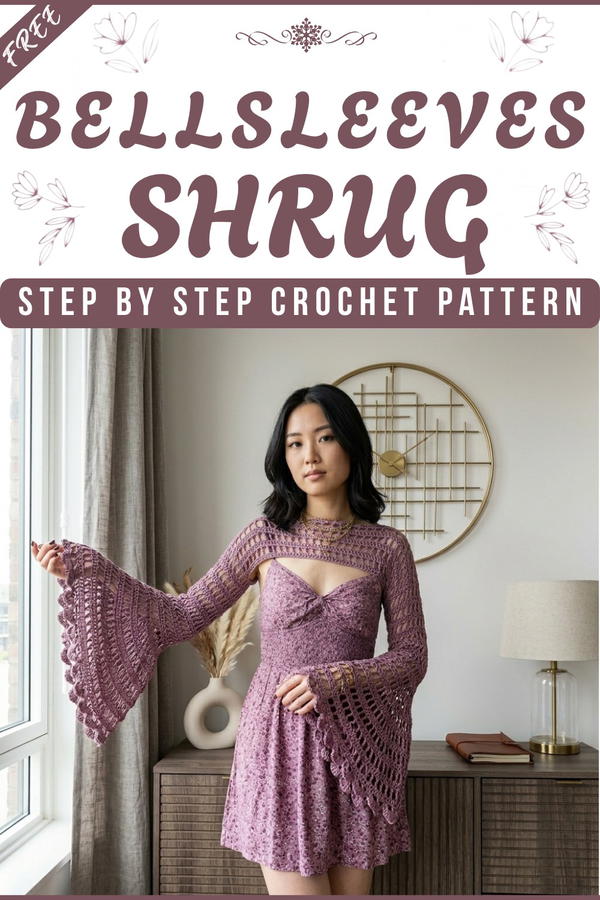
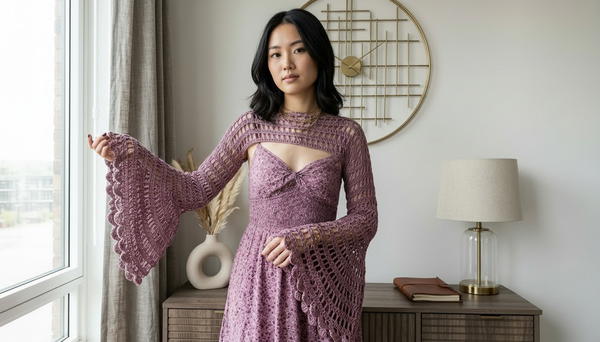
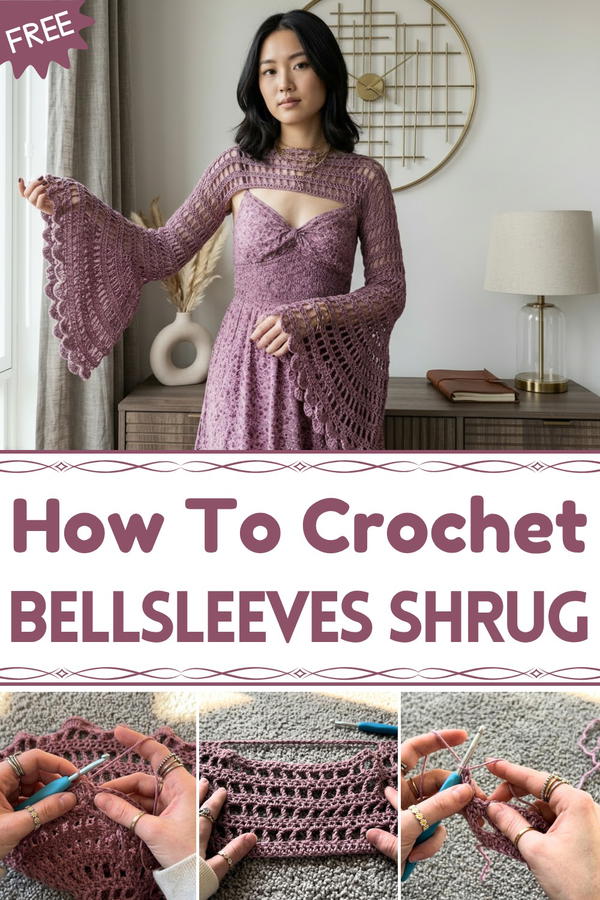
Style yourself with a gorgeous bell-sleeves shrug using this free crochet guide; perfect for layering during cozy evenings or dressing up your favorite look.
Imagine wrapping yourself in something stylish, soft, and unique that instantly transforms any outfit. A free crochet bell-sleeves shrug pattern offers this and more, giving you the chance to create a stunning piece that blends comfort with elegance. This shrug’s flowing bell sleeves bring a touch of drama, while its lightweight nature makes it perfect for layering over casual tops, dresses, or even evening wear.
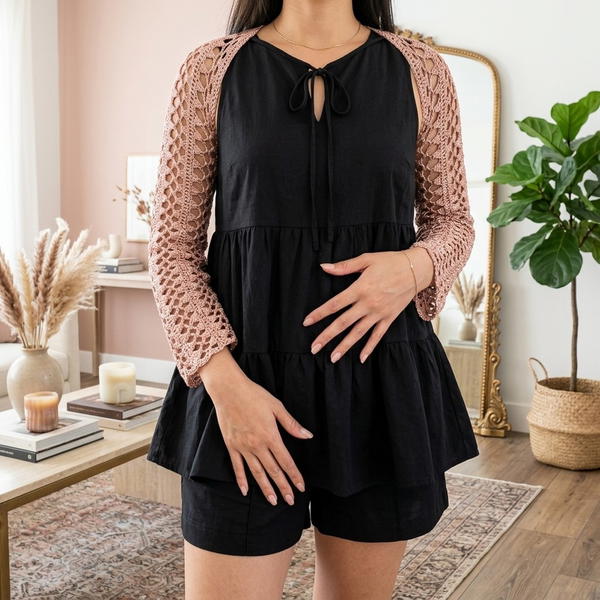
Crochet Bell-Sleeves Shrug Pattern Free for Beginners and Experts
The design features intricate yet easy stitches that form a beautiful texture, emphasizing its hand-crocheted charm. Whether you want to wear it for a brunch outing, at work, or on cooler summer evenings, its versatility ensures it becomes a go-to staple in your wardrobe. The drape of the bell sleeves adds grace to every movement, making you feel stylish and comfortable no matter the occasion. Easy to make and endlessly beautiful, this shrug delivers both practicality and bold, timeless beauty.
Crochet Bellsleeves Shrug Pattern: FREE
Materials Needed
Yarn:
- Recommended: Light to medium-weight yarn for maintaining a soft, flowy texture.
- Example: Mauve Yarn (Viscose Linen Blend), though you can use any light yarn (e.g., cotton, bamboo, or blends).
Hook Size:
- 4.5 mm Crochet Hook or the size recommended for your yarn.
Other Tools:
- Darning Needle for weaving in ends.
- Two Stitch Markers (to mark the neck opening).
- Scissors.
Special Techniques
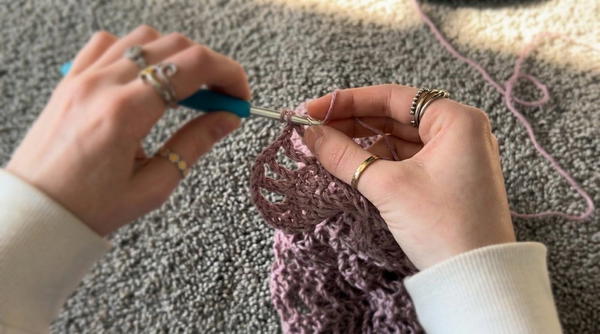
Stacked Single Crochet
A stacked single crochet creates a cleaner edge and replaces traditional turning chains. It is used in this pattern to provide a neater finish.
To make a stacked single crochet:
- Insert your hook into the stitch directly below, and work a single crochet (sc).
- Insert your hook into the front leg of the stitch you just made, yarn over, and pull through into the new loop.
- Repeat one more time for treble crochet (tr) height, or just once for double crochet (dc) height.
Treble Crochet Mesh
Treble crochet mesh consists of an alternating sequence of treble crochets and chain-1 spaces, worked with spacing between stitches. Used here for the breathable, mesh-like rows.
Measurements
Body Measurements:
- Chain length: From shoulder to shoulder, measured across the back. Use an odd number for the chain to maintain pattern symmetry.
- Row height: From shoulder top to just below the armpit, ensuring comfortable coverage but not too tight.
Sleeve Measurements:
- Length: From elbow to wrist, or longer depending on your preference.
- Width: Start at the elbow and increase to achieve desired flare.
Pattern Instructions
Step 1: Create the Body Panel
Foundation Chain
- Make a slip knot and chain from shoulder to shoulder distance, ensuring an odd number of chains.
- Example: Chain 57 for the body width.
- Add 2 turning chains for Row 1.
Row 1: Double Crochet Foundation
- Skip the first 2 chains and yarn over.
- Work double crochet (dc) into the next chain and every chain across the row.
- At the end of this row, you will have a foundation of double crochet stitches.
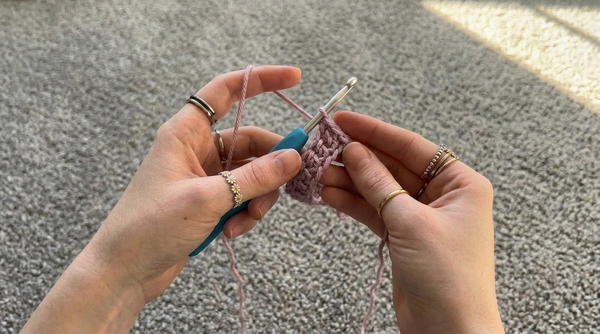
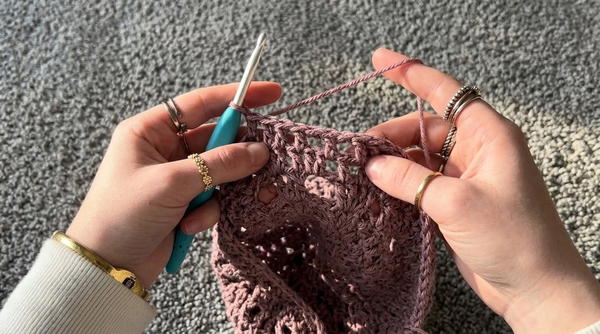
Row 2: Treble Crochet Mesh
- Begin with a stacked single crochet:
- Flip your work, insert hook into the last double crochet of the previous row.
- Work the stacked single crochet three times to reach treble crochet height.
- Ch 1, yarn over twice, and skip one stitch. Work treble crochet (tr) into the next stitch.
- Repeat:
- Work ch 1, skip 1 stitch, treble crochet into the next stitch.
- Continue across the row. Complete the last stitch with a treble crochet.
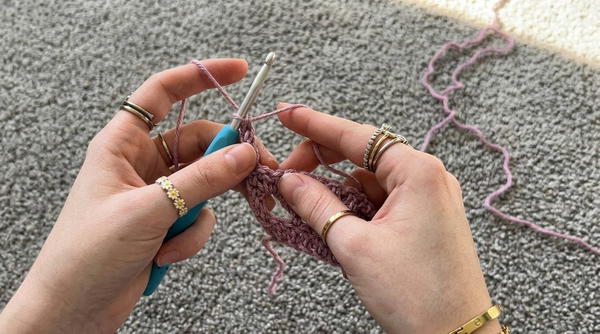
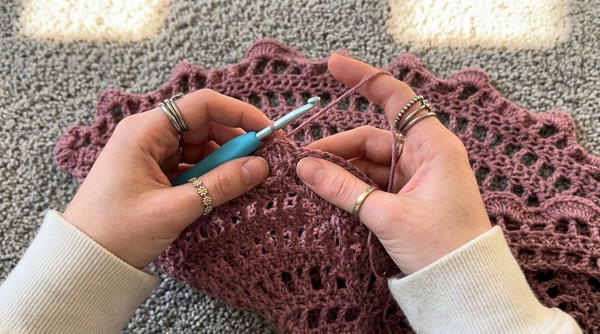
Row 3: Double Crochet Row
- Flip your work and start with a stacked single crochet (dc height).
- Yarn over and work double crochet into chain-1 spaces from Row 2.
- Continue adding dc into stitches and chain-1 spaces across the row.
Repeat Rows 2 and 3 until the panel measures the distance from shoulder to armpit.
- Example: Repeat 9 rows for the desired length.
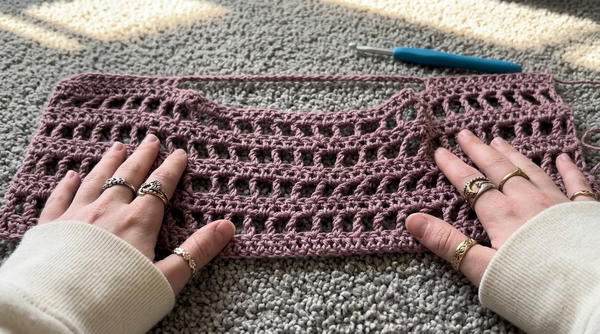
Step 2: Create the Neck Opening
Once you've reached your row goal:
- Use two stitch markers to mark the neck opening. Place them as wide or narrow as you want, ensuring it's large enough for the head to fit through comfortably.
- Example: Place markers on the 3rd stitch from both edges.
Chain for Neck Opening:
- Work double crochet up to the first stitch marker. Remove the marker and work the final dc.
- Count the number of stitches between the two markers and chain that length (e.g., 31 chains).
Skip the marked stitches and double crochet into the chain on the opposite side. Continue working to the end of the row.
Step 3: Second Body Panel
Repeat the same pattern (Rows 1–3) for the second panel, ensuring the same number of rows.
- Example: Work 9 rows on the second panel.
Ensure you finish the second body panel with a double crochet row.
Step 4: Join Panels and Create Sleeves
Join Panels
- Fold the panels and align the corners for the armhole position.
- Slip Stitch to Join:
- Work a slip stitch into the corners of both panels. This creates the armholes.
Sleeves
- Start the Sleeve:
- Begin with a stacked single crochet in the joined corner.
- Work treble crochet mesh along the edges of the body panel (double crochet and treble crochet side edges).
Repeat Mesh and Solid Rows:
- Alternate rows of treble crochet mesh and double crochet to add sleeve length.
- Stop when the sleeve reaches the elbow.
Step 5: Increase for Wide Sleeves
Increase Rows (Treble Crochet):
- Work 2 treble crochets into the same stitch to increase the sleeve width.
- Chain spaces remain between the increases.
Continue to alternate rows of increases, double crochet rounds, and treble crochet rounds to the desired flare.
Step 6: Add Decorative Ruffled Border
- End with a double crochet ruffle row:
- In each stitch, work 3 double crochets to create a wavy effect.
Finishing
- Weave in all ends neatly using a yarn needle.
- Block the shrug for smoothness and even stitches (optional).
Final Words and Tips
Customization:
- Adjust the neck opening, rows, and sleeve flares to suit your preferences.
- Experiment with different yarns for texture variations (e.g., cotton for summer, wool for winter).
Maintenance:
- Wash according to yarn instructions to prevent stretching or fading.