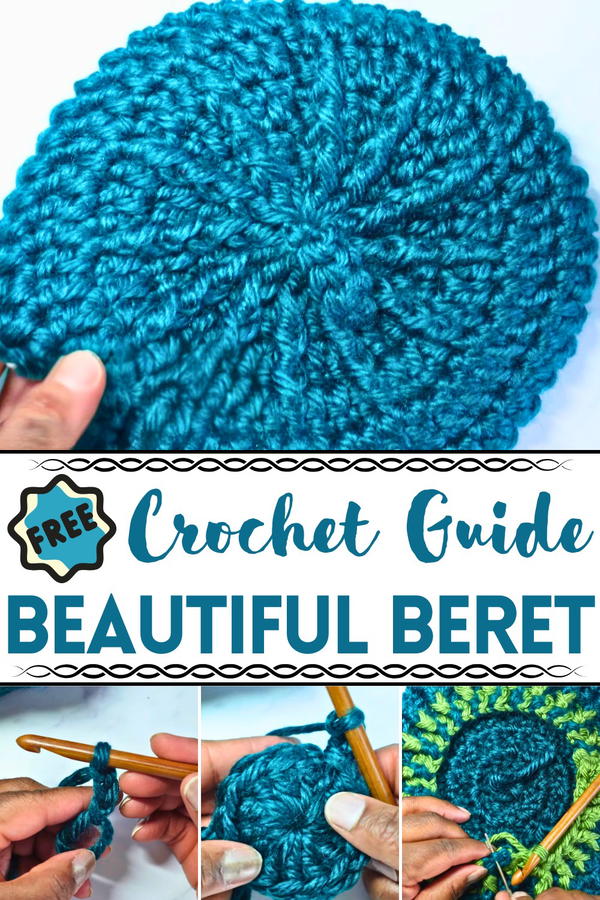
Step out in effortless charm with this Free Crochet Beret Pattern featuring soft texture stylish drape and a perfect fit for any season or outfit
The allure of berets has transcended time and geography, symbolizing style and practicality for generations. This free crochet beret tutorial brings both elegance and durability to your wardrobe by teaching you how to crochet a functional and fashionable headpiece in just 10 simple rounds. With a focus on creating texture and dimension, the pattern introduces a combination of basic and intermediate crochet stitches, ensuring that the final product has a professional finish.
How to Make a Stylish Beret Using Just One Ball – Free Crochet Pattern
One of the highlights of this tutorial is its adaptability, it can accommodate different yarn sizes and personal preferences, making the beret a versatile accessory for all seasons. Whether worn to complement a winter outfit or as a chic accessory for an autumn day, this crochet beret delivers both style and function. Additionally, the added nub at the crown adds a classic French-inspired touch to your creation, a feature that sets it apart from simpler designs.
This pattern goes beyond aesthetics by offering practical benefits, too, it’s a great project for those who want to use up leftover yarns from past projects, and the relatively small size makes it a quick yet rewarding crochet undertaking. By developing both texture and warmth, this beret blends form and functionality, proving to be an ideal addition to any crocheter's repertoire. Bold in both texture and personality, this project is a must-try for anyone who appreciates fashion and functionality in a single piece.
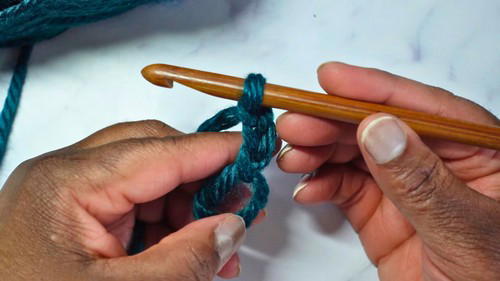 You'll begin your crochet journey with a magic circle technique, which allows for a snug and adjustable center, perfect for shaping the top of the beret. The alternating use of double crochets and front post stitches adds both depth and intricate detail to the beret's structure.
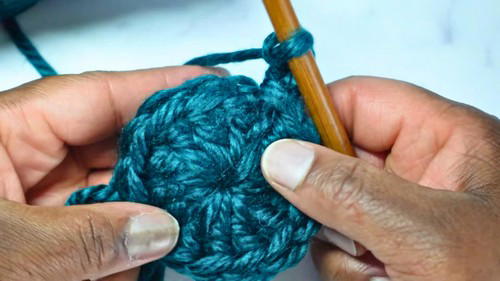
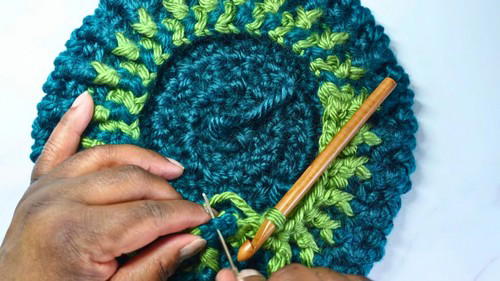
The progression of the pattern begins by establishing a strong and uniform base with 12 double crochets worked into a magic circle. This is followed by rounds of steady increases that transition the beret into a properly shaped crown.
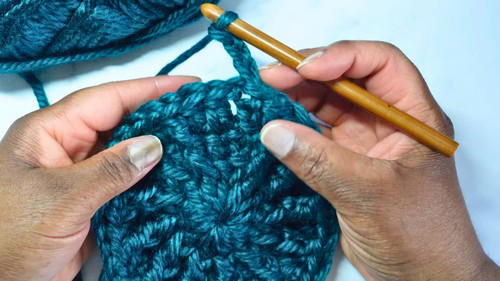
The unique inclusion of front post double crochets further enhances the design, adding texture while maintaining its softness and elasticity. After reaching the desired width in the initial rounds, the pattern transitions to rounds of non-increase double crochets to add height and definition to the hat.
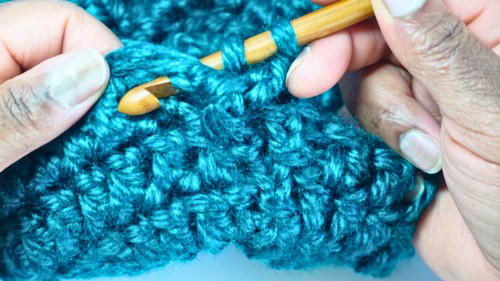
The concluding rounds alternate between front post and back post double crochets, resulting in a ribbed band that provides both a snug and comfortable fit.
Materials You’ll Need
Gather these materials before you begin:
- Super bulky yarn (#6): The video uses 5 oz (142 g) yarn but recommends 12 oz for larger berets.
- Crochet hook: Size 9 mm (US standard).
- Darning/tapestry needle: Ensure the needle has a sufficiently large eye to thread the yarn.
- Scissors: Keep them handy for cutting yarn.
Adding the Nub
- Create a slip knot and chain 5.
- Add single crochet stitches to the second chain from the hook and the remaining three chains.
- Use the two yarn tails to attach the nub to the center top of the beret.
- Tie knots securely, weave in all remaining yarn tails, and trim neatly.
Tutor's Tip: Leave one tail inside to act as a tag, which helps you identify the back of the beret easily.
Special Features
- Magic Circle Technique: Helps create a seamless beginning.
- Ribbing Pattern: The alternating front-post and back-post double crochet stitches give the beret its signature texture.
- Adaptability: Easily adjust the width by adding more increase rounds.
Level of Difficulty
The beret combines beginner and intermediate techniques. While basic stitches are used (double crochet, front-post and back-post stitches, magic circle), the textural ribbing may be a little challenging for those new to crochet. However, the clear instructions make this project approachable for determined beginners.
Uses
This beret is:
- A fashionable accessory for casual and formal wear.
- A thoughtful handmade gift.
- Practical during colder weather, thanks to the thick, warm yarn used.
Tutor’s Suggestions
- Use two balls of yarn (5 oz each) if your original ball runs out during the process.
- Feel free to switch yarn colors to create a unique striped effect.
- In bulky yarn tails, twist the yarn tightly and fold it in half to make threading easier.
Step-by-Step Instructions
In this crochet tutorial, you will learn how to create a stylish beret in just 10 rounds. Perfect for beginners, this versatile beret combines basic crochet techniques with elegant textural features, making it a standout accessory. The instructor provides clear and detailed explanations, ensuring you can follow along easily.
Conclusion
This crochet beret is a must-try project for crafters looking to elevate their skills. The pattern guides you through 10 manageable rounds, ensuring your beret is ready to wear or gift in no time.
Bonus Tip
For a polished finish, steam-block your beret lightly. This helps relax stitches and sets the beautiful ribbing pattern in place.


