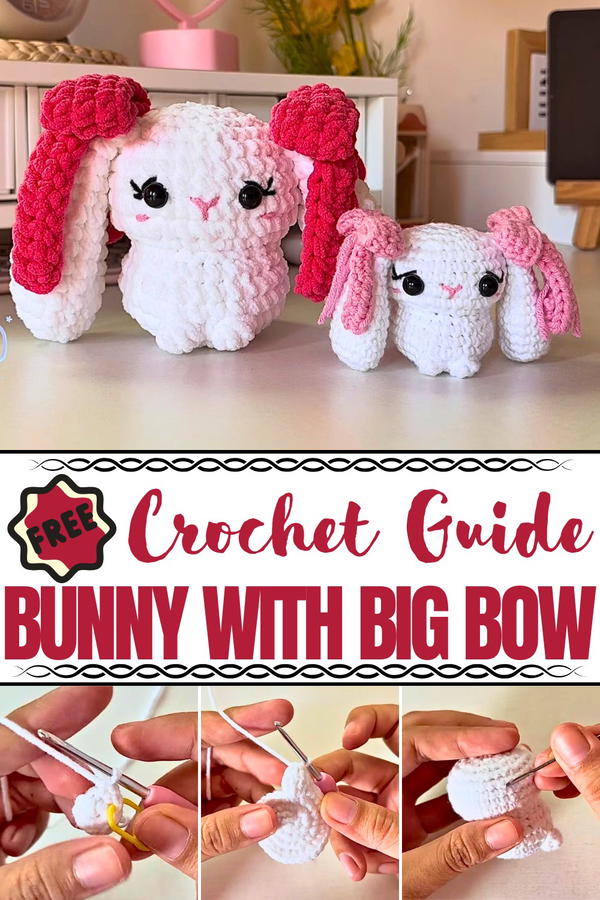
Adorable and stylish with this Crochet Bunny With Big Bow pattern brings a cuddly companion full of charm, sweetness, and gifting delight.
the charm of a playful bunny often brings joy to both children and adults, symbolizing warmth, innocence, and cheer. The Crochet Bunny With Big Bow pattern captures that delightful feeling in yarn, presenting a cuddly companion that radiates sweetness. Its rounded shape, soft texture, and oversized bow give it an endearing personality, making it a perfect gift for birthdays, baby showers, or festive occasions like Easter.
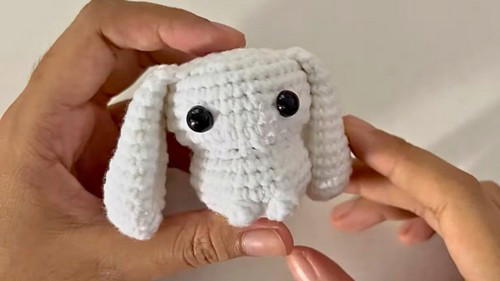
Cute Crochet Bunny With Big Bow to Brighten Any Occasion
This bunny’s compact size allows it to sit comfortably on a shelf, bed, or desk, adding a touch of softness and charm to any space. The oversized bow acts as its signature feature, adding elegance and playfulness in one, and allowing endless color combinations to suit any preference. Beyond being an adorable toy, it serves as a keepsake, collectible, or décor accent that carries sentimental value.
The process of making it brings focus and calm, rewarding patience with a finished companion that feels personal and unique. With every stitch, the bunny comes to life, embodying care and affection in its handmade form. The Crochet Bunny With Big Bow pattern offers a blend of charm, comfort, and versatility, making it a timeless symbol of love and happiness.
Materials Needed
- Yarn:
- Chenille yarn (for plush-sized bunny) or milk cotton yarn (small/keychain bunny).
- Pink yarn for bows.
- Black yarn for eyelashes.
- Optional: plastic safety eyes (5mm for small bunny, 10mm for larger bunny).
- Crochet Hook: 2.5mm for milk cotton yarn or 5mm for chenille yarn.
- Fiber Stuffing: Used to shape the bunny’s head and body.
- Needle: For attaching and sewing small details such as ears, eyes, and bows.
- Scissors: To trim excess yarn and tails.
- Stitch Marker: To mark the first stitch of each round.
- Glue (optional): To secure safety eyes.
Special Features
- Adjustable Sizes: Learn how to adapt the bunny’s size by using different yarn (e.g., chenille for bigger bunnies and milk cotton for smaller ones) and hook sizes (5mm or 2.5mm).
- Detailed Pattern Steps: The tutorial methodically explains how to crochet each part of the bunny: body, head, tail, ears, and bow.
- Customizable Design: Offers suggestions for personalizing features like eyes, eyelashes, blush, and nose.
- Minimal Sewing: Most parts are easily attached to the bunny, minimizing complex sewing techniques.
Level of Difficulty
This pattern is designed for beginner to intermediate crocheters. Here’s why:
- The foundational stitches (magic ring, single crochet, increase, and invisible decrease) are beginner-friendly.
- Creating features like the bow and adding facial details may require closer attention, making the finishing process suitable for intermediate crocheters.
Tutor’s Suggestions
- Adjust Size with Materials: Use thicker chenille yarn and larger hooks for plush-style bunnies, or thinner yarn and smaller hooks for compact versions.
- Keep Stitch Count Accurate: Utilize stitch markers to track rows and maintain even shaping.
- Secure Bow and Ears Properly: Ensure that ears and bows are attached symmetrically to achieve a balanced look.
- Layer With Details: Add eyelashes, blush, and a pink yarn nose for a polished, cute effect.
- Neatly Close Openings: Use the outer loops of the final stitches to seamlessly close gaps.
Step-by-Step Instructions
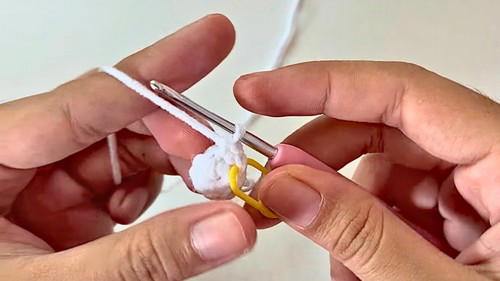
1. Creating the Bunny’s Body
Round 1: Magic Ring
- Make a magic ring and crochet 8 single crochets into the ring.
- Pull the yarn tail to tighten the ring and close it.
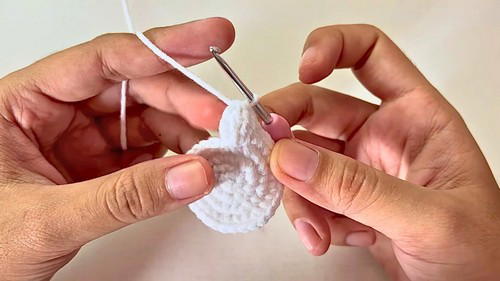
2: Increases
- Crochet 2 single crochets into each stitch (8 increases) to increase the total stitch count to 16 stitches.
3: Alternating Increase Pattern
- Follow the pattern: 1 single crochet, 1 increase for a total of 24 stitches.
4: Two Single Crochets and One Increase
- Crochet 2 single crochets followed by 1 increase, repeating the pattern for 32 stitches.
5: Forming Clusters
- Make a four-triple crochet cluster in the first stitch, followed by 13 single crochets, then make a four-double crochet cluster.
- Continue by alternating single crochets and double crochet clusters.
6-7: Continue with single crochet rounds for 32 stitches each. Include invisible decreases when prompted to shape the body further.
8-9: Add decreases in specified areas while maintaining symmetry.
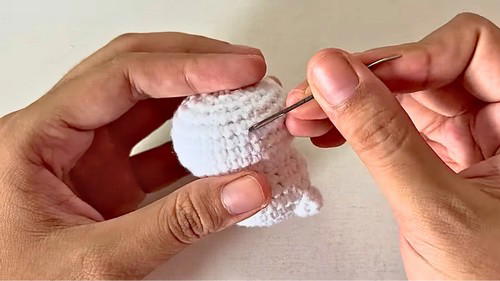
Stuffing and Closing:
- Stuff the body with fiber filling and close it by securely decreasing stitches in the final round.
2. Creating the Bunny’s Head
Rounds 10–16:
- Begin working in the front loops only and follow patterns alternating single crochets and increases to shape the round head. Ensure symmetry by using stitch markers.
- At round 16, start decreasing stitches and tightly stuff the head.
3. Crocheting the Ears
- Begin with 6 single crochets in a magic ring and continue increasing and alternating single crochets with decreases in specified rounds.
- In rounds 4–10, create elongated 18-stitch rounds for a more bunny-like ear shape.
- Complete the ear by flattening the last few rows using single crochet joins to form a rounded ear base.
- Make two ears and sew them symmetrically onto the bunny’s head.
4. Adding Facial Features
- Eyes: Place safety eyes between rows 12 and 13, spaced by 6 stitches. Glue them if desired.
- Eyelashes: Using black yarn, stitch eyelashes with a needle to enhance charm.
- Nose: Create a pink triangular nose using two stitches. Embellish with blush on either side using pink yarn.
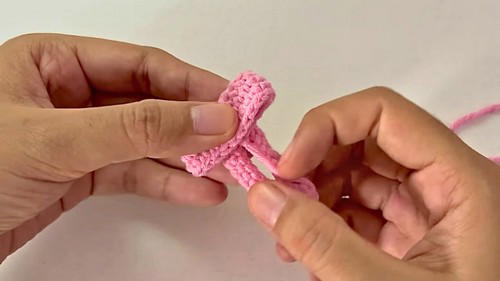
5. Creating the Bow
Step 1: First Piece
- Crochet a chain of 20 stitches, connect into a circle with a slip stitch, and work three rounds of single crochet around the loop.
2: Second Piece
- Create a chain of 22 stitches, then crochet 20 half-double crochets across the length.
- Wrap the smaller circular piece around the middle of the rectangular piece, tie securely, and sew the bow onto one of the ears.
Optional Tail Pieces:
- Add two yarn tails to the bow for added decoration at the bottom.
6. Final Touches
- Attach the second bow to the other ear using the same process.
- Tie and trim all loose yarn ends neatly.
- Enjoy the completed bunny with its adorable bow!
Uses of the Bunny
- Plush Toy: Use chenille yarn to create a larger stuffed animal version.
- Keychain or Ornament: Use milk cotton yarn to craft a compact and cute bunny for keychains.
- Decorative Gift: Handmade bunnies are great for gifting during holidays, birthdays, or Easter.
Pro Tip
When attaching smaller features like eyelashes and bows, work patiently to ensure symmetry and precision. Use glue sparingly or avoid it entirely for a cleaner result.
Conclusion
This crochet bunny with bow tutorial is perfect for creating gifts or personalizing accessories. Its versatility in size and design, paired with the step-by-step guidance provided, makes it accessible for crocheters of all skill levels. Whether you’re aiming for a plush toy or a keychain-sized creation, this project allows for creative expression while being fun and rewarding.


