Fashion your own charm with Free Crochet Dress Pattern, a stylish handmade outfit idea adding grace, comfort, and unique beauty to any wardrobe.
A dress made with simple stitches can turn into a stylish outfit that feels light, comfortable, and eye-catching when shaped with care. A Free Crochet Dress pattern begins with basic chains that set the foundation, then rows of simple stitches are worked step by step to form the top, waist, and flowing body of the dress. The structure is often built using repeating stitch patterns, which makes the work easy to follow and helps the fabric grow evenly without confusion.
Free Crochet Dress Pattern Stylish Festival Outfit Look
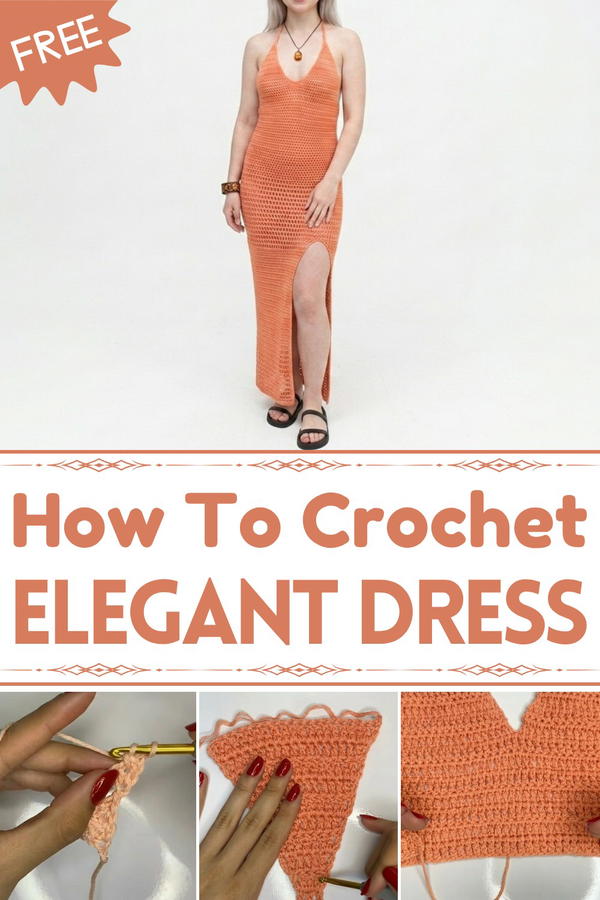
The Free Crochet Dress pattern shows how small repeated loops can create a full wearable outfit with a natural flow. Its appearance is elegant, with a fitted upper part and a wider bottom that moves gently when worn. The beauty comes from its handmade texture, open designs, and the way color choices can change its entire look from simple to stylish or bold. It is used for casual wear, beach outings, or special events where a unique handmade outfit stands out. Its detailed structure, smooth shape, and graceful fall make it a timeless piece that combines comfort with style in a very natural way.
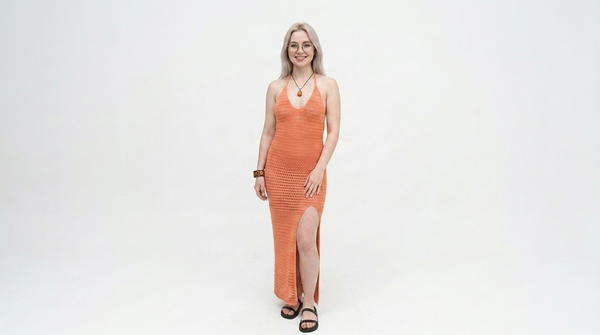
Elegant Crochet Dress with Side Slit
Materials Needed
- Yarn:
- Camila Fashion Yarn (or similar cotton or rayon yarn): 2 strands held together.
- Estimate approximately 600-700 grams depending on size, length, and customization.
- Crochet Hook:
- 5.5mm hook for the body of the dress.
- 3.5mm hook for the breast cup detail (optional).
- Scissors for cutting yarn.
- Tapestry Needle for weaving in ends.
- Markers: Useful for marking areas like the slit or seam placement.
Gauge
- 10 elongated double crochet stitches (edc) x 4 rows = 4" x 4" (10cm x 10cm).
Note: Difference in gauge may alter the size and fit of the dress, so adjust the hook size as needed.
Finished Size
This pattern is adjustable per the video transcript:
- Size PP (XS): ~74cm bust circumference.
- Larger sizes (P, M, G, GG) can be customized (custom suggestions are provided in the pattern below).
- Slit placement: ~mid-thigh or adjust it to suit your preference.
- Length: Floor-length or as preferred for a shorter or cropped version.
Skill Level
Intermediate:
This pattern includes increases and elongated double crochet stitches, with shaping adjustments required for proper fit.
Key Abbreviations (US Terms)
- ch = chain
- dc = double crochet
- edc = elongated double crochet (explained in Special Techniques)
- sl st = slip stitch
- sp = space
- rep = repeat
- st = stitch(es)
Special Techniques
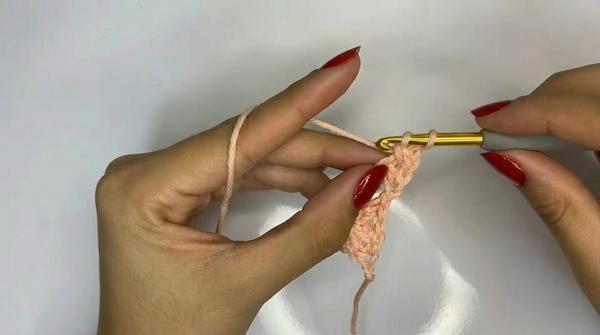
Elongated Double Crochet (edc):
- Yarn over, insert hook into designated space, yarn over, and pull up a loop (3 loops on hook).
- Yarn over, pull through one loop.
- Yarn over, pull through two loops (2 loops remaining).
- Yarn over, pull through the final two loops.
This technique gives the fabric a flowy, lightweight texture.
Pattern Instructions
Step 1: Breast Band Foundation
- Using a 5.5mm hook, chain 45-60 chains (adjust based on bust size).
- Example: 45 chains for a size XS, 50 chains for S, 55 chains for M, and so on.
- Row 1: Work 1 edc in the third chain from the hook. Continue working 1 edc into each remaining chain. Turn.
- Row 2-Onwards: Chain 2 to start the next row (counts as your first edc). Work 1 edc in each stitch across.
- Repeat until the band wraps comfortably around your bust.
- XS: ~10 rows
- S: ~12 rows
- M: ~14 rows
- L: ~16 rows
- XL: ~18 rows
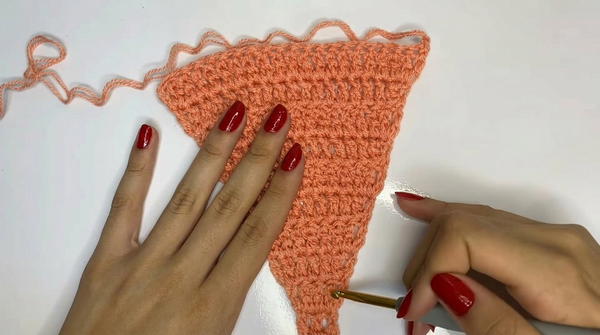
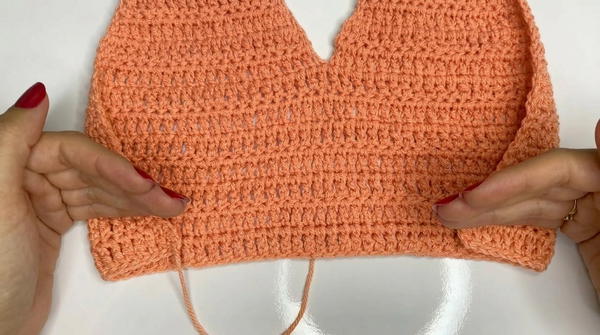
Step 2: Breast Cup Shaping
- Begin shaping for the breast by starting at one edge of the band:
- Work 1 edc in the first stitch,
- Increase (place 2 edc in the same stitch) at the first and last stitch of each row.
- Center stitches remain 1 edc each.
- Repeat the increase rows until you reach the desired cup height for your size:
- XS (PP): ~10 rows
- S (P): ~12 rows
- M: ~14 rows
- L: ~16 rows
- XL: ~18 rows
- Once complete, set this section aside and repeat for the second breast cup.
Step 3: Joining the Breast Cups
- Align the two cups end to end.
- Starting from the base of the first cup, stitch 1 row across both cups using edc to join them together.
- Continue increasing at the start and end of the row to create a smooth transition into the body.
Step 4: Creating the Body of the Dress
From the joined breast section, continue working rows of edc evenly. Add extra chain stitches at each end to form a circumference around your body:
- Measure your waistline and calculate additional stitches required for the extension. You can do this by creating a chain of:
- XS: ~30-35 additional chains
- S: ~35-40 additional chains
- M: ~40-45 additional chains
- L: ~45-50 additional chains
- Measure your waistline and calculate additional stitches required for the extension. You can do this by creating a chain of:
Work these chain stitches into your next row to elongate the body of the dress.
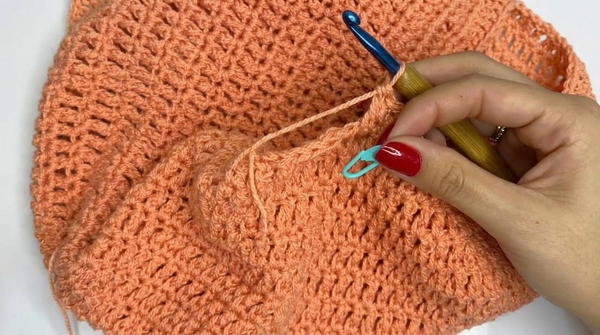
Step 5: Circular Skirt Section
Once the desired body height is achieved (i.e., bust-to-waist length), begin working in continuous rounds instead of rows:
- Join the row into a circle with a slip stitch.
- Work 1 edc in every stitch around, increasing as necessary to create a flowy effect.
- Continue in circular rounds, eliminating the need for slip-stitch joins by seamlessly transitioning into the next round.
Step 6: Creating the Side Slit
- Decide the placement of the slit (e.g., left leg). Use a stitch marker to note the starting position of the slit.
- For the slit, stop working in continuous rounds and begin working in rows instead of a complete circle from the marked point.
- For example: Work back and forth to create an open gap at the slit location.
- Continue this style until the desired slit length is reached.
Step 7: Finishing the Dress
Bottom Edge:
- Finish the hem of the dress by working a row of slip stitches or single crochet (sc) along the edge to stabilize the fabric.
Side Slit Edge: - Work one row of sc along the edges of the slit to give it a clean and polished look.
Shoulders: - Attach optional straps or lastex thread to secure the dress.
Customizations and Tips
- Fit Adjustments:
- Measure frequently as you work and try on the dress periodically to ensure a comfortable fit.
- Length Variations:
- For a cropped top, stop the pattern after reaching your waistline and finish with a sc row.
- For a mid-length dress, stop at the knees and finish with edging.
- Textured Finish:
- Add a decorative border (scallop or picot) to the neckline or hem for a stylish touch.
- Use breathable, lightweight yarn for a comfortable feel.
Conclusion
This elegant crochet dress is uniquely versatile, offering options for customization in size, length, and design elements like slits and finishing details. Crafted with elongated double crochet stitches, it drapes beautifully and fits snugly, making it a perfect addition to any wardrobe.
Important Notes and Closing Remarks
- Block the dress lightly for a smoother finish and better drape.
- Always maintain a consistent tension for a uniform appearance.
- Experiment with colors and textured yarns for a personalized look!