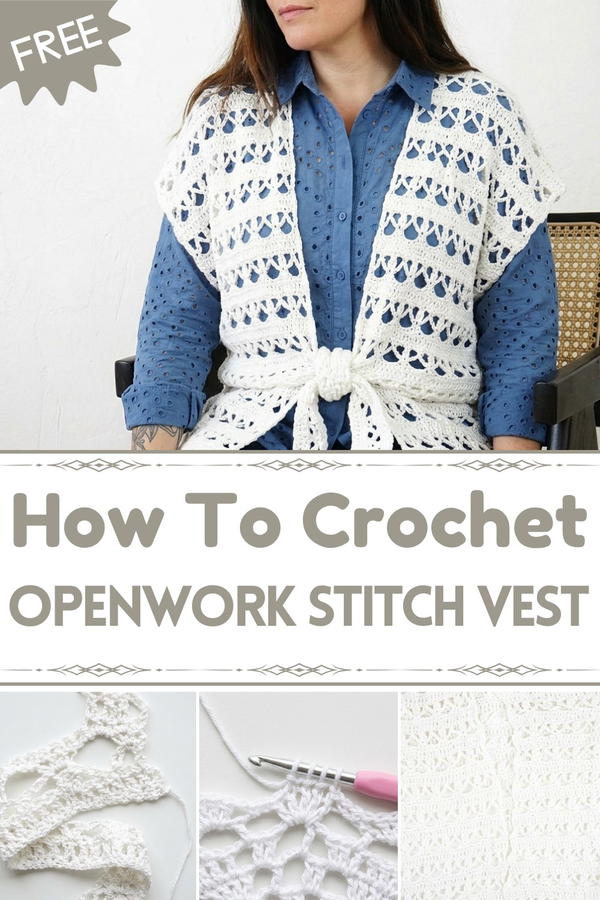
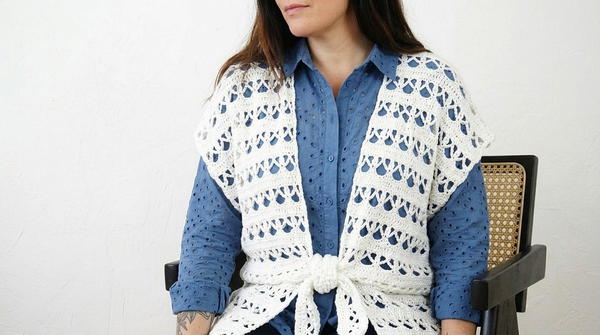
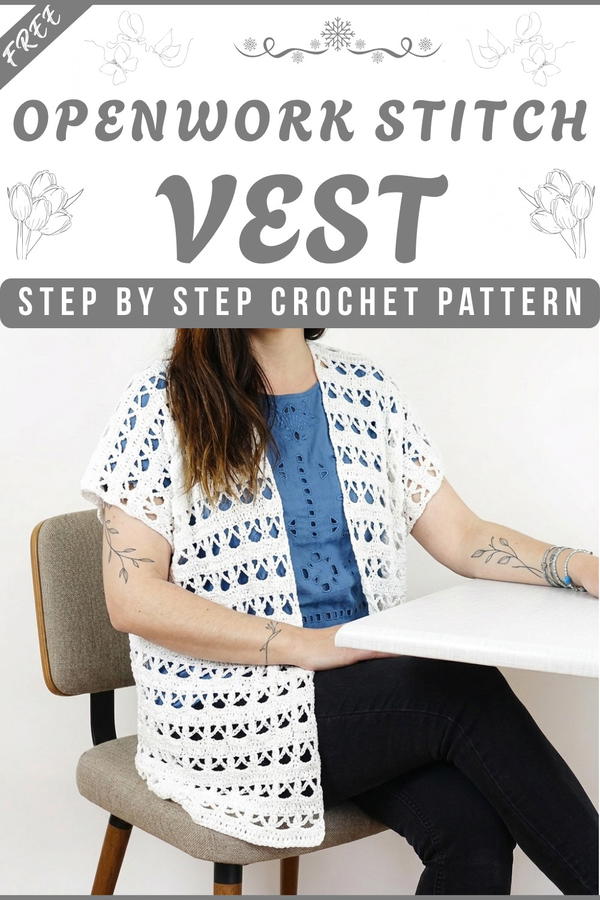
Enjoy this free crochet openwork stitch vest that is light, stylish, and easy to wear, making it perfect for casual days or special occasions.
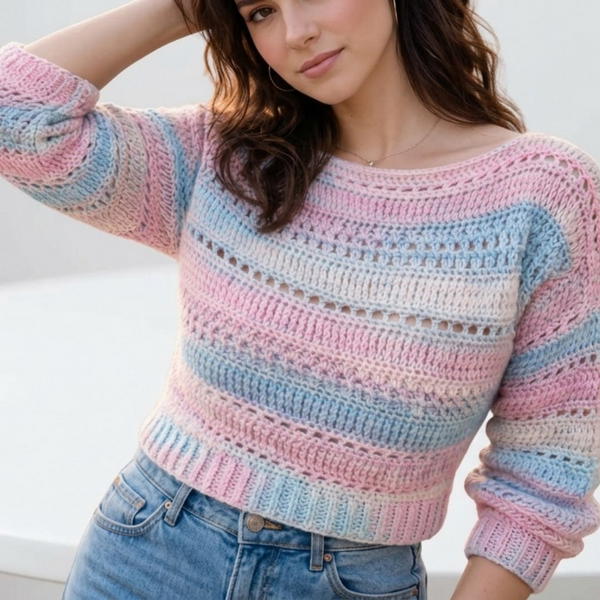
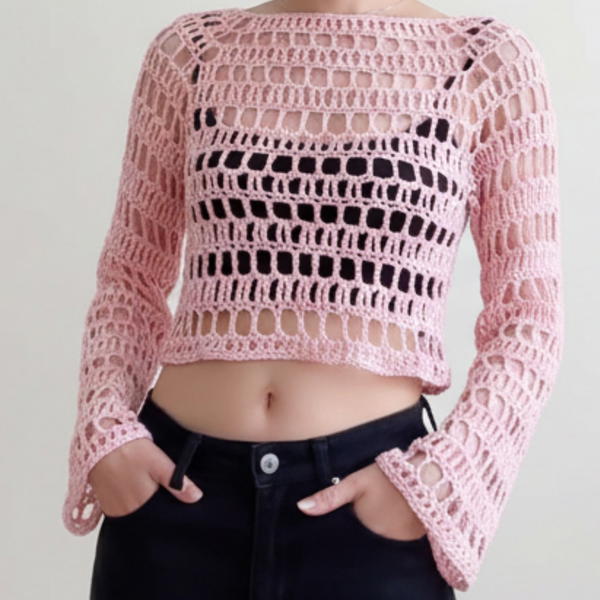
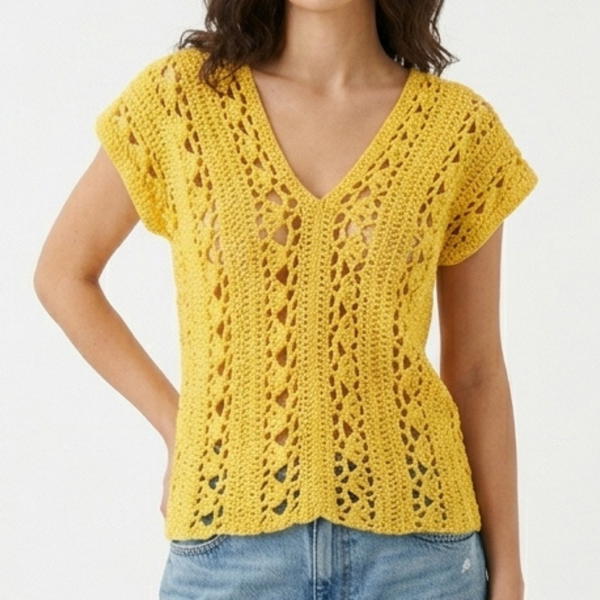
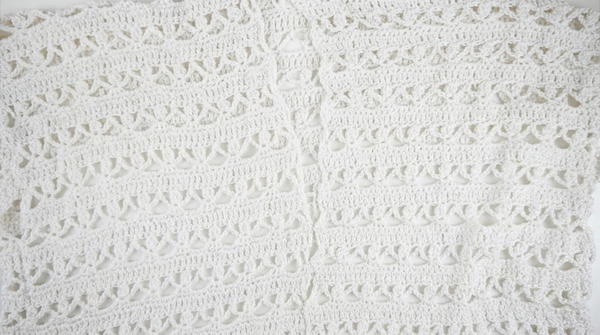
Soft and airy, this vest is a perfect choice for warm and sunny days. Its delicate openwork stitch gives it a light and breezy appearance that feels comfortable and stylish at the same time. The uniqueness of the design adds charm, making it stand out effortlessly while blending well with everyday outfits. It pairs beautifully with jeans, skirts, shorts, or even dresses, making it a versatile choice for casual outings or a touch of elegance at special events.
Free Crochet Openwork Stitch Vest Pattern for Any Skill Level
The lightweight texture is ideal for layering, ensuring you stay cool during the summer while looking your best. Whether for a picnic, a beach walk, or simply relaxing at home, this vest fits any occasion. It’s practical, beautiful, and timeless, lending a fresh, graceful touch to your wardrobe with ease. Perfect for those who appreciate comfort and soft elegance in their clothing choices.
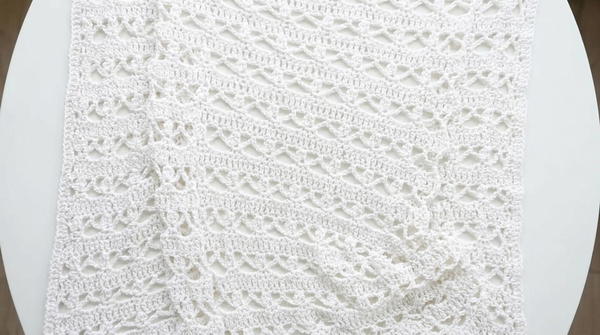
Crochet Openwork Stitch Vest Pattern: Step-by-Step Guide
Finished Size
The finished vest measures approximately:
- Height: 70 cm (relaxes as worn)
- Width: 65 cm (relaxes as worn)
This pattern is suitable for sizes 34–40 (M) with customizations included for other sizes.
Gauge
16 rows (without spaces between rows) of double crochet stitches equal 10 cm (4 inches) in height.
Before starting the project, work up a small swatch with the same yarn and crochet hook to ensure your gauge aligns with the above measurements.
Materials Needed
Yarn:
- Phildar Popcorn Yarn or equivalent bulky yarn with a textured finish ([84% cotton and 16% polyamide]). You’ll need 450 grams for a size M (34–40). Adjust accordingly for larger sizes.
- Alternatively, you can use similar yarn with textured elements (like tiny popcorn-like clusters).
Crochet Hook:
- 5 mm (European size) or Size 8 (American size).
Additional Tools:
- Stitch markers
- Pair of scissors
- Tapestry needle (for sewing and weaving in ends)
- Pen and paper (for size or note-taking)
Pattern Notes
Construction:
- The vest is created with three rectangular panels (one large back panel and two smaller front panels).
- Panels are made bottom-up starting with chain stitches, followed by repetitive stitch patterns.
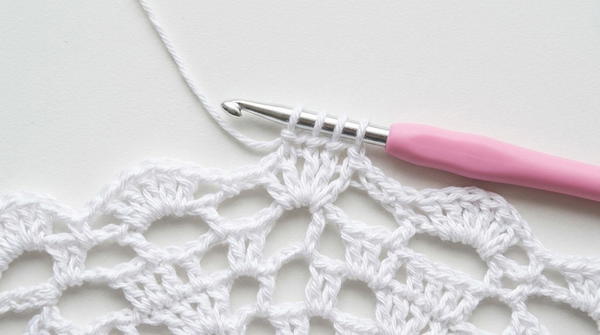
Special Techniques:
- Broken Double Crochet: This technique involves double crochet stitches worked through one step rather than two. This helps give a dense fabric with rich texture.
- Textured Pattern Block: Alternates between tight double crochet stitches, chain spaces, and popcorn-like clusters. Details below.
Crochet Vest Pattern Instructions
Step 1: Back Panel
Foundation Chain:
- Chain 107 stitches.
- For larger sizes, increase chain stitches proportionally (refer to customization below).
Row 1 (Setup Row): Single Crochet Row
- In the 2nd chain from the crochet hook, work a single crochet (SC).
- Work one SC in each chain stitch across the row (total: 106 SC).
Row 2 (Double Crochet Row):
- Chain 3 (counts as the first double crochet [DC]), turn.
- Work 1 DC in each single crochet stitch across the row (total: 106 DC).
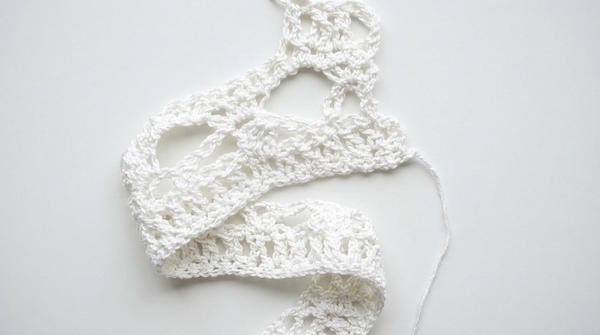
Row 3 (Textured Pattern Row):
- Chain 3, turn. Skip the next single stitch.
- In the third stitch, work 3 broken DC stitches:
- Yarn over, pull through the stitch, yarn over, pull through the first two loops, leave remaining loops on hook. Repeat twice before pulling through all loops (4 loops combined).
- Chain 3, skip 2 stitches, single crochet in the next stitch. Repeat until the end of the row.
Row 4 (Single Crochet in Row's Texture):
- Chain 1, turn. Work a single crochet in each stitch (including clusters and chains) until row ends.
- Chain 1, turn. Work a single crochet in each stitch (including clusters and chains) until row ends.
Repeat Pattern Sequence:
- Continue alternating the above sequence of Rows 2–4 (DC, textured row, SC) until you achieve a height of 70 cm or desired length.
Step 2: Front Panels
For Each Front Panel:
Foundation Chains:
- Chain 56 stitches for each panel.
- Adjust for custom sizes (see below).
Follow stitch pattern:
- Using the same stitch pattern sequence described in Step 1, crochet the front panels to a height matching the back panel (70 cm or desired height).
- Using the same stitch pattern sequence described in Step 1, crochet the front panels to a height matching the back panel (70 cm or desired height).
Step 3: Assembly
Once all rectangular panels are completed:
Shoulder Seams:
- Align the two front panels with the back panel at the top (shoulders). Use a tapestry needle and sew or crochet both shoulder seams using whip stitch or slip stitch. Leave space for the neckline.
- Align the two front panels with the back panel at the top (shoulders). Use a tapestry needle and sew or crochet both shoulder seams using whip stitch or slip stitch. Leave space for the neckline.
Side Seams:
- Align the edges of the front panels with the back panel. Leave an armhole opening of approximately 6 rows (double crochet rows). Sew the seams below the armhole with neat whip stitches or slip stitches.
- Align the edges of the front panels with the back panel. Leave an armhole opening of approximately 6 rows (double crochet rows). Sew the seams below the armhole with neat whip stitches or slip stitches.
Customization Ideas
Larger Sizes (42–52):
- Back Panel: Chain 120–140 stitches for larger widths.
- Front Panels: Chain 65–75 stitches for each panel depending on size.
Additional Finishing Touches:
- Border: Add a single crochet border along the edges for a polished look.
- Button Closure: Attach buttons at the front for a cardigan-style vest.
- Sleeves: Extend side seams and add short sleeves using the same textured stitch pattern.
Color Variations:
- Use multi-colored yarn or alternate yarn colors for rows to create stripes.
Important Remarks
- Since the textured yarn adds dimension, no additional edge finishing is required for this vest.
- Ensure to block the finished vest to achieve a smooth and relaxed fit.
Conclusion
The "Indy" crochet vest is a beautiful project that combines simplicity with unique texture. Its airy, lightweight design is ideal for layering during warmer seasons. This project is perfect for crochet enthusiasts seeking a quick and rewarding pattern.