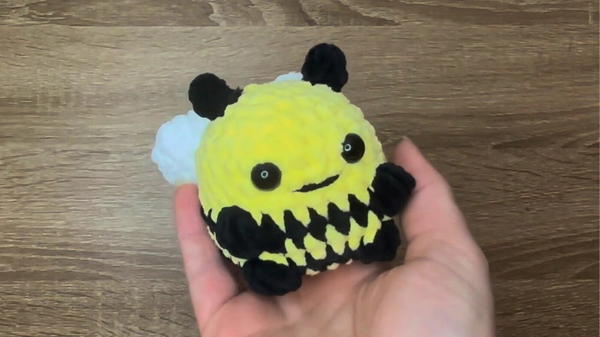
Bring cheer with Free Crochet Sitting Bee Pattern featuring cute stripes, soft texture, and a seated shape perfect for gifts, decor, or little hands.
A little girl once tucked a handmade bee into her backpack, hoping it would ease her first day at school. That crochet sitting bee, with soft wings, stubby feet, and a cheerful face, brought comfort between lessons and smiles from curious classmates. The charm of that moment lives on in this free crochet sitting bee pattern, a gentle fusion of joy and simplicity. This bee, with its rounded body and stable seated pose, brings instant personality to shelves, desks, and nursery corners.
How to Crochet Sitting Bee from One Simple Free Pattern
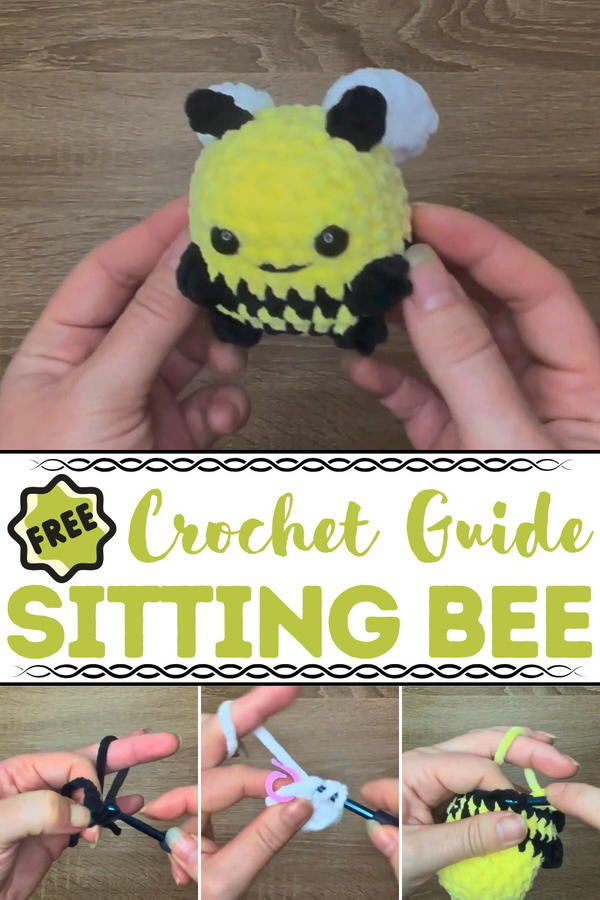
Its firm base allows it to sit upright without assistance, making it ideal for playful decor or heartfelt gifting. Soft yarn textures make it suitable for little hands, while bold stripes and embroidered smiles add character without complexity. The approachable shape is friendly to beginners yet satisfying for experienced hands looking for a quick project.
Whether perched beside potted plants or added to gift baskets, this sitting bee adds warmth wherever it lands. Its portability makes it perfect for pockets, keychains, or classroom mascots. More than a toy, it’s a tiny reminder of how small, thoughtful things can leave lasting impressions, stitched with care, shaped with meaning, and always ready to bring a little extra brightness to any day.
Special Features of the Sitting Bee
- Unique Design: The bee features a "sitting" shape, making it distinct from other crochet bees.
- Minimal Sewing: The only parts that require sewing are the wings and antenna, reducing assembly time.
- Market-Friendly Item: Its small size and adorable appearance make it a perfect product for craft markets.
- Beginner-Friendly: The project is simple to follow, making it accessible for those new to crochet.
Level of Difficulty
The project is beginner-friendly. Basic crochet techniques, like making a magic ring, single crochet, and basic increases/decreases, are required. For advanced beginners, the inclusion of bobble stitches may be a fun new technique to practice.
Tutor’s Suggestions
- The instructor suggests using a magic ring for the foundation, but if you find this technique difficult, alternative methods such as the chain-two method can be used instead.
- The wings can be placed to stick upward or lie flatter, depending on your preference.
- Use a stitch marker to track your stitches, especially for increasing or changing colors.
- Customize the bee's expression by adding an optional mouth if desired.
Materials Needed
Here’s what you’ll need to complete the sitting bee:
- Yarn: White, yellow, and black
- Crochet Hook: 5 mm hook
- Other Tools: Scissors, yarn needle, stitch marker, safety eyes, and stuffing
Step-by-Step Instructions
Antennae
- Use black yarn: Create a slip knot and chain 3.
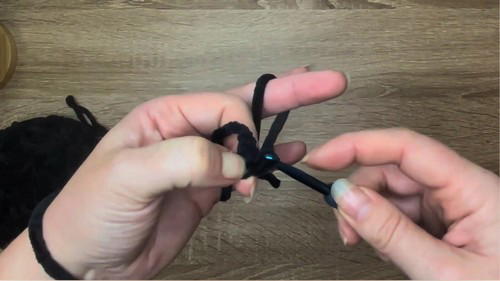
- Slip stitch into the second and third chains.
- Fasten off and leave a tail for sewing. Repeat these steps to make the second antenna.
Wings
- Use white yarn. Create a slip knot and chain 2.
- Make 6 half double crochets (HDC) into the first chain.

- Continue with 3 HDC increases, followed by a double crochet (DC) increase.
- End with 2 HDC increases and fasten off, leaving a tail for sewing. Repeat to make the second wing.
Body
- Round 1: Use yellow yarn to make 6 single crochets (SC) into a magic ring.
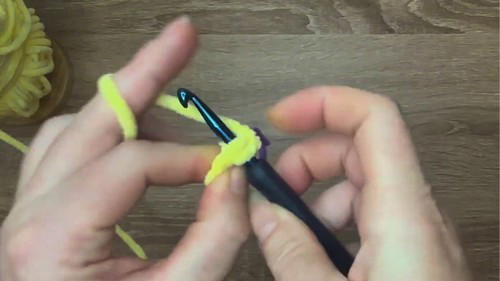
- Round 2: Increase in every stitch for a total of 12 stitches.
- Round 3: Work SC, then an increase. Repeat around to have 18 stitches.
- Round 4: Work 2 SCs, then an increase. Repeat around for 24 stitches.
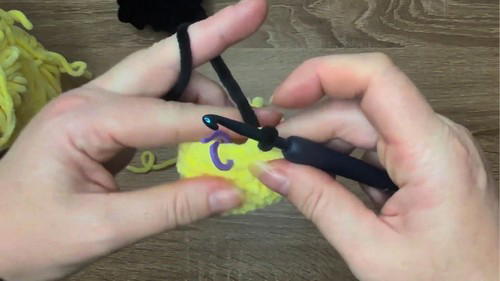
- Rounds 5–8: Do 24 SCs in each round.
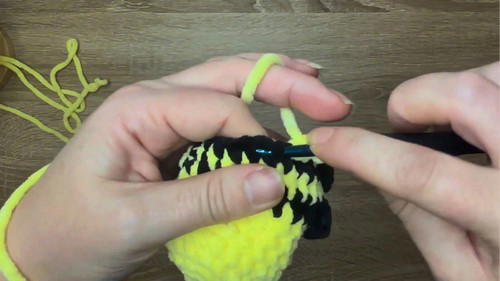
- Round 9: Switch to black yarn on the final stitch. Work 6 SCs, then a bobble stitch. Repeat this sequence to maintain 24 stitches.
Color Changes
- Alternate between yellow and black yarn as instructed in the video, ensuring smooth transitions.
Shaping/Closing
- Round 12: Add safety eyes between rounds 5 and 6, 4 stitches apart. Decrease to 16 stitches by making SCs and decreases.
- Add and secure antennae on round 3.
- Round 13: Decrease all around to create a total of 8 stitches.
- Close the hole by threading under the front loops of the final 8 stitches. Pull the yarn to close the opening.
Final Assembly
Attach the Wings:
- Position the wings symmetrically on the back of the bee.
- Secure the wings with stitches, either keeping them upright or slightly open for added dimension.
Optional Mouth:
- Use black yarn to embroider a small smile just below the eyes.
Finishing Touches:
- Hide or secure any loose yarn ends inside the body.
Uses for the Sitting Bee
- Decorations: Perfect as shelf or bedside decor.
- Gifts: Great for friends, family, or kids.
- Market Items: Their small size and charm make them popular for craft fairs and markets.
- Keychains: Add to a keyring or bag for a unique accessory.
Bonus Tip
When stuffing the bee's body, use small amounts of filling at a time to maintain an even and rounded shape. Overstuffing may distort the shape, while under-stuffing can leave it lumpy.
Conclusion
This crochet sitting bee is a fun and quick project, perfect for practicing basic crochet techniques while creating something adorable and marketable. Whether you keep it as decor, give it as a gift, or sell it at a market, this little bee is sure to bring smiles, and a great sense of satisfaction.


