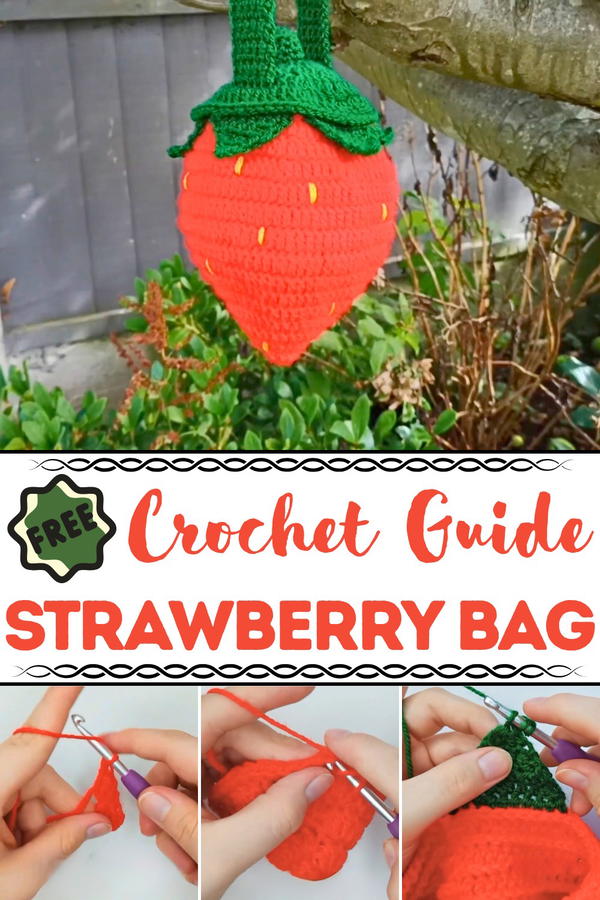
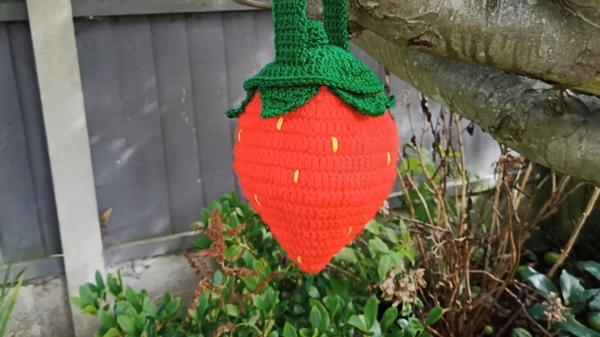
Freshen your accessories with this Free Crochet Strawberry Bag Pattern that brings playful texture, everyday function, and a sweet seasonal flair.
A simple walk through a weekend market often calls for something lightweight yet eye-catching to carry your essentials. This Free Crochet Strawberry Bag Pattern offers just that—a playful, fruit-inspired accessory that feels both practical and delightful. With its sweet silhouette and textured surface, the bag resembles a plump strawberry, making it an instant favorite for warm-weather outings, casual days, or as a charming gift option.
Free Crochet Strawberry Bag Pattern For Everyday Use
The body of the bag provides enough room for small must-haves, keys, cards, lip balm, while its secure drawstring closure keeps everything safely tucked inside. Worked with bobble stitches for a realistic seed-like detail and topped with leafy accents, the texture adds interest without overcomplicating the project. Lightweight and easy to carry, the bag fits both kids and adults, making it a fun match for playful fashion or themed events.
It’s quick to finish, doesn’t require much yarn, and can be made in traditional red or customized in any shade you like. Whether it’s used as a statement accessory, a reusable gift pouch, or a novelty bag for seasonal markets, the result is joyful and functional. Each piece brings a sense of cheer to daily life with a touch of handmade charm and fruity flair.
Headings and Step-by-Step Details
Materials Needed
- Hook Size: 5mm hook (One size larger than standard for DK yarn).
- Yarn: Red (bag body), green (leaves and lid), yellow (optional seeds).
- Extras: Scissors, yarn needle, extra yarn cuttings for assembly.
Step-by-Step Instructions
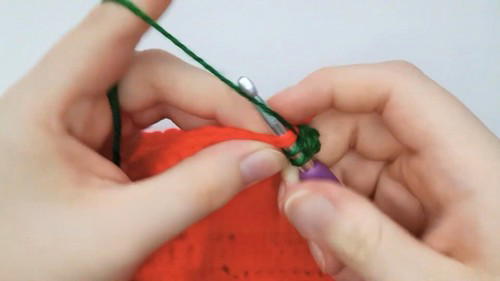
Creating the Bag's Base
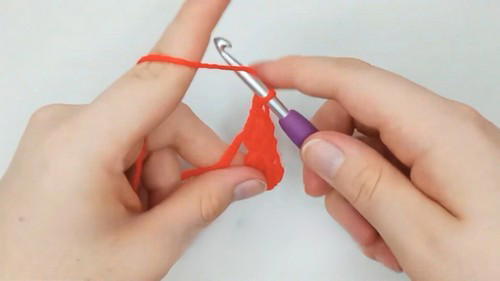
Row 1:
- Begin with a magic circle.
- Chain 2 (not counted as stitches) and make 10 double crochet stitches into the circle.
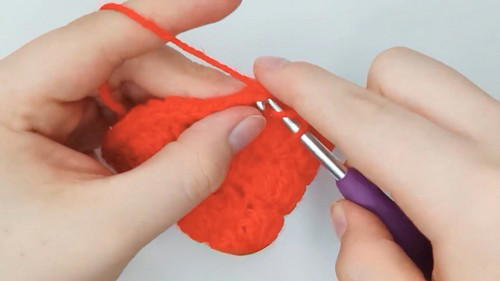
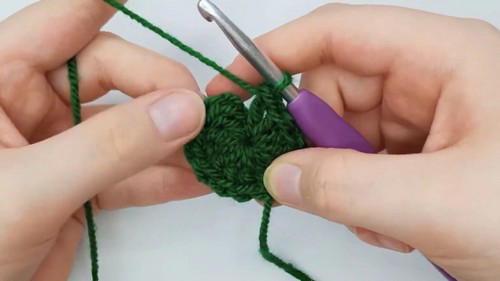
Rows 2–8:
- Add slip stitch rows between each double crochet (DC) row. This strengthens the bag and helps maintain its shape.
- Gradually increase rounds using the following patterns:
- Row 2: 10 increases (20 stitches).
- Row 3: 1 DC, 1 increase (30 stitches).
- Row 4: 2 DC, 1 increase (40 stitches).
- Row 5: 3 DC, 1 increase (50 stitches).
- Row 6: 4 DC, 1 increase (60 stitches).
- Row 7: 5 DC, 1 increase (70 stitches).
- Row 8: Special increases with 6 DC, 1 increase pattern repeating 9 times (80 stitches).
- Row 2: 10 increases (20 stitches).
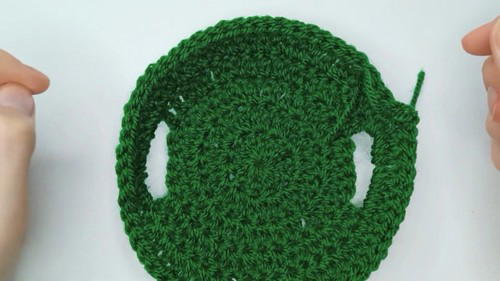
Rows 9–11:
- Crochet single DC rows (80 stitches each) with slip stitch rows in between.
Row 12:
- Begin decreasing with 6 DC, 1 DC two-together stitch. Ends with 70 stitches.
- Begin decreasing with 6 DC, 1 DC two-together stitch. Ends with 70 stitches.
Rows 13–14:
- Row 13: 5 DC, 1 DC two-together stitch (60 stitches).
- Row 14: 4 DC, 1 DC two-together stitch (50 stitches). Finish with a row of slip stitches.
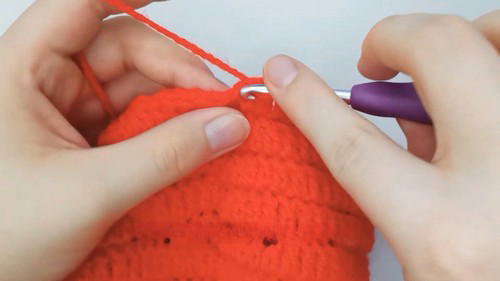
Creating the Leaves
- Pull green yarn through one of the bag's slip stitches.
- Chain 1 and make 10 half-double crochet stitches in the same spot.
- Decrease rows follow, shaping the leaf as you progress:
- Row 2: 1 decrease, 6 HDCs, 1 decrease (8 stitches).

- Row 3: 1 decrease, 4 HDCs, 1 decrease (6 stitches).
- Row 4: 1 decrease, 2 HDCs, 1 decrease (4 stitches).
- Row 5: 2 decreases (2 stitches).
Cut and pull through to complete each leaf. Repeat for a total of 5 leaves.
- Row 2: 1 decrease, 6 HDCs, 1 decrease (8 stitches).
Making the Lid
- Create a magic circle with 12 DCs.
- Add increases:
- Row 2: 12 increases (24 stitches).
- Row 3: 1 DC, 1 increase (36 stitches).
- For Row 4, incorporate chain loops for ventilation:
- 2 DC, chain 6 (skip 4 stitches), resume with 2 DCs and 1 increase.
- Row 5 completes the lid with more increases and DC stitches around chain loops (60 stitches).
Crafting the Stem
- Create a magic circle and chain 1.
- Work 4 single crochet stitches into the circle, and then add increases in the next row (8 stitches).
- Continue with single crochet stitches for rows 3–5 to form the small stem. Cut and sew onto the lid.
Making the Back Straps
- Attach yarn into any DC at the top of the bag.
- Begin by chaining 1 and crocheting 5 single stitches across.
- Continue rows of 5 single crochets until the strap reaches your desired length.
- Thread straps through openings in the lid, attach securely, and finish with slip stitches.
Optional Decorative Seeds
- Use yellow yarn (or a color of your choice).
- Stitch small seed shapes into the bag using gaps in DC rows for placement.
- Repeat until satisfied with the seed pattern.
Special Features
- The inclusion of slip stitch rows adds durability and structural integrity to the bag.
- Incorporating leaves and a lid, the design resembles a strawberry and is both functional and adorable.
- Ventilation loops in the lid give the project added charm and practicality.
Level of Difficulty
This tutorial is suited for intermediate crocheters. While basic techniques (double crochet, slip stitches) are used, the gradual increases and decreases may challenge beginners. The lid and leaf shaping also require attention to detail.
Tutor's Suggestions
- Use a larger hook size than usual for DK yarn to ensure smooth stitches and prevent tightness.
- Remember that chain stitches don’t count as actual stitches, so always work into the proper starting point.
- Incorporate slip stitch rows consistently for better structure.
Uses of the Strawberry Crochet Bag
- Fashion accessory: Perfect for pairing with cottagecore outfits.
- Everyday use: Lightweight bag for small items like keys or coins.
- Decorative item: Adds charm as a handmade centerpiece.
Materials Recap
- 5mm crochet hook.
- DK yarn in red, green, and optional yellow.
- Scissors and yarn needle for assembly.
- Extra yarn cuttings/stuffing.
Tip for Success
Count your stitches carefully after every row—increasing and decreasing correctly is crucial for keeping the bag’s shape and proportions intact.
Conclusion
This Crochet Strawberry Bag tutorial is a fun and rewarding project, perfect for those who enjoy mixing creativity with usability. The design showcases charming cottagecore vibes and provides room for personal touches, like adding seeds or decorating straps.


