Bring dragon magic to life with the Free Crochet Night & Light Fury Pattern that combines playful charm, intricate details, and a captivating cozy touch.
A quiet evening can turn magical when yarn and creativity come together. A crochet Night Fury and Light Fury amigurumi brings the thrill of fantastical dragons into the hands of makers, transforming simple materials into dynamic, expressive figures. These creations serve as captivating collectibles, decorative pieces, or thoughtful gifts for fans of mythical creatures, combining visual appeal with tactile enjoyment. Their detailed forms capture the essence of the dragons’ sleek bodies, wings, and expressive faces, making them stand out as whimsical and unique pieces.
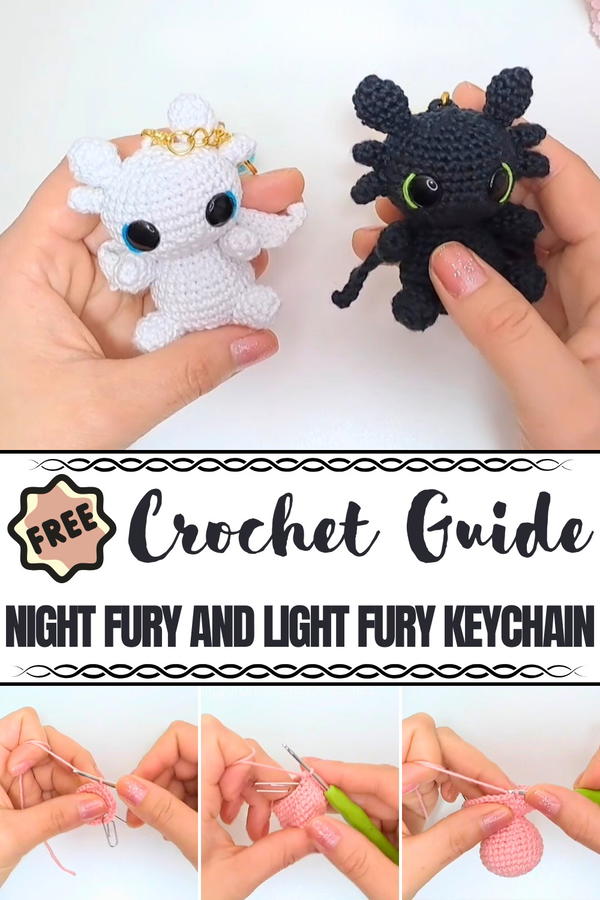
Adorable Crochet Night & Light Fury Brings Dragons to Life
The finished amigurumi is not only decorative but also provides hands-on satisfaction, improves crochet skills, and encourages attention to detail. This Night and Light Fury crochet creation combines artistry, fantasy, and functionality, making it a striking and playful addition to any collection.
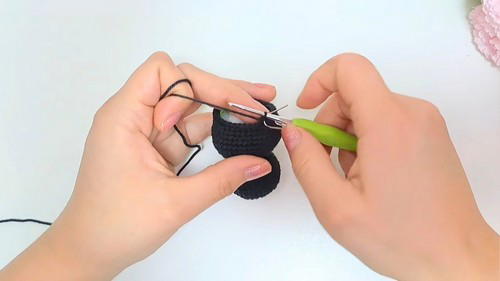
The process begins with forming the dragons’ heads using a magic ring and single crochet stitches worked in continuous rounds. Gradual increases shape the skull and snout, while careful decreases define the jawline.
Separate elements such as wings, ears, and tails are crocheted individually using a combination of single, half-double, and double crochet stitches, then securely attached to the body.

Small details, including eyes, claws, and subtle embroidery accents, bring personality and life to each dragon. Final stuffing ensures a soft, huggable structure, while careful assembly maintains balance and symmetry.
Introduction: Toothless & Light Fury Keychain (Llavero Furia Nocturna y Luminosa)
This tutorial guides you through creating miniature Amigurumi keychains of the dragons Toothless (Furia Nocturna) and Light Fury (Furia Luminosa). The primary feature of this project is that a single pattern is used for both characters; you just change the yarn color (black for Toothless, white for Light Fury). The finished size is ideal for an accessory, measuring about 8 cm from the base to the tips of the ears.
Special Features and Level of Difficulty
Level of Difficulty: Intermediate. While the stitches are simple (single crochet, increase, decrease), the project involves a large volume of sewing. There are numerous small pieces—wings, ears, tail, and eight limbs/spikes—that must be precisely attached, which is the main challenge. Prior experience with sewing amigurumi parts is essential.
Special Features:
Body and Head in One Piece: The main body and head are crocheted continuously, eliminating one major seam.
Dual Pattern: The single pattern works for both dragon characters.
Keychain Size: The small 8 cm size makes them perfect as keychains or souvenir favors.
Materials and Tools and Tutor's Suggestions
Materials and Tools
Yarn (Hilo): Amigurumi weight yarn in Black (Toothless) or White (Light Fury).
Small amount of secondary colors for the tail fin (Toothless).
Embroidery Thread: Pistachio/Green (Toothless eyes) or Calypso/Blue (Light Fury eyes).
Thin Black Thread for embroidering the nostrils.
Hook (Ganchillo): Size appropriate for your yarn weight.
Tools: 10 mm flat-style safety eyes, stuffing, tapestry needle, stitch marker (a clip is suggested), and keychain ring hardware.
Tutor's Key Suggestions
Seaming is Essential: The tutor stresses that the success of the project relies on neat, precise sewing. You must be comfortable with this skill before starting.
Wing Treatment: To ensure the wings hold their shape and don't flop, you can either:
Flatten them with a hair straightener (plancha para pelo).
Treat them by brushing on a mixture of diluted craft glue (cola fría diluida en agua) and letting them dry.
Nostril Detail: Adding two tiny embroidered lines in thin black yarn below the eyes creates the subtle illusion of nostrils, adding character expression.
Step-by-Step Construction Details
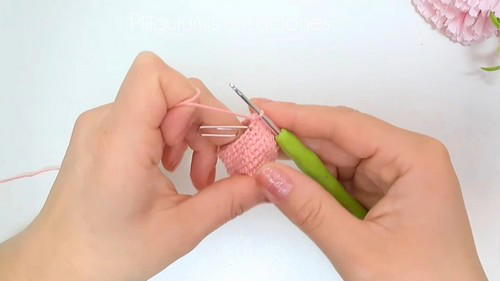
The project is worked in continuous rounds using Single Crochet (SC).
Part 1: Body and Head (One Piece)
Body Section:
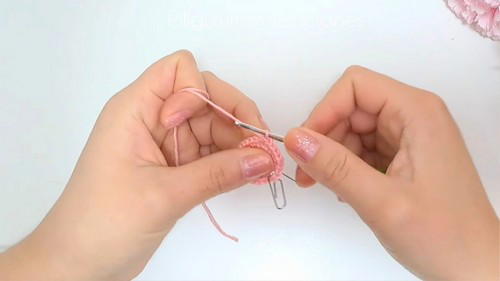
R1: Start with a Magic Ring, work 8 SC.
R2: Increase in every stitch (8 Inc) (16 stitches).
R3: Repeat (1 SC, Inc) eight times (24 stitches).
R4: Repeat (2 SC, Inc) eight times (32 stitches).
R5–R7: Work 32 SC (3 rounds).
R8: Repeat (2 SC, Dec) eight times (24 stitches).
R9–R10: Work 24 SC (2 rounds).
R11: Repeat (1 SC, Dec) eight times (16 stitches).
R12: Work 16 SC.
Head Section:
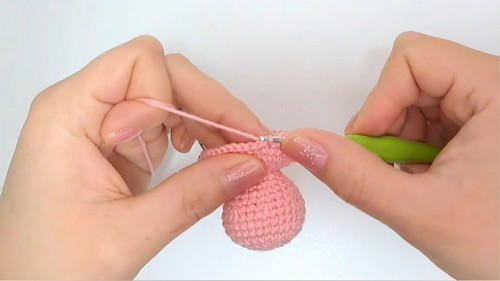
10. R13: Work 16 SC but taking only the Front Loop Only. (This marks the neck). Stuff the body section firmly.
11. R14: Repeat (1 SC, Inc) eight times (24 stitches).
12. R15: Repeat (2 SC, Inc) eight times (32 stitches).
13. R16: Repeat (3 SC, Inc) eight times (40 stitches).
14. R17–R20: Work 40 SC (4 rounds).
Eye Placement:
Place the 10mm safety eyes between Rounds 18 and 19, separated by 8 stitches. Embroider eyes and nostrils now.
Head Decreases and Closure:
15. R21: Repeat (3 SC, Dec) eight times (32 stitches).
16. R22–R23: Work 32 SC (2 rounds).
17. R24: Repeat (2 SC, Dec) eight times (24 stitches).
18. R25: Repeat (1 SC, Dec) eight times (16 stitches). Stuff the head completely and firmly.
19. R26: Work 8 Dec (8 stitches).
20. Finishing: Cut the yarn, leaving a long tail. Cinch the remaining stitches closed and use the tail to form the loop for the keychain hardware.
Part 2: Wings (Make 2)
Start by chaining 10 CH.
Row 1: Work into the 2nd CH from the hook. Work 8 SC, then a SL ST in the last chain.
Row 2: Chain 1, turn. Skip the SL ST. Work 2 SC, then 1 Increase (Inc), then 5 SC, and finish with 1 SL ST.
Row 3: Chain 4 CH. Work back along the chain: 3 SC (starting in the 2nd CH from the hook). Continue on the wing base: 5 SC, then 1 Increase (Inc), then 2 SC, and finish with 1 SL ST.
Finishing: Cut yarn, leaving a long tail for sewing.
Part 3: Other Small Pieces
Arms/Front Legs (Make 2): Magic Ring, 8 SC (R1). Work 8 SC for 3 rounds (R2-R4). Work 4 Decreases (Dec) (R5).
Ears (Make 2): Magic Ring, 5 SC (R1). Work 5 Increases (Inc) (R2 - 10 stitches). Work 10 SC for 2 rounds (R3-R4). Work 5 Decreases (Dec) (R5).
Legs/Back Legs (Make 2): Magic Ring, 10 SC (R1). Work 10 SC in Back Loop Only (R2). Work 10 SC for 2 rounds (R3-R4).
Lateral Spikes (Make 4 for Toothless, 2 for Light Fury): Magic Ring, 4 SC (R1). Work 4 SC for 3 rounds (R2-R4).
Tail: Magic Ring, 4 SC (R1). Work 4 SC for 2 rounds (R2-R3). (1 SC, Inc) x 2 (R4 - 6 stitches). 6 SC (R5). (2 SC, Inc) x 2 (R6 - 8 stitches). 8 SC (R7).
Part 4: Assembly Placement
Use pins to mark placement before sewing.
Ears: 3 rows down from the final closed hole, aligned straight.
Arms: Between Rounds 10 and 11 of the body.
Legs: Slightly forward of the arms, starting around Round 4 from the base.
Wings: Aligned with the arms, separated by approximately 2 stitches.
Tail: Centered on the back, around Round 5 from the base.
Conclusion
The Toothless and Light Fury keychains are a highly detailed and rewarding crochet project. By mastering the continuous body pattern and practicing careful assembly, you can create a beautiful, durable, and recognizable dragon souvenir. The uniformity of the pattern for both dragons also makes this an excellent project for crafting matching pairs.
Final Tip
The tutor details a special modification for the Toothless tail: to replicate his prosthetic fin, attach small strands of contrasting colored yarn (like red and black/green) into the second row of the crocheted tail piece and trim them to create a frayed look. You can then apply a small amount of clear nail polish to the tips of the strands to give them better shape and rigidity.


