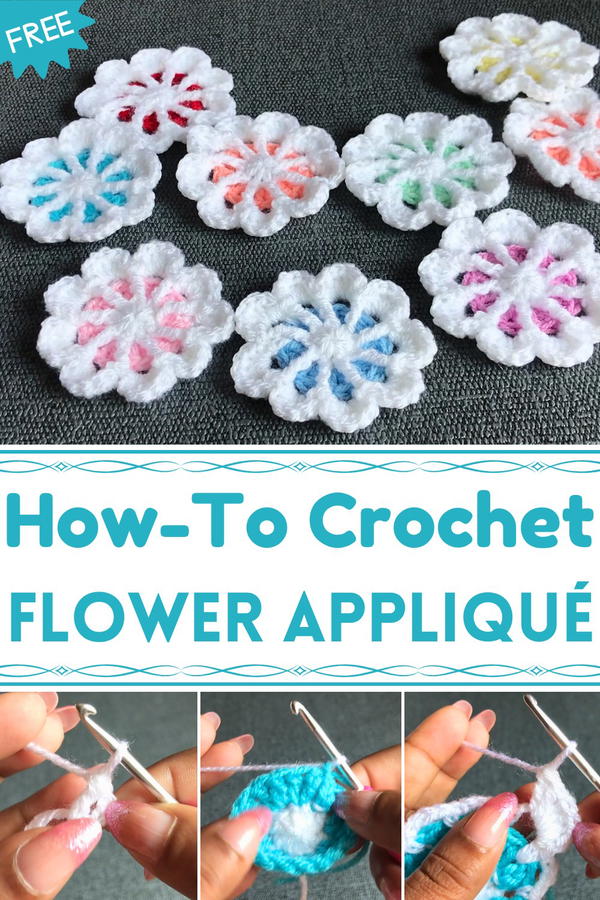
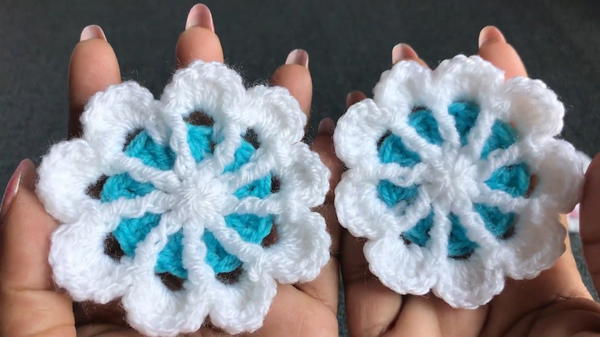
Bloom with creativity using this Free Crochet Flower Appliqué Pattern, a delicate handmade touch perfect for brightening any craft or accessory.
Adorable Crochet Flower Appliqué to Stitch Easily
Lightweight and flexible, these appliqués attach easily with minimal effort, allowing crafters to personalize gifts, garments, or accessories with a handmade flourish. The repetitive stitching process is both calming and rewarding, providing a creative outlet for beginners and seasoned crocheters alike. Beyond decoration, these flowers encourage thoughtful reuse of leftover yarn, turning small scraps into meaningful embellishments.
They also make heartfelt gifts on their own or as part of a larger handmade item, communicating care through every stitch. With endless options in color, size, and arrangement, each appliqué becomes a tiny expression of creativity and individuality. By combining tactile beauty, versatility, and functionality, this crochet flower adds charm and elegance to everyday items, celebrating the subtle joy of handcrafted detail while enhancing both personal projects and shared treasures.
Special Features:
- Simple stitches (magic ring, chain, single crochet, double crochet, slip stitch, treble crochet).
- Customizable design (petal count can vary based on initial stitches).
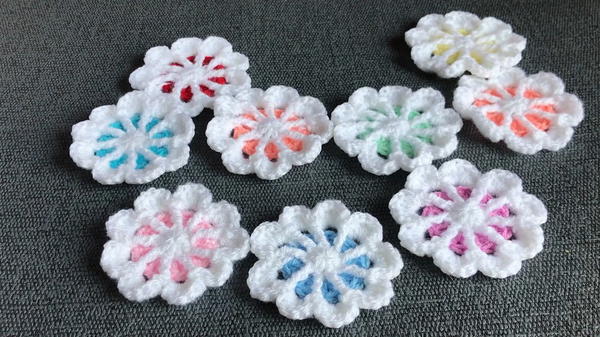
- Two-color design provides striking contrast.
Uses: This flower can serve as a decorative motif for baby clothes, blankets, headbands, hats, and other crochet projects.
Materials Needed
- Yarn:
- Main Color: For the base of the flower (white in the video).
- Secondary Color: For the petals (light blue in the video).
- Yarn Type: Double knitting yarn (DK) 100g = 330 meters.
- Amount needed: A small quantity of each color.
- Crochet Hook:
- Recommended size: 3.5mm (slightly smaller hook helps create compact, neat flowers).
- Scissors: For cutting yarn.
- Needle: For hiding yarn tails and finishing touches.
Step-by-Step Instructions
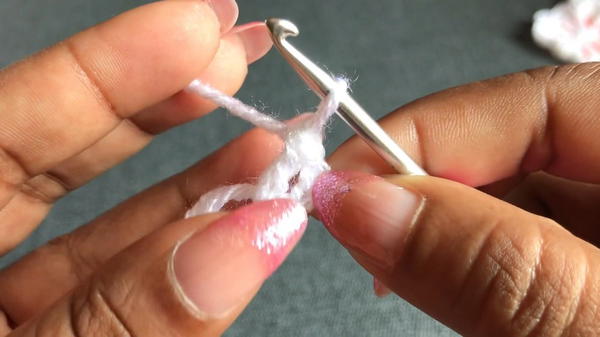
Step 1: Creating the Magic Ring
- Start with white yarn as the main color.
- Create a magic ring and chain 3 (counts as the first double crochet).
Step 2: Round 1 – Base Circle
- Into the magic ring, work 9 double crochets:
- After the first chain-3 (counts as one double crochet), crochet 8 more double crochets, making a total of 9 double crochets.
- Pull the tail of the magic ring to tighten the circle.
- Slip stitch into the top of the third chain to finish the round.
Step 3: Round 2 – Expanding the Circle
- Switch to the light blue yarn or your secondary color:
- Pull the secondary color yarn through the loop and hold the main color (white) to the back.
- Chain 3 (counts as the first stitch).
- Into each double crochet from Round 1, work 2 double crochets:
- Start with the chain-3 space and crochet 2 double crochets into the same stitch.
- Continue with 2 double crochets in each stitch from Round 1.
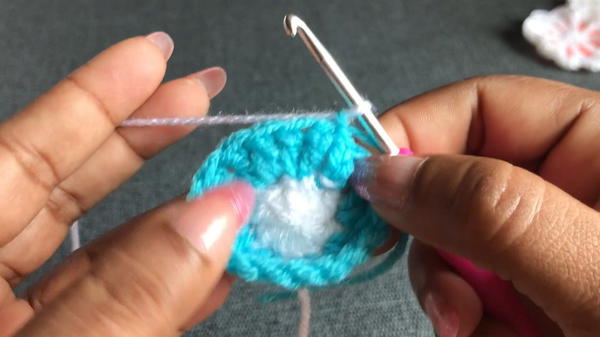
- By the end of this round, you will have 18 double crochets.
- Cut the secondary color yarn and secure it.
Step 4: Round 3 – Forming the Loops for the Petals
- Switch back to the white yarn.
- Identify the space between each pair of double crochets (from Round 2).
- Work as follows:
- Into the space between two double crochets, make a single crochet.
- Chain 4.
- Skip two double crochets and make another single crochet between the next pair of double crochets.
- Repeat this pattern (single crochet and chain 4) around the base.
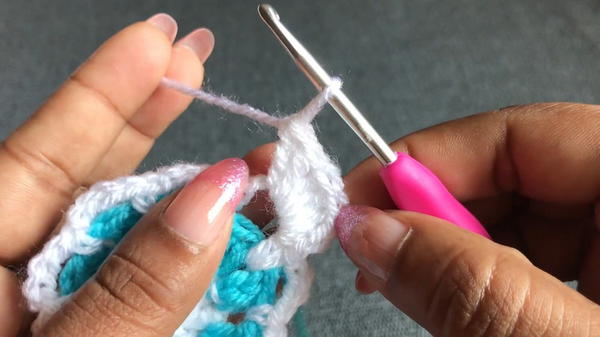
- At the end of the round, you should have 9 chain-4 loops.
Step 5: Round 4 – Creating the Petals
- Start with the first chain-4 loop and work the following:
- Single crochet into the chain space.
- 6 double crochets into the same chain space.
- End with another single crochet into the same space.
- Move to the next loop and repeat:
- Single crochet, 6 double crochets, single crochet.
- For each petal:
- Treble crochet into the corresponding double crochet from Round 1 to create a connection.
- Begin the next chain-loop with single crochet + 6 double crochets + single crochet.
- Continue this pattern until all 9 chain spaces are filled with petals.
Step 6: Finishing the Flower
- Once all the petals are complete:
- Slip stitch into the final single crochet space.
- Cut the yarn and weave in the ends using a needle.
- Hide the yarn tails securely to achieve a polished finish.
- Optionally, adjust the stitches to ensure all petals are evenly spaced.
Tutor’s Suggestions
- Choosing Yarn Colors: Use contrast colors for a striking design; the host recommends white for the main color and a second color to complement it. You can also experiment with more than two colors for a vibrant style.
- Hook Size: Smaller hooks (e.g., 3.5mm or less) result in tighter and smaller flowers, ideal for intricate projects.
- Petal Count: The number of petals can be adjusted by modifying the number of double crochets in Round 1.
- Project Ideas: These flowers are perfect for embellishing baby blankets, dresses, headbands, or even hair accessories.
Special Features
- Quick Project: Can be completed in under an hour.
- Customizable Petals: Adjust the petal count by modifying the base stitch count.
- Versatility: Can be used for a variety of crafts, from clothing to decor.
Conclusion
This easy crochet flower tutorial gives you a quick and satisfying project that’s great for beginners or experienced crocheters looking to add a decorative touch to their work. Whether you use it on baby blankets, accessories, or decor items, the flower adds a creative flair to any project. With its customizable design and easy-to-follow instructions, creating this flower is sure to be a fun and rewarding experience.
Tip
To ensure a polished finish, always hide the yarn tail in the same color section of your flower. This prevents the tail from showing through and keeps your project looking neat and professional.


