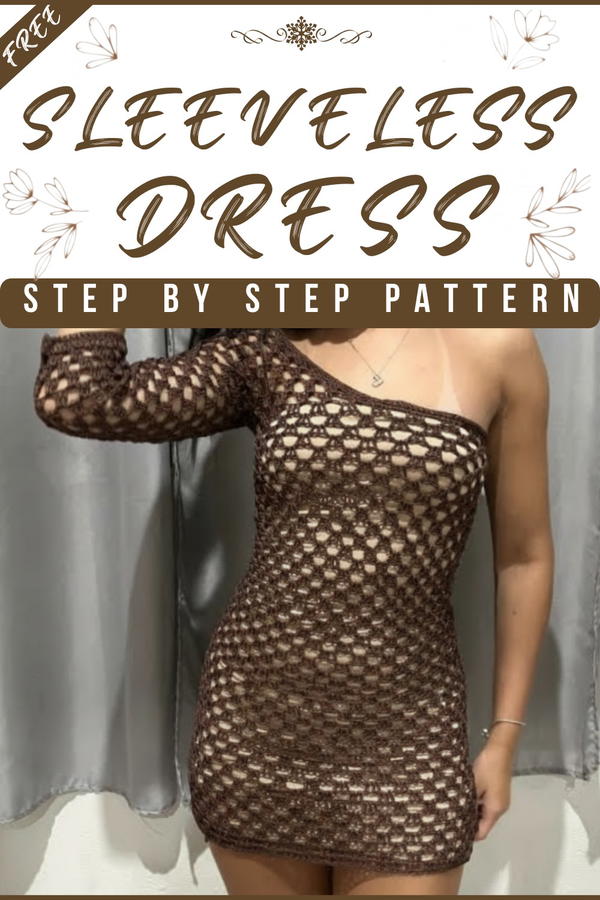
Slip into a fresh and airy crochet sleeveless dress that’s super comfy and stylish, perfect for warm days and turning heads wherever you go.
A warm sunny day when you want to wear something light, cool, and beautiful that lets you move freely and feel comfortable. This is where a sleeveless dress really shines. With the crochet sleeveless dress pattern, you can create a charming and delicate outfit that is perfect for summer or casual outings. The dress often features lovely open stitches that give it a light, airy feel, making it ideal for warm weather.
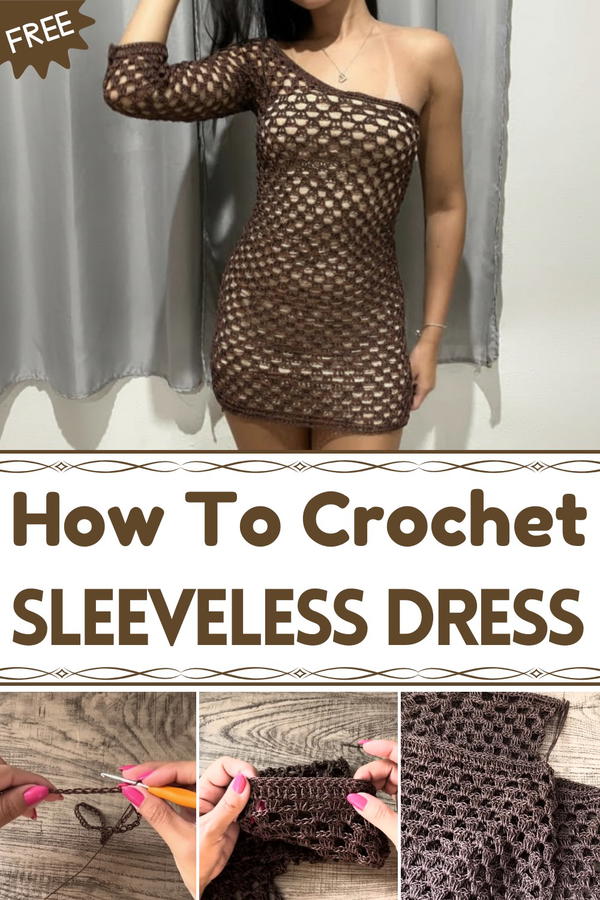
Bright & Breezy Crochet Sleeveless Dresses Pattern You’ll Want
Its soft texture feels gentle against your skin, and its unique handmade design adds a touch of style you won’t find in store-bought clothes. Whether you are dressing up for a picnic, a day at the beach, or a fun walk in the park, this dress pattern offers a graceful look with ease. Making your own dress also means you can choose colors you love, making it truly special and unique just for you.
Crochet Dress Pattern: Step-by-Step Guide
Special Features
- Made in a circular working style from the armhole downward.
- Adjustable skirt length - short or long as desired.
- Waist shaping with stitch count or needle size adjustments.
- Hip flare increases with fan stitches.
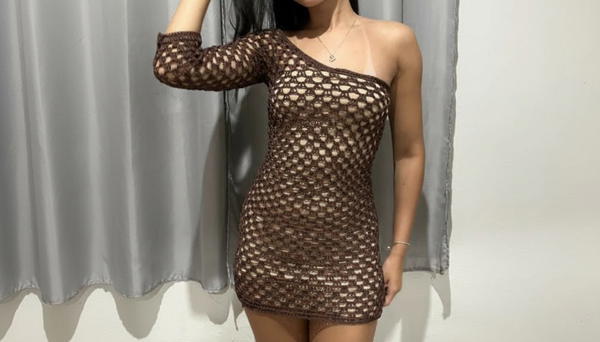
- One-shoulder (“mula manga”) top with front & back sections.
- Optional ¾ or long sleeve.
- Braided fringe embellishments.
Level of Difficulty: Beginner to Intermediate
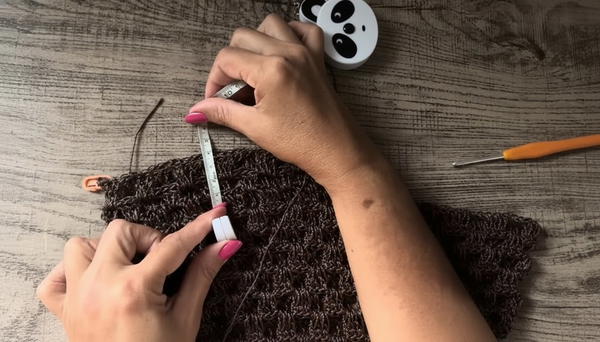
Tutor’s Suggestion: Use a measuring tape instead of fixed chain counts to customize to any size.
Materials
- 4 skeins of silky touch yarn (Brown 023, tex 288)
- Crochet hook size 3 mm (or 2 mm for tighter tension)
- Scissors
- Lighter (for sealing yarn ends)
- Stitch markers
- Measuring tape
Step-by-Step Pattern
Step 1: Measure & Prepare
- Use measuring tape to measure armhole circumference (e.g., 80 cm), waist, hips, shoulder to armhole, and desired sleeve length.
- Choose crochet needle size based on your tension.
- Separate yarn skeins (usually 3 skeins, 4 were used here).
- Gather tools like markers, scissors, lighter.
Step 2: Foundation Chain (Circular Starting Point)
- Leave a little yarn tail for finishing later.
- Make a multiple of 5 chains, here 80 cm total (approx. 115 chains).
- The initial loop chain is not counted as a stitch.

Step 3: Join Chain to Form Circle
- Join chain with slip stitch to first chain, avoid twisting.
- Chain 3 (counts as first treble crochet (high stitch)).
- Work 3 treble crochets (high stitches) into consecutive chains, then 2 chain stitches (space).
- Skip 2 chains, repeat clusters of 3 treble crochets followed by 2 chains around the chain ring.
- Join with a slip stitch to the top of the initial chain 3.

Tip: Keep tension even so the round lies flat and straight.
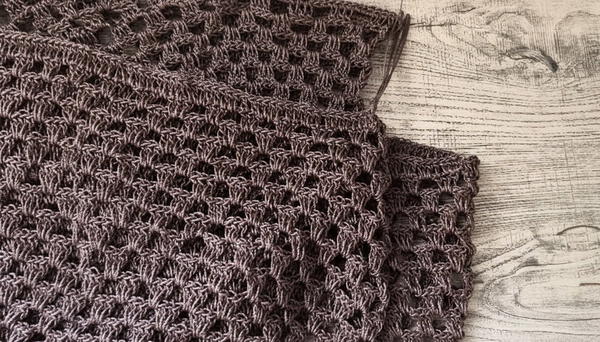
Step 4: Continue Circular Rows with Pattern
- Repeat the cluster pattern (3 treble crochet stitches, 2 chain spaces) throughout.
- When working near waist, you have two options to slim it down:
- Use only 1 chain stitch instead of two in the space to reduce circumference.
- Switch to a smaller needle (e.g., 2 mm) for 5–10 rows.
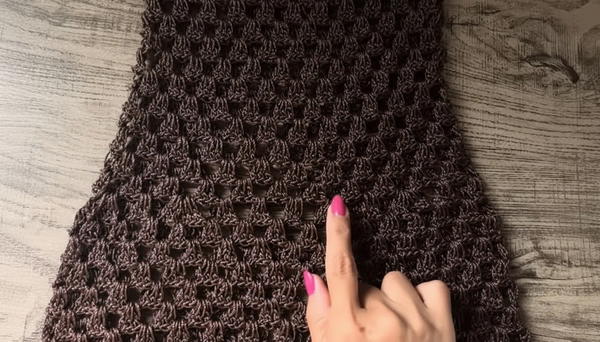
Note: Make increases near hips by making two clusters of 3 treble crochets separated by chains in one space (fan increase).
Step 5: Adjust Length & Width
- Continue working rows until desired skirt length (approx. 45 rows for size S).
- For hips, increase evenly spaced increments as described.
- For waist, reduce as explained.
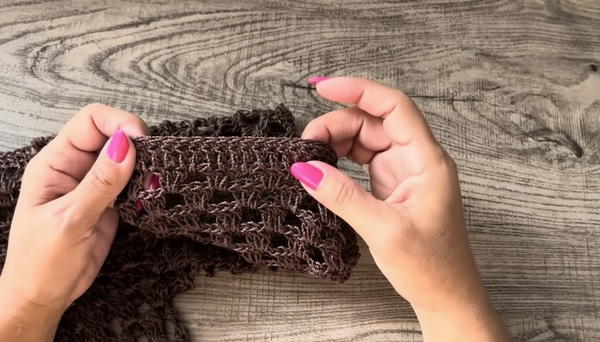
Step 6: Finish Skirt Bottom Edge
- For a neat hem, crochet 3 rows of single crochet stitches or leave as clusters.
- Cut yarn, finish off.
- Seal ends by fraying yarn tips and tying knots between stitches; burn ends carefully with lighter.
Step 7: Work Top (One Shoulder Design)
- Find center of the piece by folding and marking middle chain.
- Work only half of the skirt circle moving back and forth rows upward (about 15 cm from armhole to shoulder).
- Use same cluster stitch but gradually decrease width by:
- Skipping some clusters.
- Decreasing chain stitches in spaces.
- Optionally changing needle size.
- At shoulder height, finish with slip stitch.
Step 8: Sew Shoulder Seam
- Place right sides together inside out.
- Use yarn tail to sew shoulder seams with slip stitch or whip stitch between clusters.
- Secure tightly without puckering.
Step 9: Crochet Sleeves (¾ or Long)
- Start at armhole edge where chains were left free.
- Join yarn and chain 3 (counts as first treble crochet).
- Work clusters (3 treble crochets) separated by chains around armhole in the round.
- Continue working in rounds until sleeve reaches desired length (e.g., 50 cm).
- To fit narrower sleeves, reduce chain stitches in rounds or switch to smaller needle.
- Finish edge with 1 or 2 rows of single crochet.
- Sew sleeve seams if worked flat.
Step 10: Add Braided Fringe
- Cut strands of yarn approx. 10-13 cm long.
- Use 4 strands per fringe (8 if using thinner cord).
- Fold strands in half; use crochet hook or needle to pull fringe through the spaces between clusters along hemline.
- Tie or knot fringes securely.
- Trim fringe ends neatly.
- Seal the knots carefully with lighter (avoid burning yarn).
Final Touches & Tips
- Block your dress for best shaping.
- Adjust sleeve length or dress length to personal preference.
- Pair this dress with simple accessories for Carnival, parties, or summer outings.
- Use yarn leftovers for matching accessories or embroidery.
- Beginners: Practice clusters and chains before starting full dress.
Short Introduction
In this tutorial, you will learn how to crochet a versatile and stylish dress using silky touch yarn. Making use of basic crochet stitches like chains, treble crochet, slip stitch, and working in rounds and rows, you’ll be able to customize the dress length, waist shaping, and even add fringes for a fun, festive look suitable for Carnival or any special occasion.
Conclusion
Congratulations on making your beautiful handcrafted crochet dress! With simple yet elegant stitch patterns and customizable design, this dress can be tailored for any size and occasion. Remember to check your tension, take accurate measurements, and enjoy each step of creating your unique fashion piece. Stay tuned for more crochet tutorials and happy crocheting!
Helpful Tip:
Use a flexible measuring tape frequently to check the dimensions of your piece as you work. This will ensure a perfect fit regardless of size and prevent mistakes that could waste yarn.