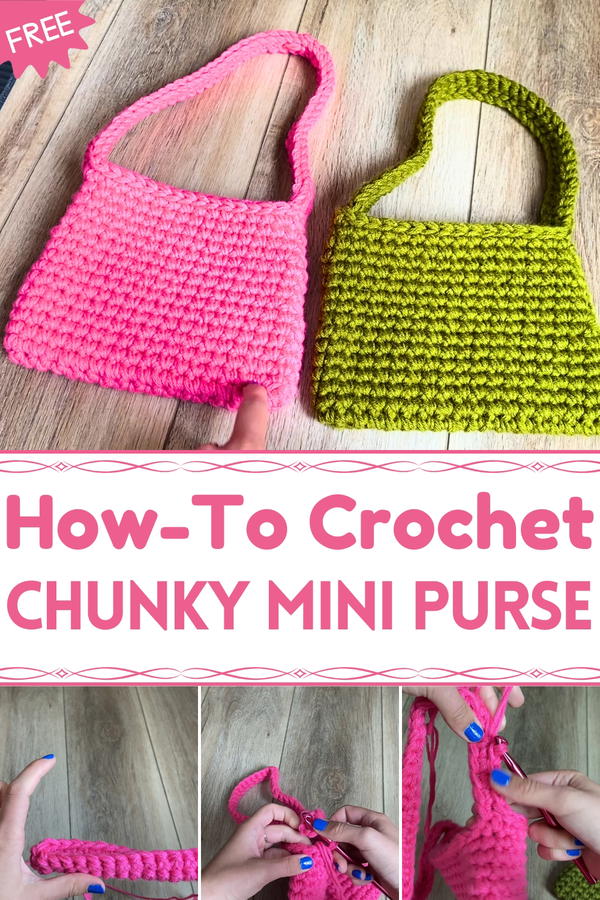
Elevate your look with this Crochet Mini Purse pattern, a timeless design that blends charm and function for everyday wear or special occasions.
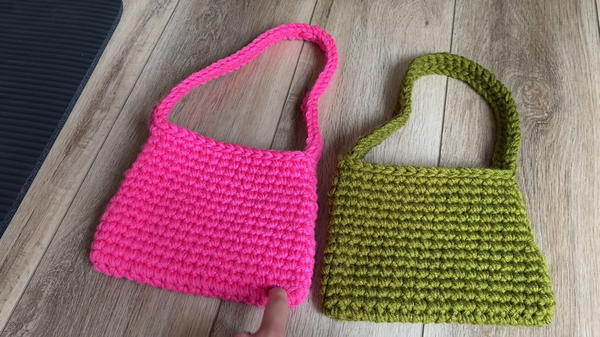
Accessories often carry stories of style and utility, turning ordinary routines into moments of expression. The Crochet Mini Purse pattern captures that balance gracefully, offering a piece that is both practical and charming. Its soft yet sturdy construction provides ample space for essentials such as keys, wallets, or phones, making it a reliable companion for daily use or special outings. The texture of yarn gives it a unique character, while the lightweight form ensures comfort when carried by hand or over the shoulder.
Aura Crochet Mini Purse for Minimal Looks
Versatility is one of its strongest qualities, as it pairs effortlessly with casual attire while also adding flair to more refined looks. Beyond fashion, the purse serves as a thoughtful handmade gift, appreciated for both its usefulness and individuality. Its durability ensures it lasts through repeated use, while its natural appeal sets it apart from mass-produced accessories.
Available in a variety of colors and styles, it allows personalization to match any taste or season. The Crochet Purse pattern is not simply a bag for carrying belongings—it is a timeless piece that combines elegance, function, and character, enhancing everyday life with beauty and dependability.
Materials Needed
To complete this project, you will need:
- Yarn: Regular skein of yarn (less than a full roll is needed).
- Crochet Hook: 8 mm hook to accommodate the chunky effect.
- Stitch Marker: For tracking stitches and rounds.
- Scissors: For cutting yarn at the end.
- Tapestry Needle: (Optional) For weaving in ends.
Step-by-Step Instructions
Step 1: Create Chunky Yarn
Prepare Three Strands:
- Lay out a long piece of yarn and fold it into three equal strands.
- Smush the strands together.
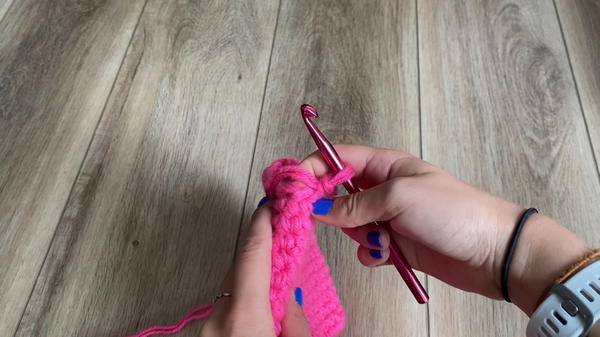
Make a Slip Knot:
- Create a slip knot using all three strands.
- Ensure the slip knot has three loops on top.
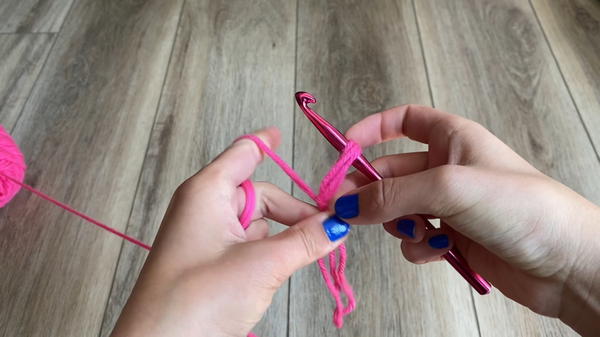
Establish Working Strands:
- Pull on the end of the yarn to make the loop smaller.
- You'll now work with three yarn strands to mimic chunky yarn.
2: Start the Base of the Purse
Form a Chain:
- Chain 18 stitches (or adjust for desired width).
- Add one more chain for turning—this does not count as a stitch.
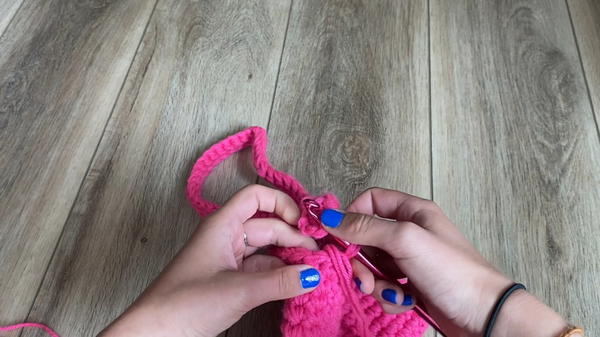
Single Crochet Across:
- Work one single crochet (SC) into each chain across, ensuring all three strands are used.
- When you run out of triple strands, pull working yarn through the loop to recreate three strands, and continue crocheting.
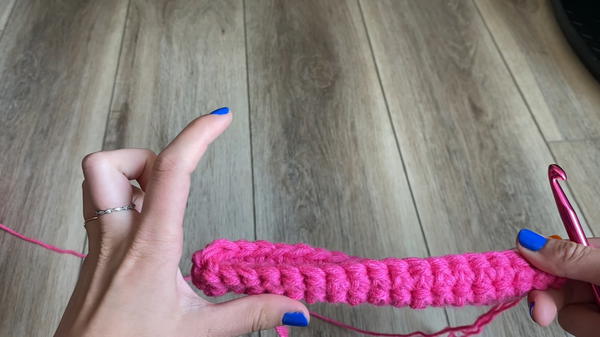
Turn the Corner:
- At the last stitch, make two single crochets in the same stitch.
- Work 18 single crochets down the opposite side of the chain to complete the oval base.
Join Ends:
- Ensure there are three single crochets in both the first and last stitches to complete the rounded ends.
- Count your stitches: total = chain length × 2 + 2 (e.g., 38 stitches for an initial chain of 18).
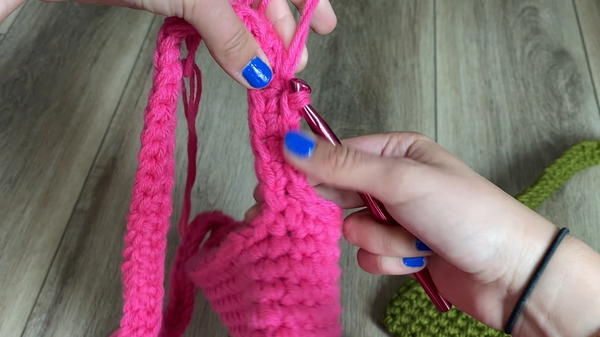
3: Build the Body of the Purse
Work in the Round:
- Use a stitch marker to track the first stitch and crochet continuously without slip-stitching between rounds.
- Make single crochets in every stitch around for several rounds, approximately 4-5 rows or as desired.
Decrease Rows:
- To shape the sides of the bag:
- Decrease at the corners by crocheting two single crochets together (SC2TOG).
- Crochet regular single stitches along the sides in between decreases.
- Repeat decrease rows with fewer stitches between corner decreases (e.g., 16 stitches for the next round).
- To shape the sides of the bag:
Adjust Height:
- Continue crocheting additional rows of single crochet until the bag reaches the desired height.
4: Add the Strap
Center the Strap:
- Find the center of the bag (a stitch that looks centered) for the strap placement.
- If you see two center stitches, follow the adjustment method described below.
Chain for Strap Length:
- Chain the number of stitches needed for your strap; the creator recommends around 50 chains for a shoulder strap.
Attach the Strap:
- Crochet single stitches back into the chain until you return to the base of the bag.
- Place the final single crochet into the same center stitch to secure the strap.
Slip Stitch Across:
- Slip stitch across to the opposite side of the purse and repeat the strap attachment process.
- Create seamless straps by pulling yarn through from the back of the strap to the base of the purse.
5: Finish Up
Add Final Slip Stitches:
- Slip stitch along the straps’ edges to create a polished finish.
Weave in Ends:
- Cut the yarn and use a tapestry needle to weave in the loose ends.
- For a clean look, separate the yarn into three strands and hide them in different areas of the bag.
Special Features
- Chunky Yarn Effect: This technique turns regular yarn into chunky yarn, saving you from purchasing specific materials.
- Quick Project: The entire purse can be completed in approximately 40 minutes.
- Firm Structure: The three-strand method creates a durable bag that doesn’t require lining.
- Customizable: Easily adjust the size or strap length to suit your preferences.
- Beginner-Friendly: Uses basic crochet techniques like single crochet, chains, and slip stitches.
Level of Difficulty
Beginner-Friendly: The pattern is suitable for beginners and uses only basic stitches. It’s an excellent project for learning how to manipulate yarn strands effectively and crochet in the round.
Tutor’s Suggestions
- Use Stitch Markers: Place a stitch marker in the first stitch of each round to avoid losing track.
- Test Strap Placement: Ensure the strap is centered by trying different methods (one center stitch placement or spanning two stitches).
- Adjust Width: Feel free to modify the chain length for wider or narrower bags.
- Practice: If you're new, take a moment to get comfortable with pulling yarn through loops to recreate three strands.
Uses and Benefits
- Fashion Accessory: Perfect for pairing with outfits or as a handmade gift.
- Reusable Bag: Use it for carrying small items like phones, wallets, and makeup.
- Crafting Practice: A great project for practicing basic crochet techniques and creating functional pieces.
Tip
When recreating the triple strand yarn, pull out a long section in advance to avoid frequently pausing while crocheting. This ensures a smoother flow as you work through the pattern.
Conclusion
This Mini Purse Crochet pattern empowers you to create a cute, functional purse using regular yarn and basic crochet stitches. With its quick completion time and beginner-friendly instructions, it’s a satisfying project with room for customization. Whether you’re making it for yourself, gifting it, or experimenting with colors, this pattern is sure to unlock your creativity.


