Freshen up your table with this Free Crochet Carrot Coaster Pattern, adding playful charm and handmade coziness to your home instantly.
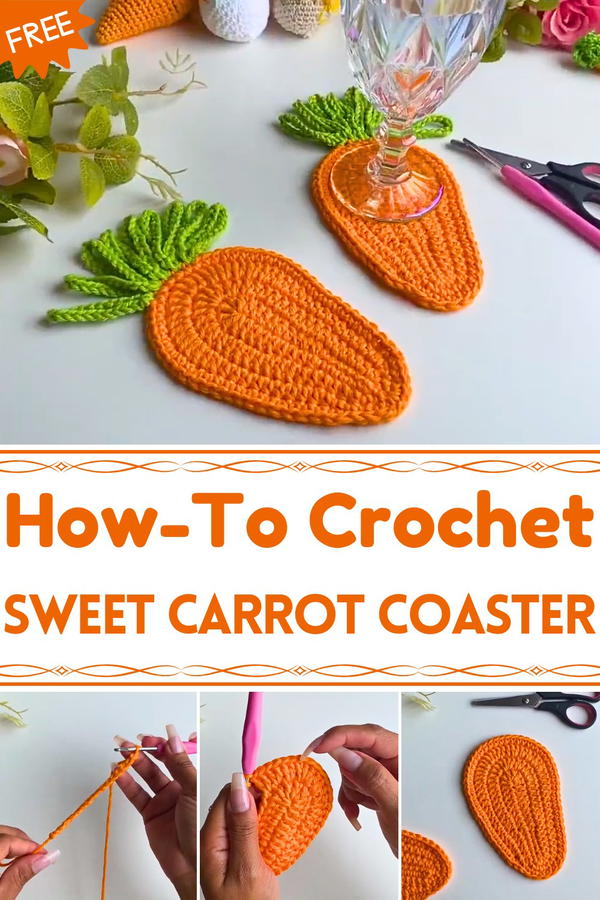
Its appeal lies in the lively colors and gentle texture, which create a fun, inviting look that complements casual or seasonal table settings. The specialty of this project is its versatility, it can be crocheted individually or as part of a set, and it fits seamlessly into both everyday use and festive occasions such as Easter or spring gatherings. Lightweight, durable, and easy to clean, these coasters provide long-lasting function without sacrificing style.
Beyond protecting surfaces, they serve as conversation starters or thoughtful handmade gifts. With simple shapes and approachable techniques, this project offers satisfaction to crocheters of all levels. Combining practicality, charm, and cheerful detail, these carrot coasters turn a simple table accessory into a delightful accent that brightens daily routines and adds warmth to any home setting.

Materials Needed
- Yarn:
- 100% cotton yarn in carrot orange (main body).
- 100% cotton yarn in avocado green (stem leaves).
- Hook Size: 3.5mm crochet hook.
- Additional Tools:
- Scissors
- A yarn needle for weaving in ends
Special Features
- Seasonal Charm: Specifically styled for Easter or spring decorating.
- Dual Purpose: Use as decor or as coasters to protect your table surface.
- Beginner-Friendly Techniques: Includes key crochet stitches like the magic ring, single crochet, half double crochet, double crochet, and simple increases.
- Customizable Size: Adjust the number of rows or stitches to change the size of the coaster.
Level of Difficulty
This project is classified as easy to beginner-friendly. It is ideal for those learning to transition between basic stitches and patterns. Though simple in design, you’ll practice working in the round and incorporating increases for shaping.
Tutor's Suggestions
- Use soft, high-quality cotton yarn to ensure the coaster is absorbent and durable.
- Hide excess yarn while working to save time on weaving in ends later.
- For beginners, practice the magic ring technique before beginning the project.
- Take your time with the green “stem” to ensure balance and alignment with the orange base.
Step-by-Step Instructions
Part 1: Creating the Base of the Carrot
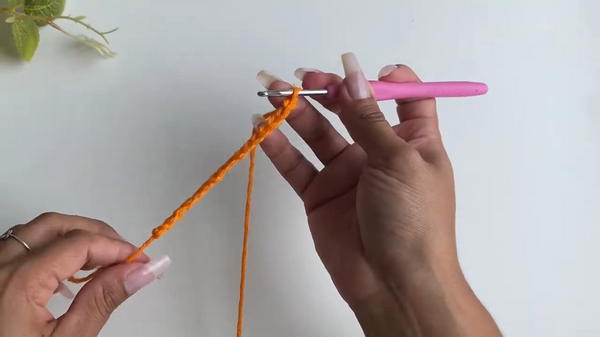
Magic Ring and Chains
- Start with a magic ring and secure it on your hook.
- Create 16 chains.
Work the First Side
- Skip the first chain and begin working into the second chain from the hook:
- 6 Single Crochets (SC) in the next 6 stitches.
- 4 Half Double Crochets (HDC) in the following 4 stitches.
- 5 Double Crochets (DC) in the next 5 stitches.
- In the final stitch, make 7 Double Crochets (DC). This step creates the rounded edge of the carrot base.
- Skip the first chain and begin working into the second chain from the hook:
Work the Opposite Side
- Continue along the bottom side of your original chain:
- 4 Half Double Crochets (HDC) in the next 4 stitches.
- 6 Single Crochets (SC) in the last 6 stitches.
- Continue along the bottom side of your original chain:
Closing the Round
- Join with a slip stitch in the first stitch. Proceed to the second row.
- Join with a slip stitch in the first stitch. Proceed to the second row.
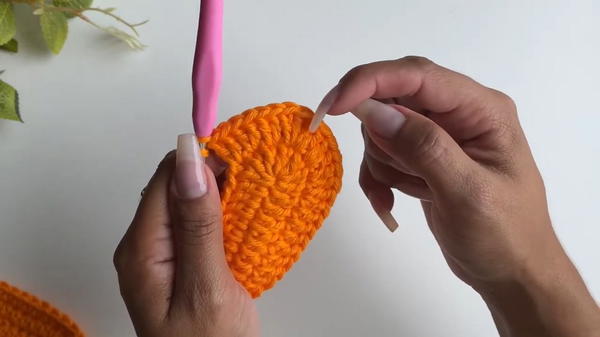
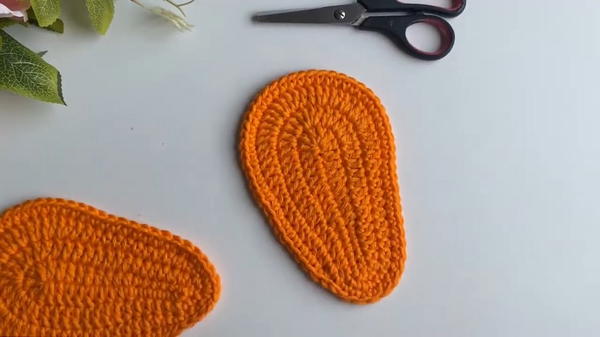
Part 2: Shaping the Carrot (Second Row)
- Start the next row with 6 Half Double Crochets in a row.
- Work Double Crochets (DC) until reaching the group of 7 Double Crochets from the previous round.
- At the first of these stitches:
- Make 3 increases (Two DC in the same stitch).
- In the next stitch, make two increases in a single space (total of 4 Double Crochets in one stitch).
- Continue by repeating the pattern of single increases and standard stitches along both sides.
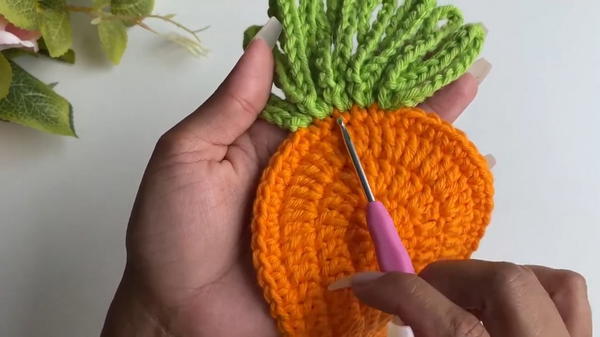
Part 3: Adding the Green Stem
Positioning the Green Yarn
- Identify the middle stitches at the base of the carrot (where the green top will go). Attach the green yarn at the desired spot.
- To create balance, use 5–6 stitches from the base.
Creating the Stalks
- For each stalk of the green leaves:
- Go up 20 chains.
- Return to the starting stitch and secure with a single crochet (SC).
- Repeat this process 5–6 times to create the full set of leaves. Each leaf should look evenly spaced.
- For each stalk of the green leaves:
Finishing the Green Leaves
- Secure and weave in the green yarn ends to ensure the leaves are tight and evenly aligned.
Conclusion
The crochet carrot coaster is a delightful, beginner-friendly project that showcases the joy of handmade creativity. Whether used as seasonal decor or practical tableware, the coaster serves as both a functional and decorative piece. With its vibrant colors and charming design, the carrot coaster makes a lovely handmade gift or a unique addition to your craft stall inventory.
Bonus Tip
Make several coasters at once by following the same steps, and adjust the leaf count for added variety. When gifting or selling, package the coasters with a cute ribbon and a handwritten tag for a personal touch!


