Wrap yourself in elegance with this Free Crochet Mesh Shawl Pattern, a light and airy project that adds delicate charm, comfort, and handmade beauty to any outfit.
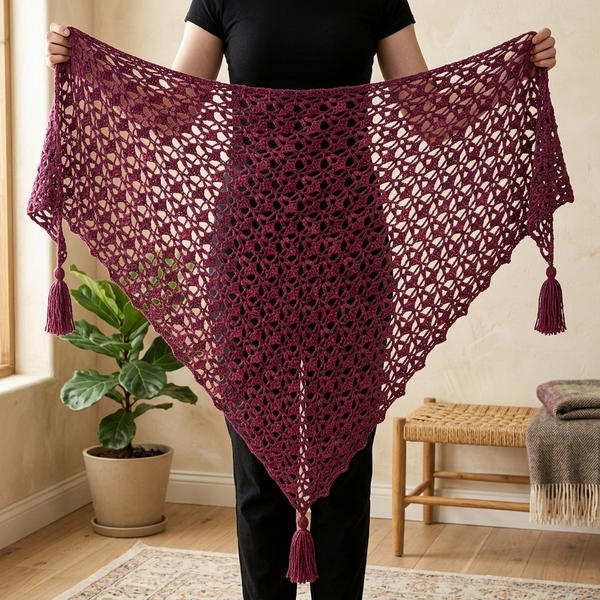
If a piece of yarn can turn into something light and beautiful, this free crochet mesh shawl pattern shows how. The open, airy loops create a delicate, lace-like fabric that drapes softly over the shoulders. It can keep a little warmth on cool evenings or add a gentle touch to any outfit. The lightweight texture makes it easy to wear and carry, while the flowing design adds elegance to simple clothes.
Mesh Shawl Pattern Free Crochet Pattern Trendy Wrap
The pattern is easy to follow, so anyone can make a handmade shawl with just yarn and a hook. It can be layered over dresses, tops, or jackets, instantly making plain clothes look special. Soft to touch and graceful in appearance, this shawl is both practical and charming, turning simple yarn into a beautiful piece that combines usefulness with handmade artistry.
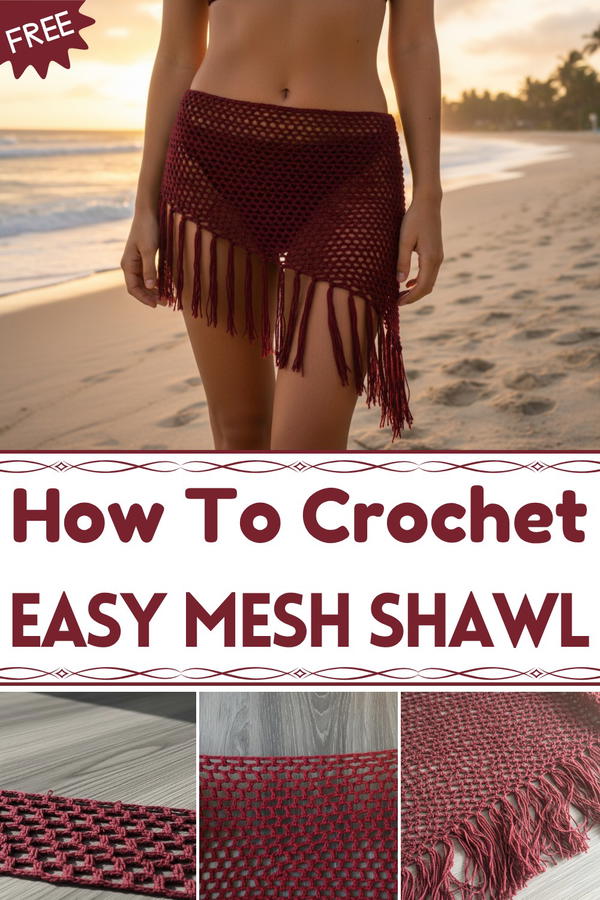
Crocheted Mesh Bikini Cover-Up/Shawl Pattern
Materials Required
To complete this project, gather the following tools and supplies:
- Yarn: Brown medium-weight yarn (worsted weight, 4-ply suggested). Exact yarn amount will depend on your chosen size and customizations.
- Crochet Hook: Suitable for the yarn weight (recommended size: 5mm or as per your preference).
- Scissors: For cutting the yarn.
- Tape Measure: For ensuring accurate measurements.
- Darning Needle: For weaving in the ends.
Gauge
For this pattern, gauge is not critical; however, as a starting reference:
- Gauge Example: 4 mesh squares (width) and 4 mesh squares (height) equal approximately 4 inches.
Test a swatch with 6 rows of the mesh pattern to ensure desired texture and size.
Finished Size
- Width: 33 inches (adjustable based on your chain).
- Length: Slightly depends on the number of mesh rows and decreases but should taper into a triangle.
You can customize the size by increasing or decreasing the initial chain or rows.
Tips for Customization
- Size Adjustments: Add or subtract to the initial chain length to modify the width. Adjust the number of rows to create a shorter or longer cover-up.
- Color Options: Use any color or variegated yarn for a unique look.
- Fringes: Add more or fewer fringe ties depending on desired aesthetic or use beads for embellishment.
- String Length: Modify the string length for a comfortable fit.
Pattern Instructions
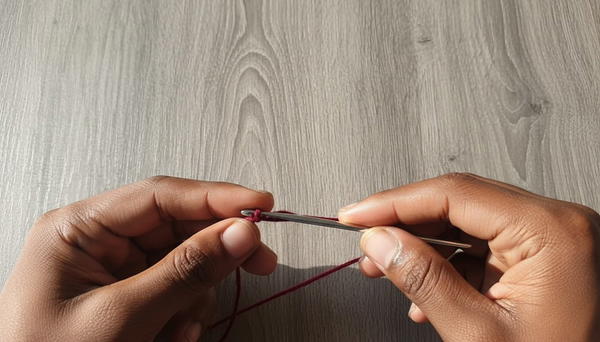
Base Chain
- Start by creating a slipknot.
- Using your crochet hook, chain for a total length of 33 inches (adjustable for desired size).
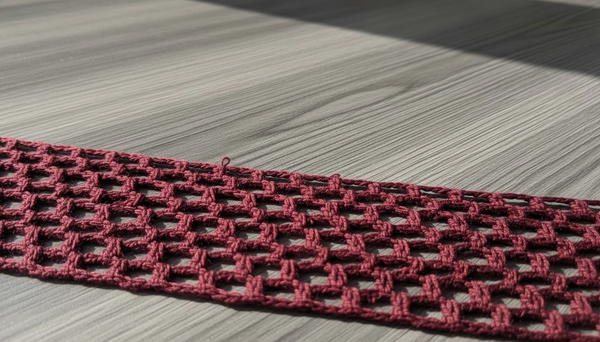
Mesh Pattern (Main Body)
First Row:
- Chain 6.
- Yarn over, skip 2 chains, and place a double crochet (dc) in the third chain.
- Chain 3, yarn over, skip 2 chains, and place a double crochet in the next chain.
- Repeat this pattern (chain 3, skip 2 chains, dc) across the row.
At the end of the row, chain 6, turn your work, and continue to the next row.
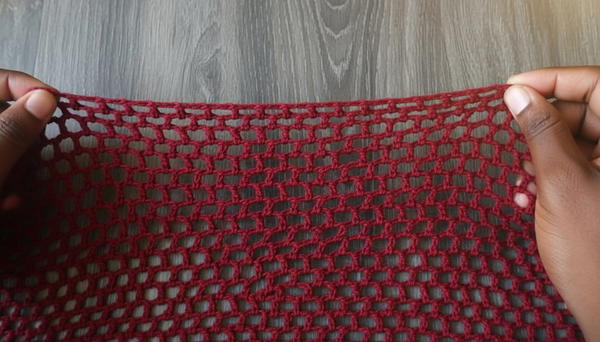
Second to Eighth Rows:
- Continue the mesh pattern by chaining 6 at the start of the row. Skip the first mesh below and place a double crochet in the first mesh space.
- Chain 3, yarn over, and place a double crochet in the next mesh space.
- Repeat the mesh pattern until the end of each row.
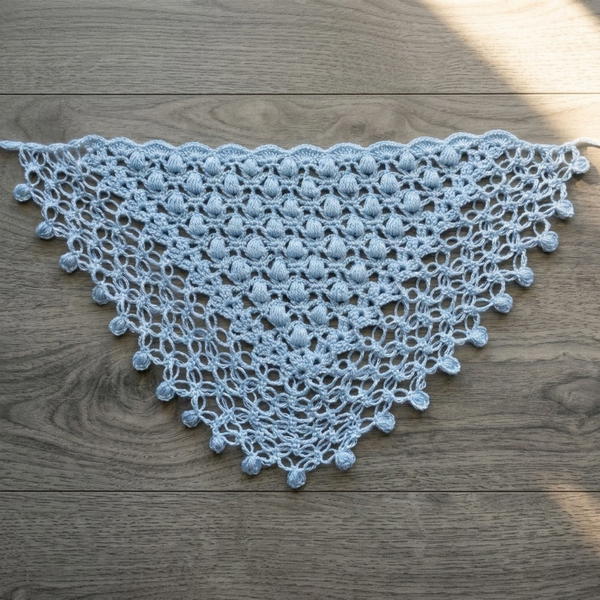
At the end of the eighth row, your mesh should form a rectangular shape.
Decreasing (Shaping the Triangle)
Begin the decrease to create a triangle shape:
- Yarn over and skip one mesh space at the start of the row, placing a double crochet in the next mesh space.
- Continue the mesh pattern as usual (chain 3, dc in mesh space).
At the end of the row, decrease by skipping one mesh space and placing a dc after it.
Repeat the decrease at both ends of the rows in each subsequent row until you have a single mesh space left at the top.
- As you continue decreasing, the cover-up should take on a triangular shape.
- As you continue decreasing, the cover-up should take on a triangular shape.
For the last mesh:
- Chain 6 and place one double crochet in the last mesh.
Create a slip knot at the end to fasten off and secure the end tightly.
Adding Edging (Optional):
- Work single crochets evenly across the edges of the triangle to give it a clean, polished look.
- Start from one corner and work single crochets along the sides and base of the triangle, ending where you started.
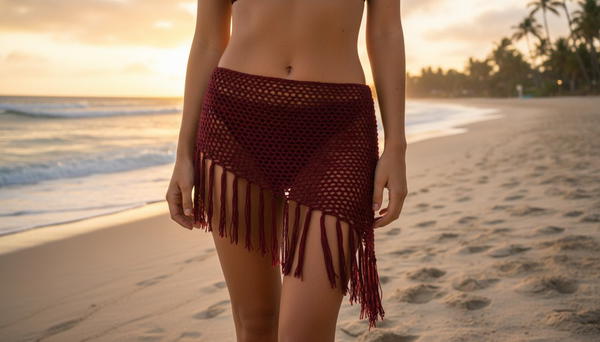
Tying Strings
- Cut a length of yarn long enough to tie around your waist comfortably.
- Fold the yarn in half and pull the loop through a corner of the triangle to create a tie. Make a slip knot or secure in place with a simple knot.
- Repeat this process for the other corner.
Attaching the Fringe
- Cut equal-length pieces of yarn (approximately 8–10 inches) for the fringe.
- Fold one fringe piece in half. Insert your crochet hook into the base mesh at the edge of the triangle and pull the loop end through.
- Pull the yarn ends through the loop to make a slip knot securing the fringe.
- Repeat along the base edge, spacing fringe pieces as desired.
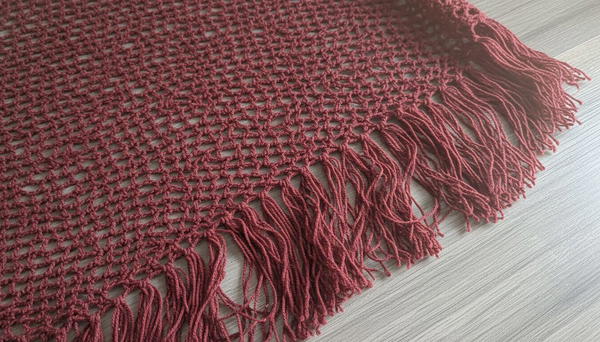
Conclusion
Once all fringe and strings are attached, your crocheted mesh triangle cover-up is complete! This piece can be used as a chic bikini cover-up or stylish shawl.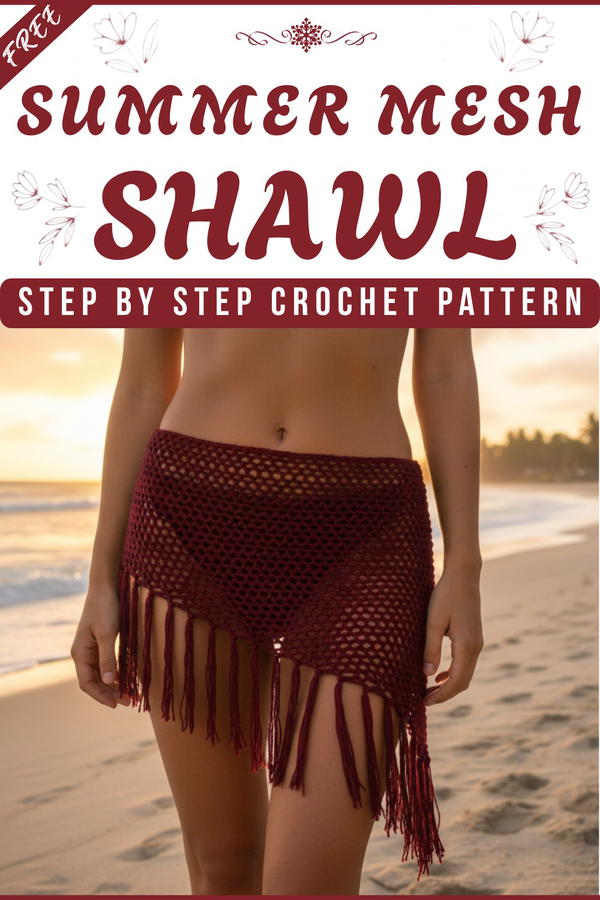
Final Remarks:
- Care Instructions: Wash gently by hand or on a delicate machine cycle. Lay flat to dry to maintain the shape of the mesh.
- Experiment with variations by adding beads, ribbons, or contrasting yarn colors. Create multiple for gifting or mix them into your summer wardrobe.