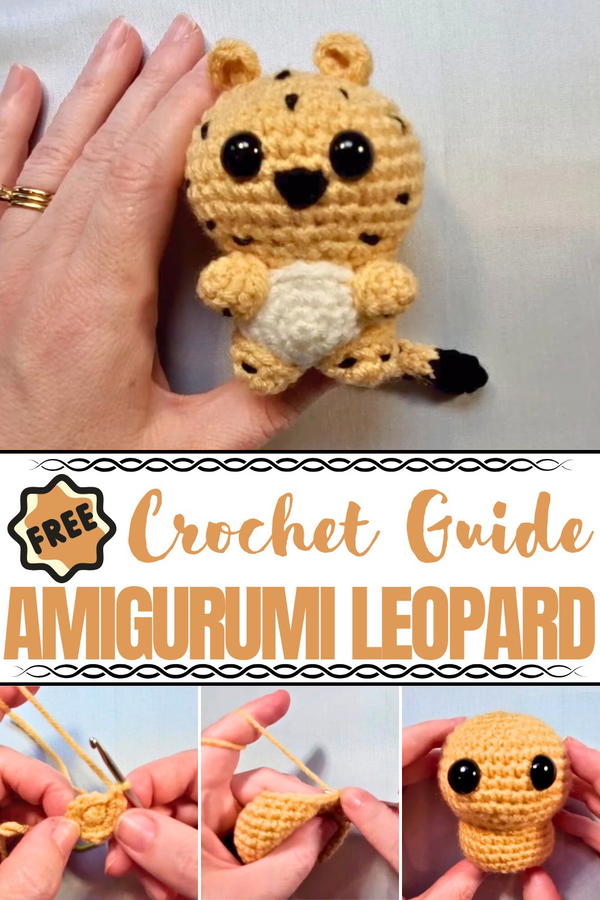
Bring wild charm to your hands with this Free Crochet Amigurumi Leopard Pattern made for adorable gifts soft toy décor and playful display in any space.
Few animals spark as much awe as the leopard, with its signature spots, confident stride, and untamed spirit. Translating that into a soft and huggable form turns wild strength into adorable charm. The Free Crochet Amigurumi Leopard Pattern lets you shape that magic with your own hands, capturing the playful side of this fierce feline. With its compact size and thoughtfully shaped body, this plush toy is perfect for little hands, heartfelt gifts, or simply adding a splash of safari style to your shelves.
Adorable Must-Try Free Crochet Amigurumi Leopard Pattern - FREE
Its endearing expression, textured spots, and gentle form make it both visually delightful and emotionally comforting. Whether you’re surprising a child with a snuggly friend or decorating a themed corner, this piece brings a personal and playful touch.
The pattern works up with minimal yarn but delivers big impact, making it both budget-friendly and full of personality. Soft to the touch and sturdy in shape, it offers lasting appeal and gentle charm. From playrooms to gift boxes, this leopard is ready to win hearts. Each completed stitch adds warmth and style to a creation that blends fun with function, offering joy to both the maker and the one lucky enough to keep it.
Step-by-Step Guide to Crochet a Leopard
Materials Required
To complete this project, ensure you have the following:
- Yarn: Golden yellow, black, and white (for the belly area).
- Crochet Hook: Size 3.25mm.
- Tools: Pair of scissors, safety eyes, stitch marker, yarn needle.
- Stuffing: Polyfill to provide shape and structure.
Level of Difficulty
The difficulty level for this project is beginner to intermediate. The use of basic stitches like single crochet (sc), magic ring, increase, and invisible decrease makes it accessible for beginners while offering a fun challenge with its assembly and the addition of intricate details.
Step-by-Step Instructions
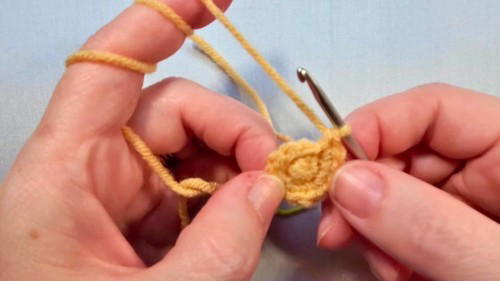
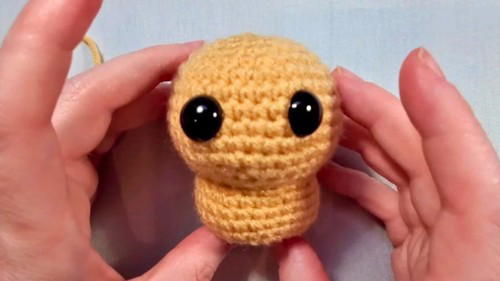
1. Crochet the Head and Body
- Rounds 1-6: Start with a magic ring (6 sc), increase each round consistently until reaching 36 stitches.
- Rounds 7-11: Crochet one single crochet stitch in each of the 36 stitches.
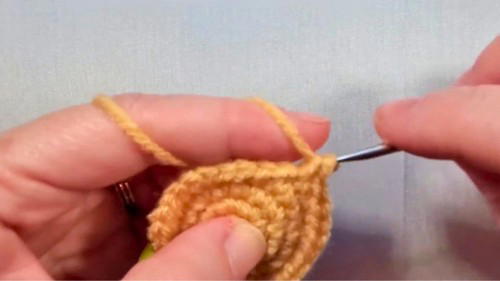
- Round 12-23: Gradually decrease from 36 stitches to 6, stuffing and shaping as you crochet.
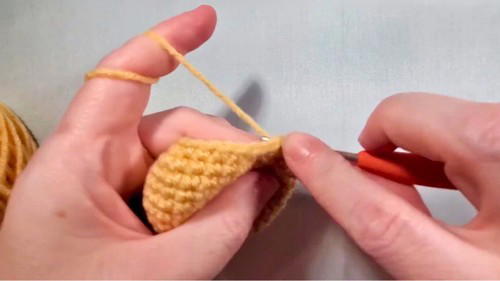
- Finish: Sew the end closed using a yarn needle for a smooth, rounded finish.
2. Create the Belly Area
- Use white yarn to crochet the flat belly separately.
- Start with 4 sc in a magic ring, and increase by following the rounds to reach 15 stitches.
- Leave a tail to sew it securely onto the body, centered between the eyes.
3. Make and Attach the Arms
- Crochet two arms by making 4 sc into a magic ring, increasing to 8 stitches, and single crocheting around for three rounds.
- Attach the arms to the body under the head, slightly overlapping the belly area.
4. Create and Attach the Legs
- Crochet two legs by starting with 5 sc in a magic ring, increasing to 10 stitches, and single crocheting around for three rounds.
- Attach at the bottom curve of the body over the belly area.
5. Crochet the Ears
- Create rounded ears using a magic ring (6 sc), followed by one row of 6 sc worked back and forth.
- Flatten the ears slightly for a curved look, then sew onto the head near the magic ring stitches.
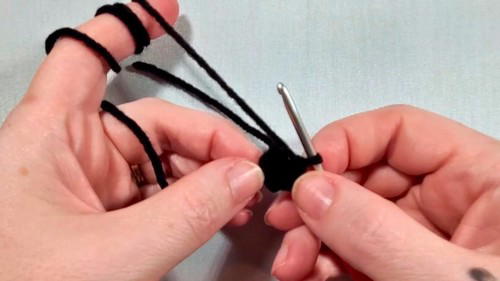
6. Assemble the Tail
- Begin with black yarn and a magic ring (5 sc). Crochet rounds in black before transitioning to yellow.
- Follow through using consistent single crochet until the tail reaches your desired length (rounds 6-12).
- Attach the tail to the back of the leopard's body.
7. Add Facial Features
- Nose: Stitch a small black triangle below the eyes.
- Whiskers: Add whiskers near the corners of the eyes using black yarn. Skip one stitch between stitches for spacing.
- Cheeks and Ears: Add blush accents using pink yarn or Dollar Tree blush makeup for soft detailing.
8. Leopard Spots
- Use black yarn to add spots all over the leopard’s body, tail, and optionally the ears. Each spot is created by stitching between two stitches.
Special Features
- Customizable size and detail level.
- Safety eyes give the leopard a polished, playful look.
- Unique spots allow personalization of the leopard’s design.
- Option to use felt or embroidery for the eyes for child-friendly versions.
Tutor's Suggestions
- Take breaks during repetitive stitch rounds for better focus.
- Safety eyes are recommended for display-only items or older children’s toys—alternatives like felt or embroidery ensure safety for younger children.
- Stuff the body in stages to evenly distribute polyfill and maintain shape.
- Consider adding pink accents on the ears and cheeks for added personality.
Uses
This crocheted leopard makes a thoughtful gift for children, a whimsical décor piece, or a unique handmade collectible. Its compact design allows it to fit easily on shelves or desks for display.
A Helpful Tip
When making the tail, try leaving it without stuffing to keep it flexible for posing. You can bend it slightly for a more lively appearance that adds charm to your finished leopard.
Conclusion
Crocheting this leopard is a delightful project for any crochet enthusiast, combining basic stitches with creative customization. From choosing the placement of spots to adding accents like blush or whiskers, the pattern enables you to create a piece that reflects your unique style.


