Enhance your style with this Free Crochet Bow Hairclip Pattern, bringing playful elegance, color, and a charming accent to any hairstyle.
Accessories have always played a key role in personal style, adding charm and personality to even the simplest outfits. Small touches, such as bows, can transform a hairstyle, making it look polished, playful, or whimsical depending on the context. The Free Crochet Bow Hairclip Pattern allows crafters to create delicate, handcrafted bows that can be attached to clips, instantly enhancing hairstyles for both children and adults.
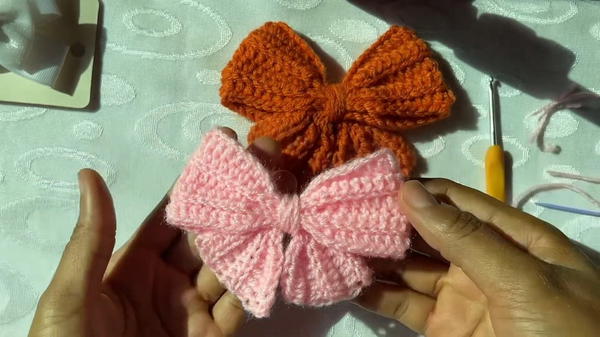
Cute Crochet Bow Hairclip Pattern for Trendy Hairstyles

Its soft texture ensures comfort against the hair while maintaining a secure hold, making it suitable for everyday wear, parties, or special occasions. Beyond its visual appeal, the project encourages focus, precision, and attention to detail, providing a rewarding crocheting experience. The versatility of yarn and stitch techniques allows for customization in color, size, and style, giving each bow a unique personality.
These hairclips can also serve as thoughtful handmade gifts, decorative accents for clothing, or additions to accessory collections. Lightweight yet durable, they withstand repeated use while retaining shape and charm. Each finished piece combines functionality with elegance, offering a stylish, practical, and personalized accessory. By turning simple materials into a refined and playful accent, this crochet bow hairclip brings creativity, beauty, and utility together in a small but impactful form.
Special Features
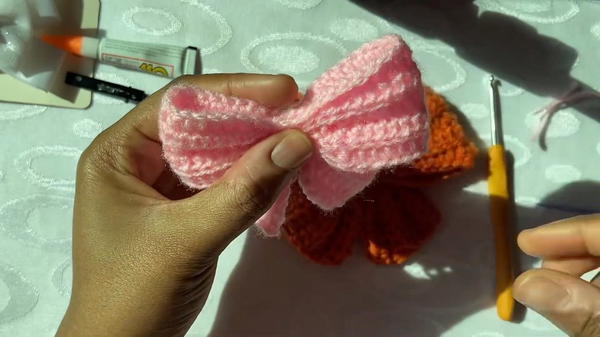
- Textured Design: The combination of half double crochets and slip stitches creates a unique texture that gives the bow its distinctive look.
- Easy Assembly: The bow is tied at the center for shaping, and the clip is attached with glue, making it simple to assemble.
- Customizable: You can use different yarn colors or clip types to match your preferences or an outfit.
- Versatility: This clip can be gifted, sold, or worn daily as a stylish hair accessory.
Materials
To complete this project, you’ll need the following:
- Yarn: Approximately 50g of acrylic yarn (enough for one bow).
- Crochet Hook: A 3mm crochet hook.
- Darning Needle: For weaving in ends and tightening the bow's center.
- Clip: A clip or barrette, which can be bought or repurposed from an old clip.
- Glue: Super glue or a glue gun to attach the bow to the clip.
Level of Difficulty
Beginner-Friendly: The tutorial is accessible for beginners who have mastered the basic crochet stitches such as the slip knot, chain, half double crochet, and slip stitch. The project involves straightforward repetition, making it perfect for those new to crocheting accessories.
Step-by-Step Instructions
1. Creating the Bow Base
- Start with a slip knot on your hook.

- Chain 63 + 1 (for a total of 64 chains). This will create the base length for the bow.
- Work Row 1:
- Starting from the second chain from the hook, make 6 half double crochets.
- Follow this with 6 slip stitches.
- Next, make 16 half double crochets, then 6 slip stitches, and 16 half double crochets again.
- Finish the row with 6 slip stitches and 6 half double crochets.

2. Working Row 2
- Chain 1 and turn your work.
- Repeat the pattern from Row 1, but this time, make all the stitches in the back loops only. This creates texture and definition in the bow design.
- 6 half double crochets (back loop only).
- 6 slip stitches (back loop only).
- 16 half double crochets (back loop only).
- 6 slip stitches (back loop only).
- 16 half double crochets (back loop only).
- End with 6 slip stitches and 6 half double crochets (back loop only).
3. Rows 3–5
- Repeat the steps in Row 2 for Rows 3, 4, and 5, always working into the back loops to maintain the texture.
4. Finishing the Bow Base
- After completing 5 rows, cut the yarn and tighten the last stitch.
- Use the darning needle to weave the loose yarn ends neatly into the work.
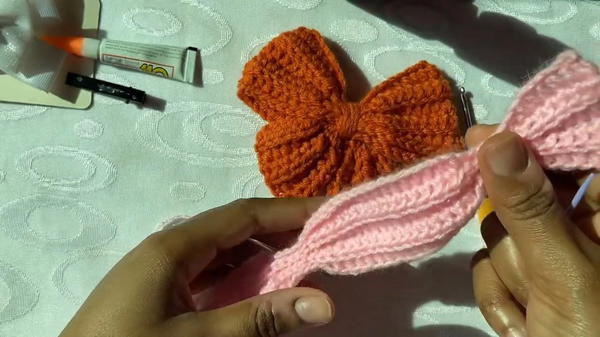
5. Shaping the Bow
- Identify the midpoint of the bow base (where the 6 slip stitches segment lies in the middle).
- Fold the bow base in half, ensuring symmetry.
- Take an extra piece of yarn and tightly wrap it around the center of the bow several times to secure the shape. Tie a knot at the back.
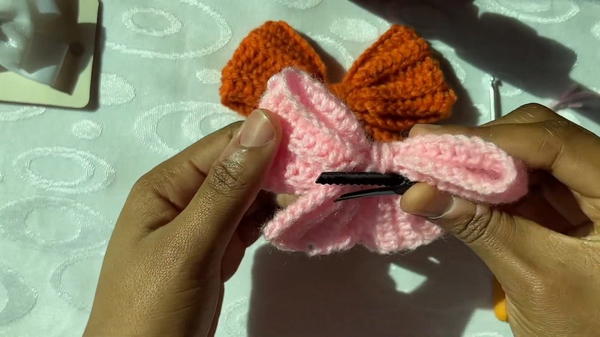
6. Attaching the Clip
- Remove the clip from its base (if using a repurposed clip).
- Apply glue (super glue or glue gun) to the back of the bow where the yarn has been tied.
- Press the clip onto the glued area. Ensure it is secure and allow time for the glue to dry completely.
Tutor’s Suggestions
- Use Stitch Markers: To avoid confusion during the repetitive pattern, especially to track where slip stitches and half double crochets end.
- Count Your Stitches: Always count the number of stitches to ensure each row matches the pattern.
- Use a glue gun or super glue for a stronger bond when attaching the clip.
- Work tightly in the center when shaping the bow to create a well-defined tie.
Uses
This crochet hair clip bow can be used in a variety of ways:
- Hair Accessory: Ideal for daily styling or special occasions.
- Gift: A beautiful handmade present for friends and loved ones.
- Sell: Can be sold as a customizable accessory at craft fairs or online marketplaces.
Tip
When wrapping the center of the bow with extra yarn, make sure to pull tightly and evenly to achieve a neat and polished look. This step is crucial for giving your bow its signature shape.
Conclusion
The crochet hair clip bow is a delightful project that combines simplicity with creativity. With its textured design and customizable options, it’s a perfect beginner-friendly crochet accessory that can be styled, gifted, or sold.


