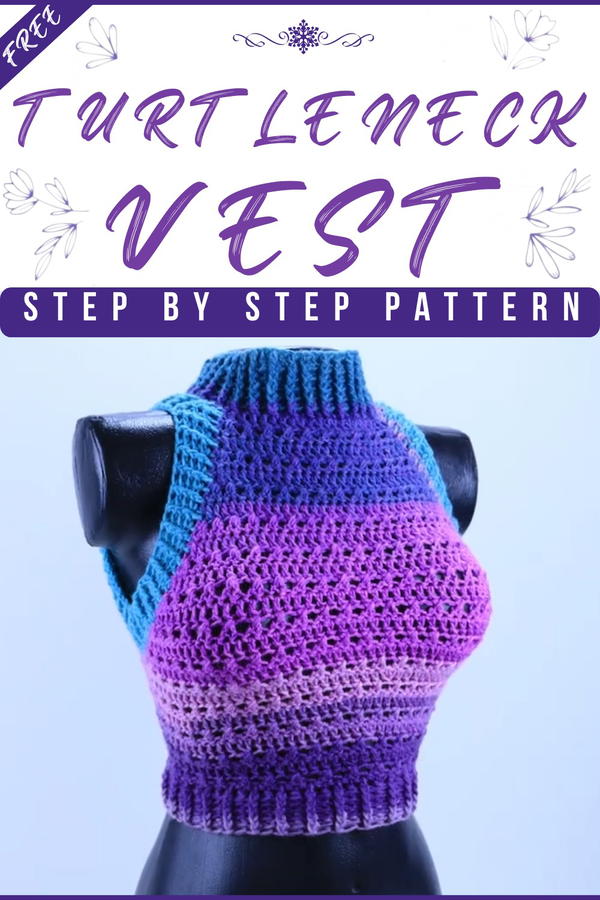
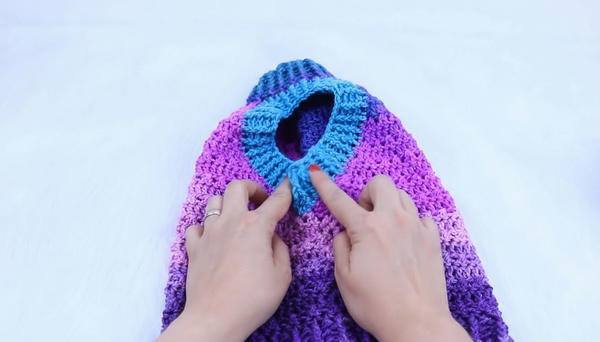
Stay warm and stylish with this easy crochet turtleneck vest pattern that adds a cozy touch and fresh look to your wardrobe all season long.
This unique vest is warm and cozy, perfect for layering on chilly days without feeling heavy. Its high neck hugs gently around your throat, giving extra warmth and a stylish touch. The simple stitches create a smooth and neat surface, making the vest look clean and fashionable for any occasion. It can be worn over shirts or dresses, adding a fresh look to your outfit while keeping you comfortable.
Fresh & Fabulous Crochet Turtleneck Vest for Cool Weather

The vest’s soft texture feels nice against your skin, and its fitted shape helps you stay warm without bulky layers. Whether you're spending time inside or stepping outdoors, it adds a special charm to your look. This vest is easy to pair with many clothes, making it a versatile and lovely addition to your wardrobe that brings both style and warmth in one perfect piece.
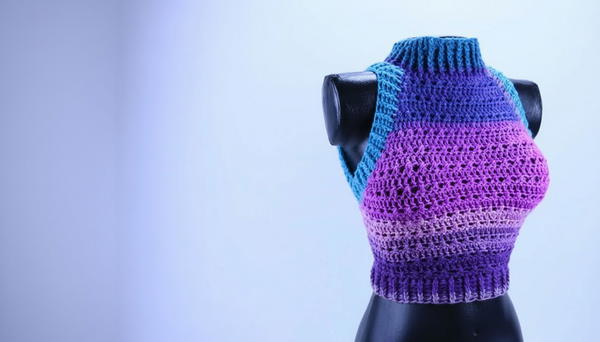
Crocheted Turtleneck Top List Pattern
Special Features:
- Worked top-down, starting at the neck
- Raised front and back post double crochet stitches for texture and stretch
- Increases at sides for bust shaping, decreases at waist for contouring
- Can be worn over or under other garments
- Custom sizing instructions included
- Uses 100% acrylic yarn with larger-than-recommended hooks for a loose, drapey fabric
Skill Level: Intermediate (post stitches, shaping, stitch count tracking)
Materials:
- 100% acrylic yarn (example: Katia acrylic yarn)
- 4 mm crochet hook (or size needed for loose fabric)
- Yarn needle, stitch markers, measuring tape
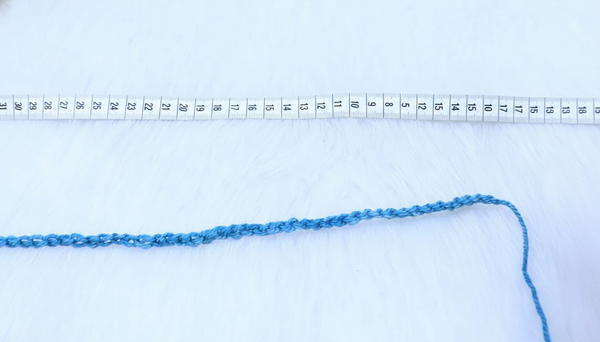
Step 1: Take Key Measurements and Chain Neckline
- Measure your head circumference to ensure the neck opening fits comfortably.
- Chain enough stitches to reach this measurement without stretching chains, plus 12 extra chains for stitch counting ease.
- Example: For size S, 54 cm head circumference corresponds to approx. 64 double crochet stitches.
- Join chains in a ring with a slip stitch, making sure not to twist your chains.
- Begin the first round by chaining 2 (counts as first dc).
Step 2: Round 1 – Crochet Foundation Round
- Make one dc in each chain all around until you reach starting stitch count (e.g., 64 sts).
- Join with a slip stitch in the second chain at the beginning of the round.
- Adjust as necessary to fit your neck comfortably.
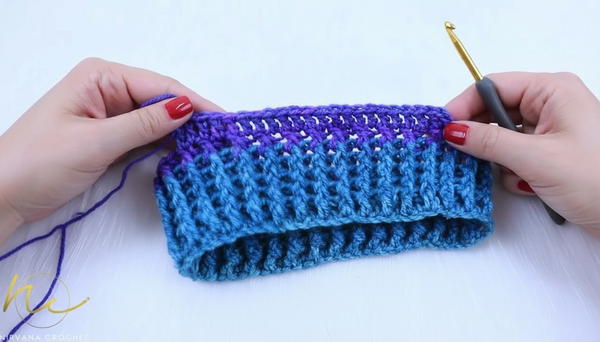
Step 3: Round 2 – Post Stitch Round (Texture Start)
- Chain 2 (counts as first dc).
- Alternate between front post double crochet (fpdc) and back post double crochet (bpdc) around the round:
- 1 fpdc in the next st
- 1 bpdc in the next st
- Continue alternating these stitch types across the round.
- Join with sl st.

Step 4: Continue Post Stitch Rounds Until Desired Neck Height
- Repeat Round 3 (same as Round 2), maintaining the alternating fpdc and bpdc pattern to create raised texture.
- Work approximately 6–8 rounds (about 6–7 cm), depending on your desired turtleneck height.
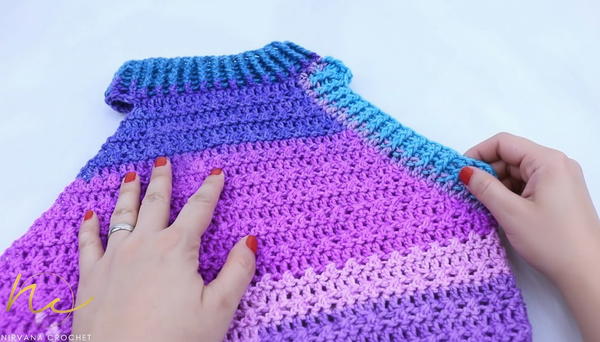
Step 5: Begin Chest and Back Panels
- Chain 2 at the start of the round (counts as first dc).
- Work dc stitches evenly across for the desired length of chest/back panels:
- Size S: approx. 16 cm (about 22 dc sts)
- Size M: 17 cm
- Size L: 18 cm
- Size XL: 19 cm
- Switch to a pattern alternating rounds of dc stitches and crossed double crochets (for visual interest).
- Increase stitches at bust sides as needed:
- Skip one stitch, then dc in next, then dc in skipped stitch to cross stitches.
Step 6: Increase Bust Width
- Incorporate increases on each side by adding double crochet stitches at beginning and end of rows.
- If additional width is needed, add chain stitches between rounds and pick them up on next rounds increasing points.
- Aim to reach half your bust circumference in width (e.g., 45 cm for size S).
- Try on to check fit and adjust increases as necessary.
Step 7: Join Chest and Back to Work in the Round
- Crochet back panel the same as chest panel, matching stitch count to enable joining.
- Place front and back pieces together and join with slip stitches or single crochet at the sides to form a tube.
- Begin working in rounds alternating between rows of dc and crossed double crochet stitches.
Step 8: Decrease at Waist for Shaping
- When you reach about 20 cm from bust for size S (adjust for larger sizes), begin decreasing evenly on each round.
- Calculate decreases by dividing total stitches by number of decreases desired (6–8 decreases recommended).
- Decreasing method:
- Work 13 dc stitches, then one dec (work two dc stitches together), repeat around.
- Continue alternating rounds of dc and crossed dc, maintaining post stitch texture.
Step 9: Work Down to Desired Length
- Continue rounds, shaping waist and expanding back to hips if desired.
- Maintain stitch pattern for consistent texture and flow.
- Stop when desired bottom length is reached.
Step 10: Add Side Spring Details (Edge Finishing)
- Work a few more rounds of post stitch pattern on edges to create spring details referencing the tubing/polymer effect.
- Create decreases at corners to keep a neat ribbed finish.
- Hide loose ends with a yarn needle.
Tutorial Tips
- Always try on as you go for best size adaptation.
- Mark increases and decreases with stitch markers for accurate shaping.
- Maintain consistent tension, especially for post stitches, for even texture.
- Larger hook than recommended yarn size results in looser, drapey fabric.
Conclusion
Your crocheted turtleneck top is complete! This textured, comfortable top is perfect for layering or standalone wear, customizable for a flattering fit at any size.