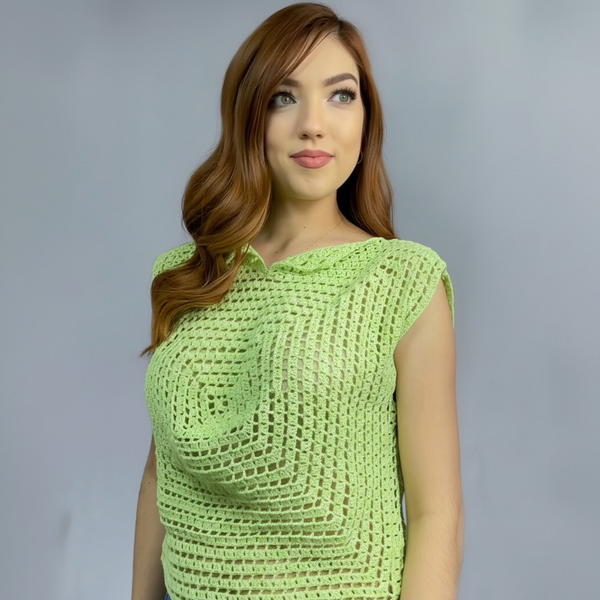
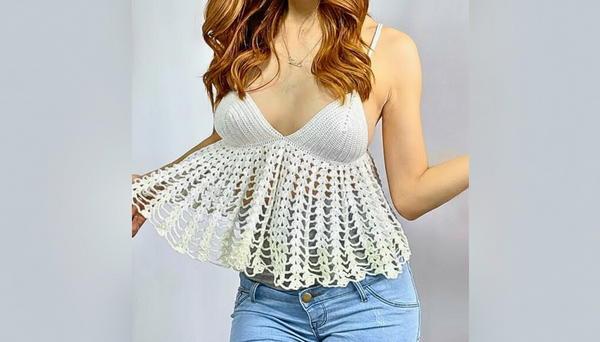
Dazzle in style with this crochet tank top pattern that's perfect for adding a charming handmade touch to your summer wardrobe.
Light, airy, and perfect for warm days, this is a go-to piece for anyone who loves fashionable yet comfortable clothing. A crochet tank top pattern offers endless beauty with its intricate designs and delicate texture, making it a must-have for your wardrobe. These stylish tops are not just a treat to look at but are also versatile—they can be paired with jeans, skirts, or even layered under jackets for cooler evenings.
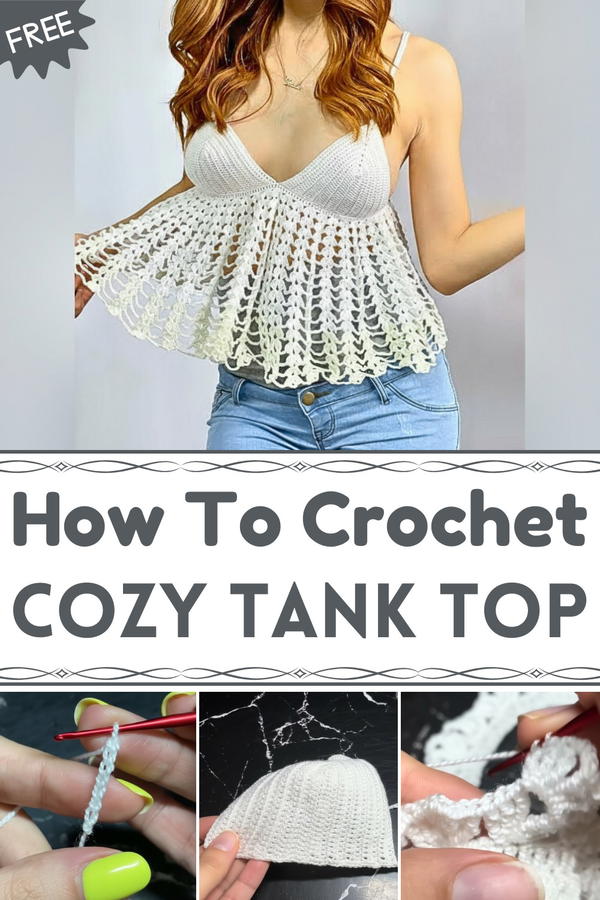
Chic Crochet Tank Top Pattern You Can’t Resist
The charm lies in their unique, handmade look that adds personality to every outfit. From bold and colorful designs to soft, neutral tones, there’s a style for everyone! Whether you’re dressing up for a casual day out or just relaxing at home, these tank tops give you the perfect balance of elegance and comfort. Wear it on vacations, picnics, or beach outings—it’s the ideal mix of beauty and functionality for any occasion.
Crocheted Tank Top – Step-by-Step Pattern
Materials Needed
- Cotton Yarn: Use soft, breathable yarn suitable for wearables. (Suggested: Omega Dalia)
- Crochet Hook: 2.5 mm or adjust size for desired gauge.
- Scissors
- Yarn needle (for assembly).
- Measuring tape (to check progress).
Step-by-Step Pattern
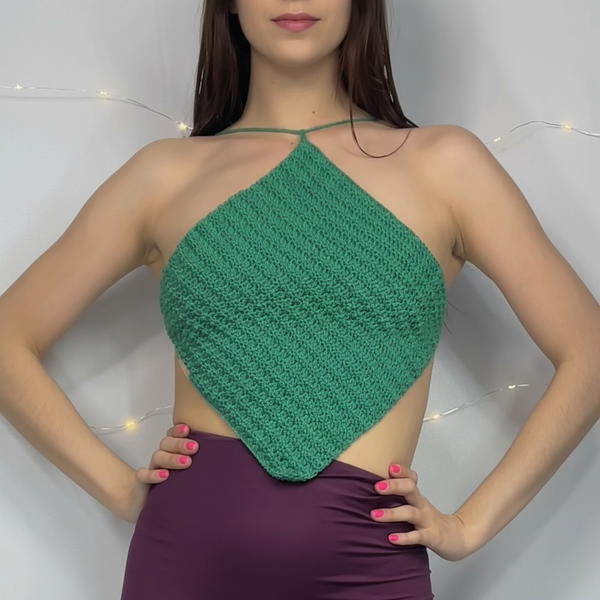
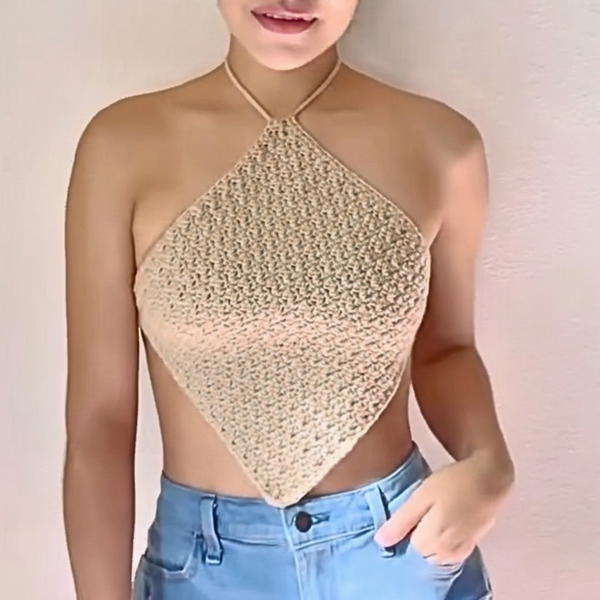
1. Creating the Cups
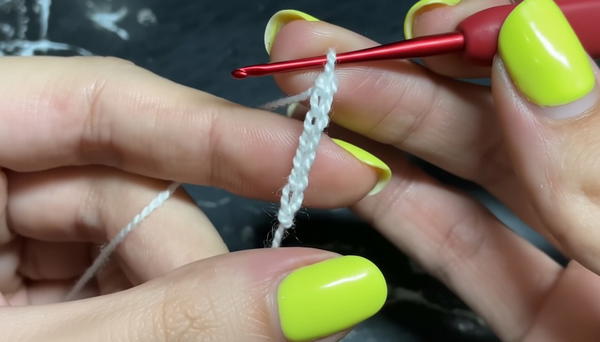
Foundation Row:
- Start with a slip knot.
- Chain 20 (CH 20) for size S/M.
- For size L/XL or larger, start with 25-30 chains.
- For size L/XL or larger, start with 25-30 chains.
First Row:
- Chain 2 for height.
- Yarn over and work double crochet (DC) into the 4th chain from the hook.
- Continue making DC in each chain until reaching the last chain.
- In the final chain, work 3 DC into the same stitch (this will shape the curve of the cup).
Second Side:
- Chain 1 for separation and turn the fabric.
- Continue working DC on the other side of the foundation row, placing 1 DC in each chain until you reach the beginning.
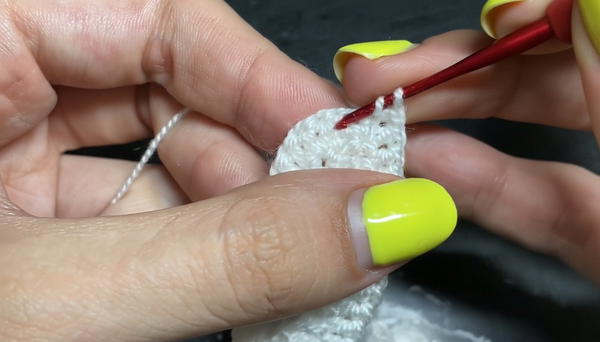
Subsequent Rows:
- Chain 3 and turn your work.
- Continue working DC into each previous stitch, following this pattern:
- In the center separation (chain from the previous round), work 2 DC, CH 1, 2 DC (to maintain the curve).
- Place 1 DC into each stitch along the edges.
Number of Rows for Cups:
- Size S/M: 10 rows total.
- Size L/XL: 12 rows total.
- Adjust by adding rows until the cup fits your size.
2. Joining the Cups
Joining the Bottom Edges:
- Position the cups side by side with the desired side facing up.
- Attach yarn to the base of one cup and work Half Double Crochets (HDC) along the bottom edge.
- Make 1 HDC in each chain or stitch, ensuring even spacing.
- When you reach the edge of the first cup, seamlessly join the second cup by continuing with HDC across its bottom edge.
3. Creating the Body of the Top
Foundation Row:
- Measure your under-bust circumference and chain enough stitches to create a band that matches this length.
- Join the chain with a slip stitch (SS) to form a circle.
Building the Base:
- Work DC in every stitch around the entire band.
- Close the round with a slip stitch (SS).
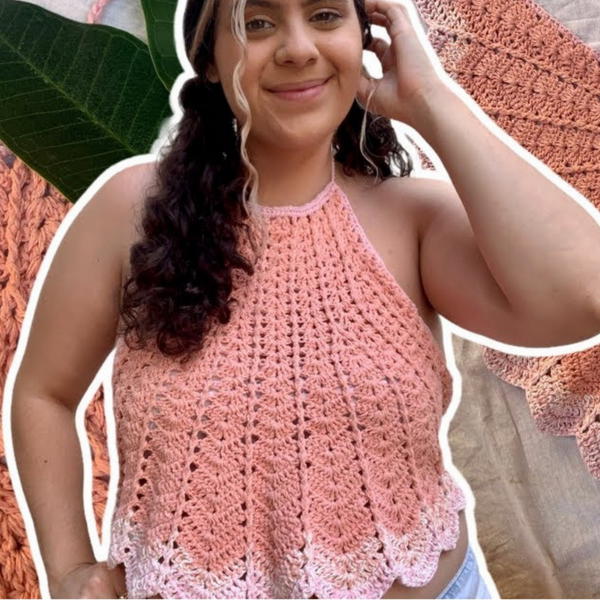
Fan Stitch Pattern:
- Start the next round by chaining 5 (CH 5) and yarn over twice.
- Insert the hook into the 4th stitch, and work Triple Crochet (TR) for 3 stitches in the same chain.
- Yarn over twice, pull through 2 loops, pull through 2 loops, pull through the last 2 loops to complete.
- Separate with CH 3 and add 3 more TR stitches at the same point (forming a fan).
- Skip 3 stitches and repeat the sequence:
- Form TR fan (3 TR + CH 3 + 3 TR).
Increasing Rounds:
- Continue working fans around the entire garment.
- With each new round:
- Increase separation chains between fans (e.g., Round 1: No Chains, Round 2: CH 1, Round 3: CH 2, etc.).
- Stop increasing separation at Round 10, and continue until the desired top length is reached.
4. Adding Straps
Foundation Row:
- Start with a slip knot and chain accordingly:
- Size S/M: Make 100 chains.
- Size L/XL: Work 125-130 chains.
Creating the Strap:
- Chain 3 for height and turn your work.
- Work DC into the 4th chain and continue with DC stitches in every chain.
- Once complete, leave a long tail of yarn (approximately 20-25 cm) for sewing.
5. Attaching Straps
Positioning the Straps:
- Fold the top evenly and find the midpoint on the front and back edges.
- Attach the straps at equal intervals (e.g., 4 fingers apart).
Attachment:
- Use a yarn needle to sew the strap onto the top.
- Secure the stitch ends with a double knot and hide leftover yarn using the needle.
Special Features
- Difficulty Level: Beginner to Intermediate – Perfect for practicing shaping and decorative stitches like the fan pattern.
- Design Details: The fan stitch provides a flowy and airy texture, while the cups give a tailored fit.
- Uses: This tank top is ideal for summer beachwear, casual outings, or any occasion that calls for comfort with style.
- Customization: Easily tweak measurements and add rows to adjust for larger sizes.
Conclusion
By following this pattern, you’ve successfully created a stunning crocheted tank top! With a mix of structured cups, fan stitches, and delicate straps, this piece is as elegant as it is functional. Pair it with shorts or skirts for warm days or wear it as a swimsuit cover-up.
Final Tip:
For a professional finish, lightly block the tank top by dampening the fabric and stretching it into shape. This step aligns the stitches for a polished look. Experiment with colors or add accessories like decorative buttons or tassels to personalize your top.