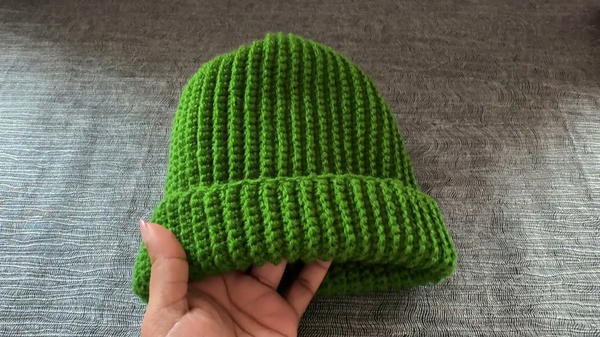
Amp up your winter style with cozy charm using this Free Crochet Beanie Pattern, a handmade accessory that blends warmth, texture, and effortless flair.
On crisp mornings, the air carries a gentle chill that calls for cozy, comforting accessories. Hats have long been essential for warmth and style, adding both function and personality to any outfit. The Free Crochet Beanie pattern transforms simple yarn into a snug, versatile piece perfect for daily wear. Its textured stitching adds subtle visual interest while reinforcing durability, creating a hat that is soft, comfortable, and built to last.
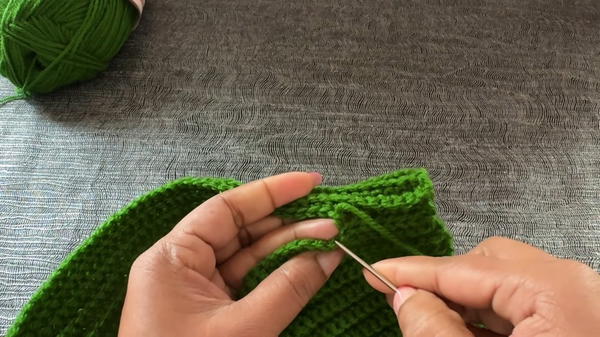
How to Crochet a Stylish Beanie Pattern Step by Step

Lightweight yet warm, it easily adapts to casual outings, outdoor activities, or layered winter ensembles, offering practicality without compromising style. The rhythmic motion of crocheting each stitch provides a calming, meditative experience, enjoyable for beginners and seasoned crafters alike. Beyond personal use, this beanie makes a thoughtful handmade gift, bringing both warmth and charm to friends and family.
With options to customize colors, stitch variations, and finishing touches, each piece reflects individual creativity and taste. Every stitch contributes to both comfort and aesthetic appeal, turning a simple accessory into a functional, stylish, and handcrafted wardrobe staple. This beanie not only protects against the cold but also adds a cozy, personal touch that enhances everyday outfits with effortless charm.
Special Features:
- Straightforward design with easy repetitions.
- Can be completed in just 1 to 2 hours depending on size.
- Fully customizable sizing with detailed step-by-step instructions.
Uses: Everyday wear, handmade gifts, or a quick and enjoyable crochet project.
Materials Needed
- Yarn: 40–50g of DK (double knitting) yarn.
- Example used: Green-colored yarn (CE-061).
- The video recommends a yarn with a specification of 100g = 330m.
- Hook: 4mm crochet hook.
- Scissors
- Needle: For sewing the beanie edges together and finishing.
- Measuring Tape: To ensure accurate sizing.
- Optional: Pom-pom for decoration (for the beanie top).
Step-by-Step Instructions
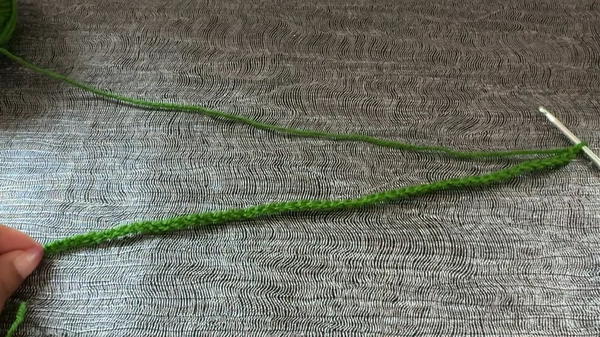
Step 1: Start with Foundation Chain
- Different sizes require different chain lengths:
- Small: 47 chains = 28cm.
- Medium: 50 chains = 30cm.
- Large: 53 chains = 32cm.
- Create a slip knot and crochet the required number of chains for your size.
Step 2: Row 1 (Single Crochet in Back Loop)
- Turn the Chain Backward: Work into the back loop of the foundation chain.
- Start with the second chain from the hook.
- Work 1 single crochet (SC) into every stitch along the chain.
- Ensure your stitch count matches the chain count:
- Small: 47 SCs.
- Medium: 50 SCs.
- Large: 53 SCs.
- After completing the row, your single crochet row length (width of the beanie) should match the size measurement:
- Small: 28cm.
- Medium: 30cm.
- Large: 32cm.
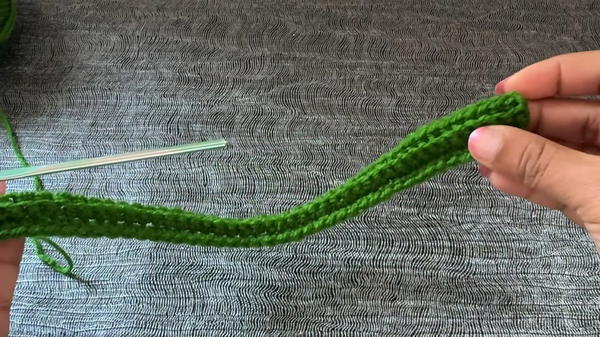
Step 3: Row 2 (Slip Stitch and Single Crochet Combination)
- Chain 1 and turn your work.
- Work slip stitches in the back loop of the first 5 stitches.
- Continue the row with single crochet (SC) in the back loop of every stitch until the end of the row.
- This row will introduce the shorter lines in the alternating pattern.
Step 4: Row 3 (Single Crochet in Back Loop)
- Chain 1 and turn your work.
- Work single crochet (SC) in the back loop of every stitch.
- Maintain an even count:
- Small: 47 SCs.
- Medium: 50 SCs.
- Large: 53 SCs.
Step 5: Row 4 (Same as Row 2: Slip Stitch and Single Crochet Combination)
- Chain 1 and turn your work.
- Work slip stitches in the back loop of the first 5 stitches.
- Continue with single crochet (SC) in the back loop of every stitch until the end of the row.
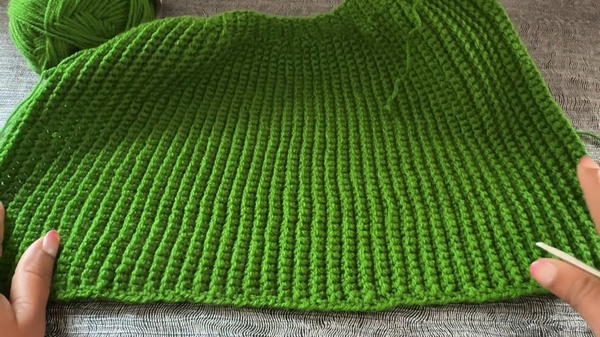
Step 6: Repeat the Four-Row Pattern
- Continue repeating Rows 1–4:
- Rows alternate long and short lines when complete.
- The slip stitch rows create texture and allow for a snug fit for the beanie.
- Follow the correct row count for your preferred size:
- Small: 86 rows (43 ridges).
- Medium: 90 rows (45 ridges).
- Large: 94 rows (47 ridges).
Step 7: Joining the Edges
- Align the first row and the last row of the pattern.
- Use a needle to whipstitch the edges together:
- Stitch back loop to back loop for a clean and even seam.
- Continue sewing until the entire seam is joined and secure.
Step 8: Closing the Top of the Beanie
- Use the yarn tail and needle to sew through and gather one edge of the joined piece (this will be the top).
- Pull the yarn tightly to close the hole at the beanie's top.
- Reinforce by sewing multiple rounds in the top hole area.
Step 9: Finishing
- Flatten and shape the beanie.
- If desired, attach a pom-pom to the top.
- Securely hide all yarn tails using the needle.
Tutor’s Suggestions
- Sizing Flexibility:
- The pattern is adaptable to various head sizes; modify the number of foundation chains or rows.
- Yarn Substitutions:
- You can use any DK yarn or similar weight – feel free to choose your favorite color options.
- Count Your Stitches:
- Ensure the correct number of stitches for the first few rows to guarantee the overall shape and size.
- Relax Your Grip:
- Avoid pulling the yarn too tightly to maintain an even texture.
Special Features
- Beginner-Friendly: Simple stitches like slip stitch and single crochet make this pattern accessible for new crocheters.
- Quick and Easy: The beanie can be completed in 1-2 hours, making it perfect for last-minute projects.
- Unisex Design: Great for men and women.
- Customizable Shape: Slight stretch due to the stitch pattern ensures a comfortable fit.
Conclusion
This basic crochet beanie is a versatile, quick-to-make project that’s perfect for crocheters of all skill levels. With its simple design, stitch patterns, and customizable sizes, it’s a cozy accessory that’s practical for daily wear. Whether you’re making it for yourself or as a handmade gift, you’re sure to love the final result.
Tip
When sewing the top, pull the yarn slowly and evenly to avoid breaking it. For added durability, do a second round of stitching at the top before securing your yarn tail.


