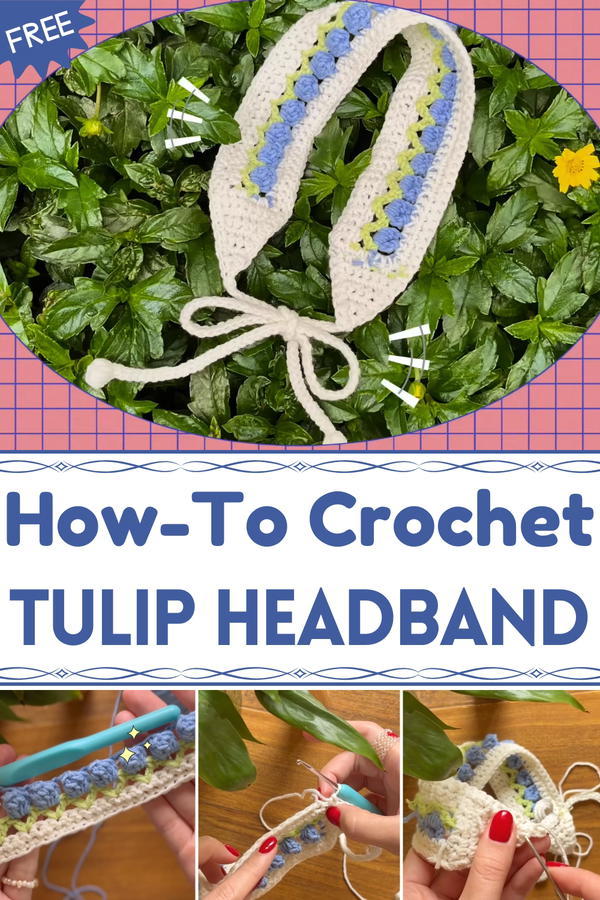
Bloom with charm using this Free Crochet Tulip Headband Pattern, that's for a cheerful accessory that adds fresh color and elegance to any outfit.
Tulips have long symbolized freshness and gentle beauty, making them a favorite motif for accessories that brighten any season. Bringing that floral charm into a wearable piece offers both style and practicality, adding a soft accent to casual or formal attire. The Free Crochet Tulip Headband Pattern offers a graceful way to stitch a headband adorned with delicate tulip-inspired details, perfect for spring gatherings, festive occasions, or everyday wear.
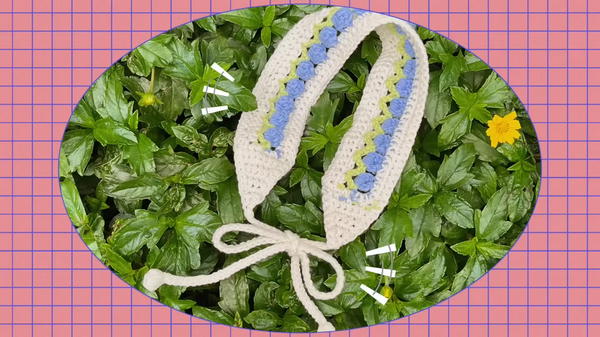
Fresh Crochet Tulip Headband Pattern with Colorful Blooms
Lightweight yet secure, it keeps hair comfortably in place while adding a subtle botanical touch. The carefully layered stitches create dimension and texture, allowing each headband to showcase vibrant color combinations or muted, elegant tones. Clear step-by-step instructions guide both beginners and experienced crocheters, ensuring a satisfying experience and a polished finish.
Beyond its visual appeal, working on the tulip motifs encourages a soothing rhythm, providing a moment of calm and focus during the making process. Finished headbands can be customized to fit any age or style preference, making them thoughtful gifts or versatile additions to a personal wardrobe. Whether paired with flowing hair or a simple updo, this tulip headband blends natural elegance with everyday function, turning an ordinary accessory into a statement of refined, floral-inspired grace.
Materials Needed
- Yarn in three colors: White (for the base), Green (for leaves), and Blue (or any other color of your choice for the tulips).
- Crochet hook: A 3.5 mm hook is recommended for this project.
- Darning needle: For weaving in yarn ends.
- Scissors: To cut the yarn cleanly.
Step-by-Step Instructions
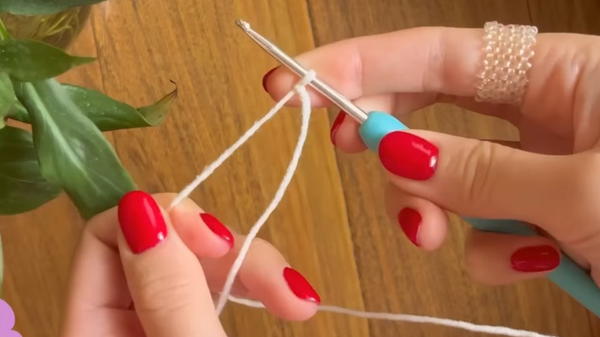
1. Foundation Chain and First Row
- Begin by creating a slip knot using the white yarn and make a foundation chain. For 19 tulips, the chain needs to have 59 chains (3 × tulip count + 2).
- Add one extra chain to turn your work.
- Work single crochet stitches into the back loops of the foundation chain to create a stable base. You should end up with 59 single crochets.
2. Building a Second Row
- Chain 1 and turn your work. For the second row, continue with single crochet stitches through each of the previous row’s stitches. Once finished, chain 1, cut the yarn, and fasten off.
3. Creating the Leaves
- Join the green yarn to the edge of your work to begin the leaves.
- Use double crochet stitches to create “V” stitches along the row:
- Skip one stitch after each "V" to give proper spacing.
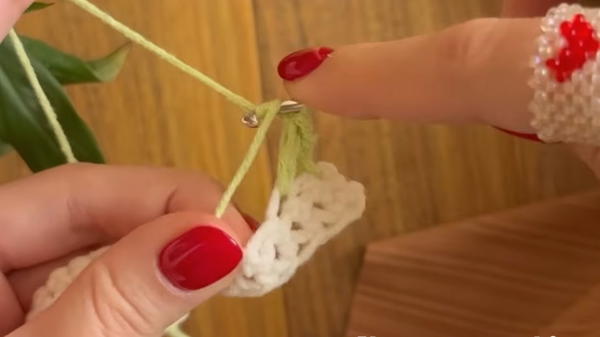
- For each “V,” work a double crochet, chain 1, and another double crochet into the same stitch.
- Skip one stitch after each "V" to give proper spacing.
4. Adding the Tulips
- Attach the blue yarn (or the chosen tulip color) at the first standing double crochet.
- Insert 5 double crochets into the chain space of each "V" stitch to create the tulips’ petals.
- Slip stitch into the first double crochet of the petal cluster to finish it. Work chain 2 before moving to the next "V" for the next tulip.
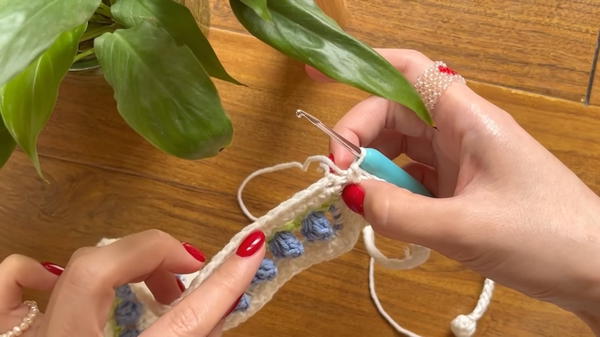
5. Framing the Tulips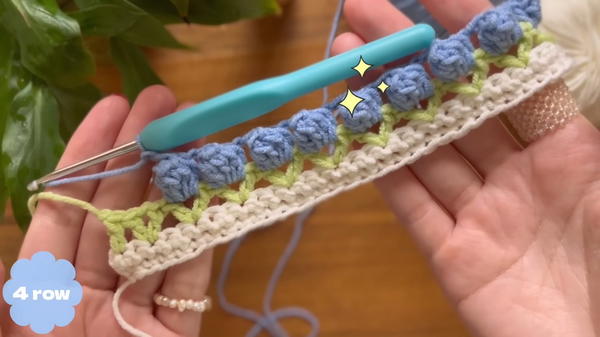
- Reattach the white yarn to outline the tulips and add stability.
- Work single crochets into the slip stitches of the tulip petals and the chain spaces. This step highlights the shape of the tulips while ensuring a clean border.
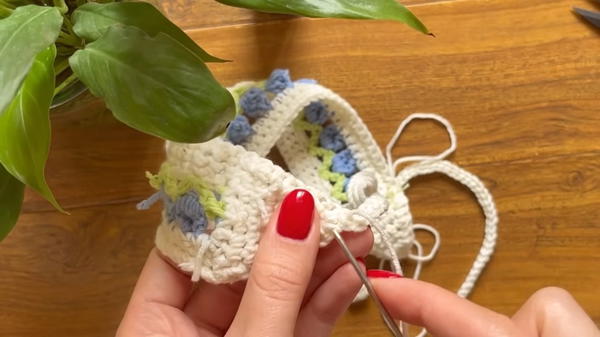
6. Shaping the Side Triangles
- On each side of the headband, create triangles for a snug fit. Begin with 8 single crochets on the edge and reduce by 1 stitch per row to shape a triangle. Continue until only 1 stitch remains.
7. Adding the Border and Straps
- Work a border of single crochets around the entire piece to finish the edges neatly.
- At the triangle tips, crochet chains (60 chains) for each strap. Add decorative bobbles at the end of each strap for flair.
- Use slip stitches along the back loops of the chains for a polished and uniform strap texture.
Special Features
- Tulip Stitch Design: The layered rows of green leaves with tulips on top make this headband visually striking and add a unique floral touch.
- Adjustable Design: The triangle edges and straps allow the headband to fit comfortably for various head sizes.
- Decorative Bobbles: Bobble stitches at the end of the straps add a playful and elegant finishing detail.
Level of Difficulty
This project is best suited for intermediate-level crocheters. Knowledge of basic stitches like single crochet, double crochet, and chain stitches, along with techniques like working in back loops and making bobbles, is required. Beginners can attempt this by following the instructions carefully and taking their time with new stitches.
Tutor’s Suggestions
- Pay attention to stitch counting to ensure symmetry across the rows.
- Use the same tension throughout to maintain a uniform look and prevent curling edges.
- Hide the yarn tails as you go to ensure a clean finish without extra effort at the end.
- Be patient while making the tulip petals, as precision in slip stitching into the first petal is key to achieving a neat look.
Uses
- Fashion Accessory: Wear the headband to complement casual or festive outfits.
- Gifting: The tulip headband is a thoughtful and handmade gift for friends or family.
- DIY Craft: Incorporate it into craft fairs or crochet exhibitions as an example of your crochet skills.
Tip
To make the tulips pop, choose a bright or contrasting color for the flower portion. Experiment with color combinations for a custom design, such as pastels for springtime or bold colors for a statement look.
Conclusion
The tulip crochet headband is a delightful and creative project that combines texture, color, and functionality. With its elegant floral design and adjustable fit, it serves as both a practical accessory and a testament to your crochet skills.


