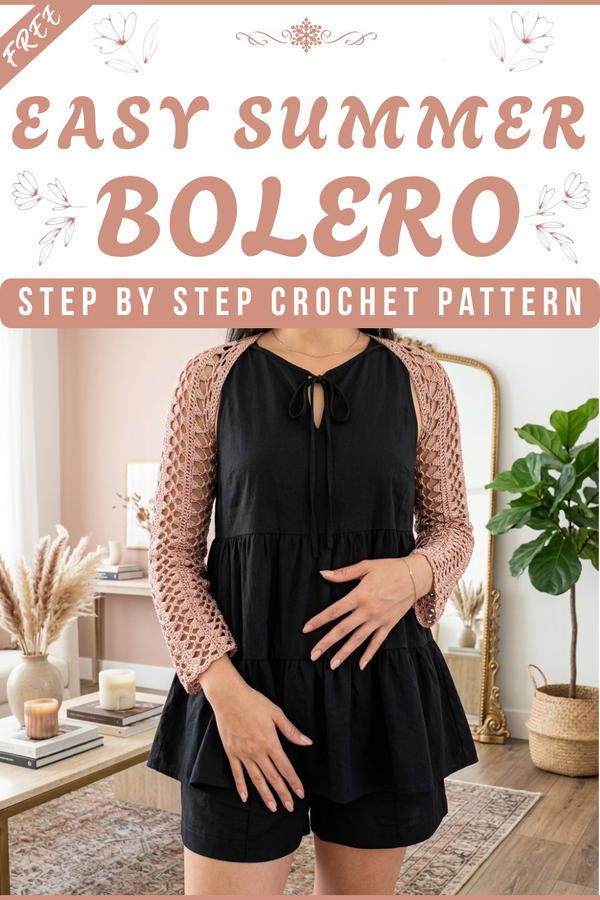
Turn your summer wardrobe with this chic and breezy crochet bolero pattern, perfect for beginners and free to stitch your way to effortless style.
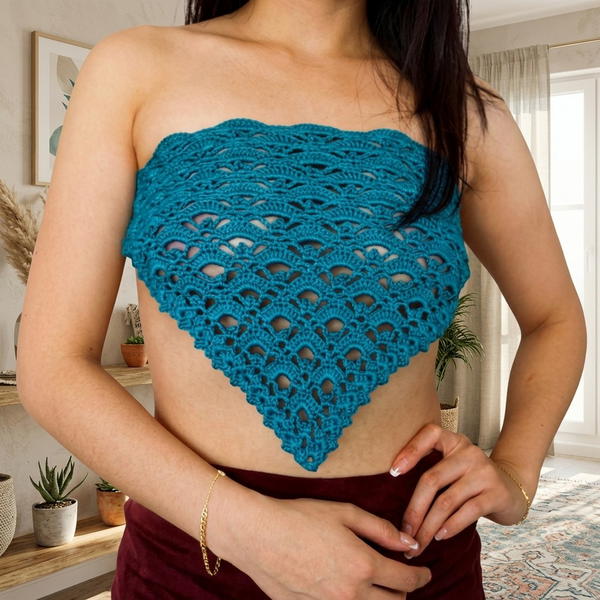
Wearing a stylish piece that adds charm to every summer outfit, keeping you comfortable while looking effortlessly elegant. A free crochet summer bolero pattern offers you the chance to create a stunning accessory that is both practical and beautiful. With its airy design and delicate texture, this bolero enhances the look of your favorite dresses, tank tops, or casual outfits.
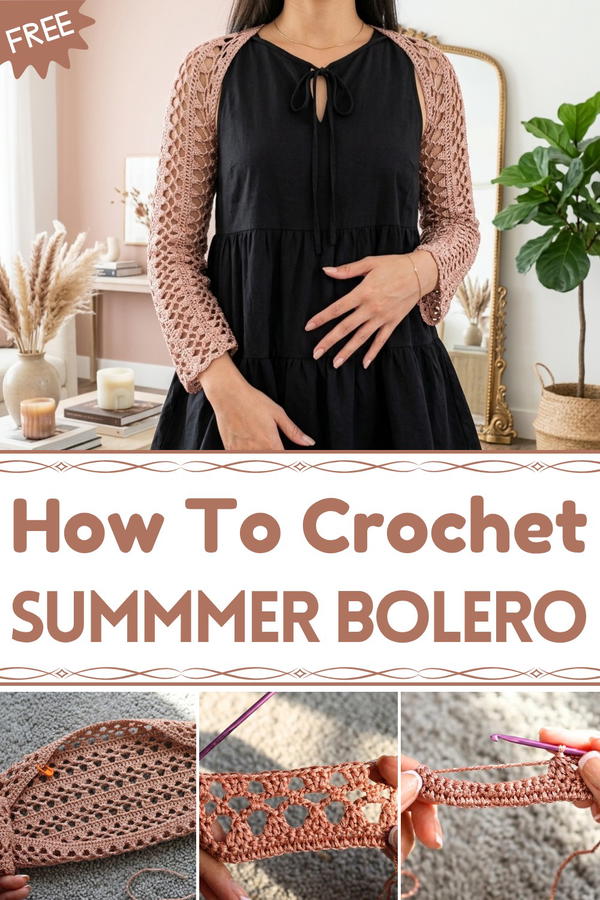
How to Crochet Summer Bolero Pattern
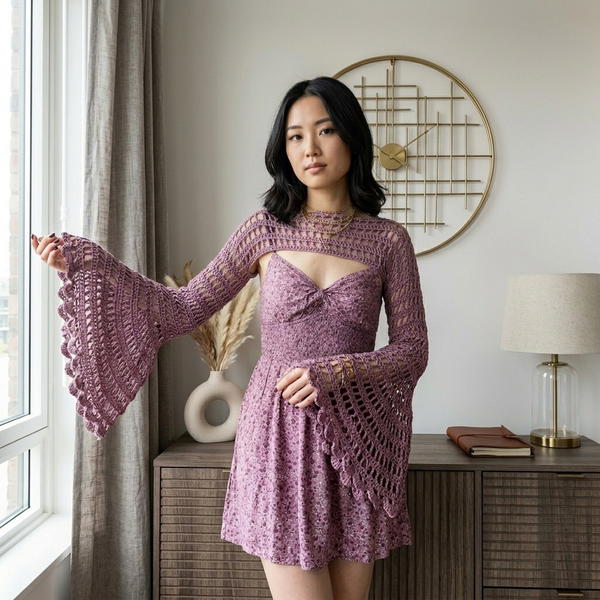
Its versatility makes it ideal for cool evenings, sunny days, or adding a little flair to your wardrobe. The gentle drape and intricate stitching give it a delicate, hand-crocheted appearance that stands out wherever you go. This easy-to-follow pattern ensures that anyone, regardless of skill level, can make this gorgeous bolero. Whether you want to wear it for special occasions or make it a go-to piece for everyday comfort, its timeless charm and functionality make it an essential addition to your summer style.

Free Crochet Summer Bolero Pattern: Step-by-Step Guide
Materials Needed
Yarn:
- Any medium-weight yarn (Recommended: Category 4 yarn).
- The yarn type depends on whether you prefer warmth (wool/acrylic) or a lighter piece (cotton).
Crochet Hook:
- 5.0 mm crochet hook (or the size recommended for your chosen yarn).
Measuring Tape
- For taking wrist-to-wrist measurements and largest arm circumference.
Additional Tools:
- Scissors.
- Yarn needle (for weaving in ends).
- Stitch marker (optional, for marking strap placement).
Gauge
- 4 rows of double crochet (dc): Approximately 4 inches.
- Check your gauge to ensure proper sizing, especially for personalized fit.
Finished Size
- Completely customizable.
- Width: Wrist-to-wrist measurement or desired sleeve length.
- Height: Largest circumference of your arm (adjust based on desired snugness or looseness).
- Example: For a wrist-to-wrist measurement of 50 inches and arm circumference of 11.5 inches, the final width of the Bolero is 50 inches, and the height is approximately 11.5 inches.
Special Techniques
Three Double Crochets Together (dc3tog):
- Yarn over, insert the hook into the specified stitch, yarn over and pull through (3 loops on hook). Yarn over pull through 2 loops (2 loops left on hook). Repeat this process two more times in the next stitches to have 4 loops on the hook. Yarn over and pull through all 4 loops.
Two Double Crochets Together (dc2tog):
- Same as above but only worked over 2 stitches (resulting in 3 loops, pull through all).
Customization Ideas
- Adjust length of straps and decorative elements to suit your personal style.
- Create color blocks or stripes by alternating yarn colors.
- Add a scallop border or tassels for flair.
- Use speckled or glitter yarn for a more luxurious finish.
Pattern Instructions
Step 1: Make the Foundation Chain
- Measure the sleeve length (wrist to wrist):
- Stretch your arms outward and take the full wrist-to-wrist measurement.
- Create a base chain in multiples of 4 + 1 to match your wrist-to-wrist measurement.
- Example: If your measurement is 50 inches, chain a length that matches 50 inches while ensuring it is in multiples of 4 + 1.
- Sample: Chain 21.
- Check that the chained length matches your measurement and adjust if necessary.
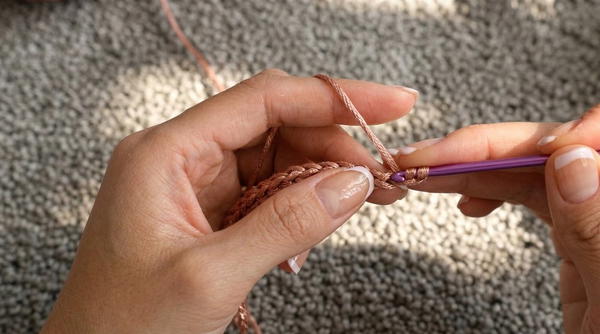
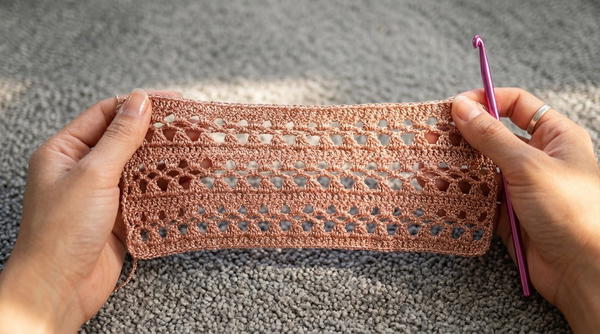
Step 2: Begin the Pattern
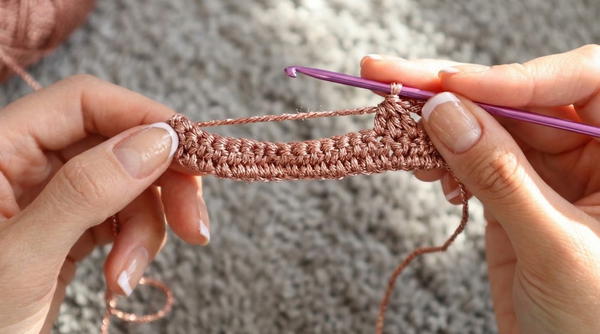
Row 1: Double Crochet Foundation
- Ch 2 (counts as the first dc).
- Work 1 dc into each chain across the row.
- Turn your work.
- At the end of this row, you will have a foundation of double crochet stitches.
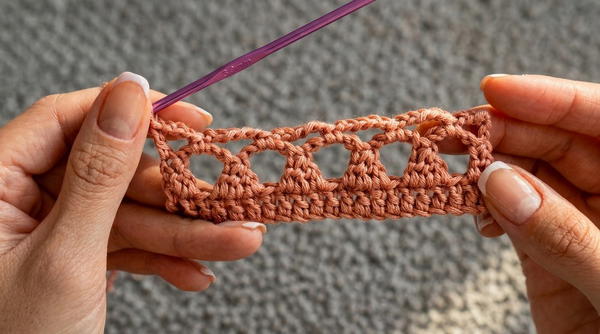
Row 2: Cluster Stitch Row
- Ch 2, turn your work.
- Work 2 dc together (dc2tog) over the first two stitches.
- Remember to leave the last loops of each double crochet unpulled, pulling all loops through at the end.
- Ch 5.
- Work 3 dc together (dc3tog):
- Skip 1 st. Start 1 dc in the next st (don’t complete), repeat in the next two sts (don’t complete), and pull through all loops.
- Skip 1 st. Start 1 dc in the next st (don’t complete), repeat in the next two sts (don’t complete), and pull through all loops.
- Repeat the pattern:
- Ch 5, dc3tog, skipping 1 chain between clusters, until the last section of the row.
- At the end of the row, work 2 dc together (dc2tog) in the last two chains to finish.
Row 3: Chain Loops
- Ch 6, turn your work.
- Sc into the first chain-5 space (loop) from the previous row.
- Repeat: Ch 5, sc in chain-5 space across the row.
- For the final loop, ch 3 and dc into the top of the last cluster.
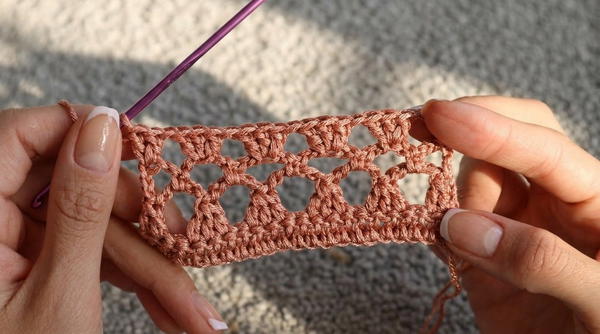
Row 4: Double Crochet Bands
- Ch 2, turn your work.
- Work dc in every chain and dc (or chain loop) across the row.
- Ensure clean edges by ending the row by working a dc in the 3rd chain from the bottom (if counting).
Step 3: Repeat the 4-Row Pattern
- Continue repeating Rows 1–4 to build the length of your Bolero.
- Stop when the height matches the circumference of the largest part of your arm.
- Example: For an arm circumference of 11.5 inches, stop when the height is 11.5 inches.
- Example: For an arm circumference of 11.5 inches, stop when the height is 11.5 inches.
Important: Always finish with Row 1 to ensure a clean edge for seaming.
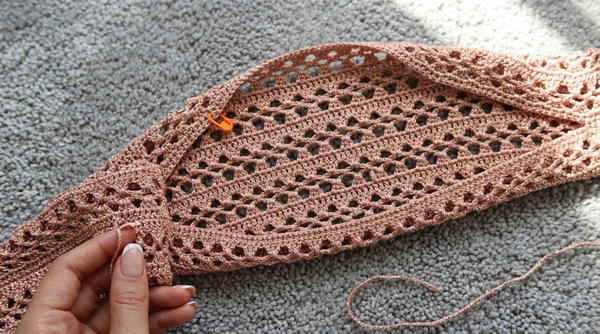
Step 4: Seam the Sleeves
- Fold the rectangle in half so the top and bottom edges line up.
- Seam (single crochet):
- Attach yarn at the corners of the fold.
- Work single crochets (sc) through the aligned stitches of both sides, ensuring you're stitching through both layers.
- Seam from the edge of the sleeves towards the body and stop at your desired armhole length.
- Determine this length by measuring from the bottom of your sleeve to the bottom of your armpit. Adjust for tight or relaxed openings as preferred.
- Determine this length by measuring from the bottom of your sleeve to the bottom of your armpit. Adjust for tight or relaxed openings as preferred.
Step 5: Decorative Straps
- Wear the Bolero and decide where the straps will exit.
- Best placement is at the collarbone area, marked after trying the garment on.
- Prepare yarn with a slip knot. Attach it to the desired position.
- Some prefer to anchor the strap between two double crochets for more security rather than into the chain itself.
- Work a chain strap to your desired length:
- ~100 chains (~19 inches) for a medium-sized tie strap.
- Optional Decorative Edge:
- After the final chain, ch 3, work a dc3tog at the marked point. Ch 3, and slip stitch back into the same point.
- Add this strap on the opposite side for symmetry.
Finishing Steps
- Weave in all ends carefully using a yarn needle.
- Block your Bolero:
- Lightly wet the garment and shape it to ensure the sleeves and opening are even. Allow to air dry for best results.
- Lightly wet the garment and shape it to ensure the sleeves and opening are even. Allow to air dry for best results.
Important Tips
- Stretch Consideration: The fabric may stretch slightly, especially when made with soft or lightweight yarn. Use this to your advantage for a fitted or relaxed fit.
- Customization: Vary strap length for different tying styles (loose bow versus snug closure).
- Seams: Keep the sleeve seams loose enough to provide movement and comfort.
Conclusion
This Bolero pattern offers limitless customization with its four-row repeat structure and adjustable sizing. Whether it's a snug-fitting cardigan or a billowy shrug, this project is perfect for any occasion. With its simplicity and elegance, you'll likely finish in a day, enjoying both the process and your gorgeous handmade garment!