Stitch timeless charm with this Crochet Granny Square pattern, a versatile piece perfect for blankets, bags, clothing, or decorative accents.
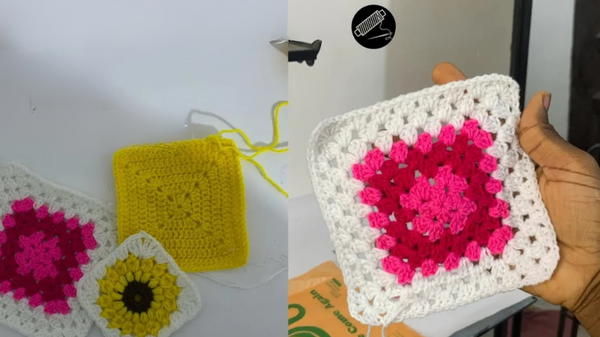
Generations have passed down small squares of yarn stitched together with care, each one carrying warmth, memory, and a touch of artistry. The Crochet Granny Square pattern continues that tradition, offering a timeless piece that is both beautiful and endlessly versatile. Its symmetrical arrangement and colorful combinations give it a distinct charm, allowing it to stand out on its own or serve as part of a larger project.
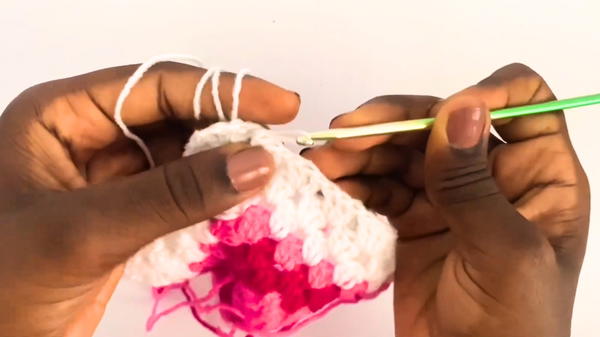
Chic Crochet Granny Square with Stylish Details
These squares can be joined into blankets, cardigans, bags, or decorative throws, making them a foundation for creativity while still being satisfying as individual pieces. Compact yet full of character, each square offers an opportunity to play with shades and textures, turning simple stitches into something memorable. The structured form ensures durability, while the softness of the yarn brings comfort whether used in fashion, home décor, or keepsakes.
Beyond practicality, granny squares hold sentimental value, often passed between hands as tokens of love and care. They bring people together through shared tradition, while also offering modern appeal in their adaptability. The Crochet Granny Square pattern is not just a technique but a timeless expression of comfort, versatility, and beauty that continues to inspire across ages and generations.
Materials Needed
Yarn:
- Three different colors of yarn (ensure they are all the same brand and weight for consistency). The yarn colors in the tutorial include white, a medium dark color, and another bright shade.
Crochet Hook:
- 4mm crochet hook.
Additional Tools:
- Scissors.
- Tapestry needle (for weaving in ends).
Special Features
Classic Granny Square Design:
- The pattern demonstrates one of the most popular and foundational crochet patterns, the granny square, known for its versatility and timeless appeal.
Layered Look with Color Changes:
- Incorporates color changes to add an extra visual element, making the square dynamic and vibrant.
Customizable Size:
- The size of the square can be increased by simply adding more rounds, making it suitable for various projects.
Adaptable Skill Integration:
- Focuses on fundamental techniques, such as the magic ring, double crochets, chain stitches, and slip stitches, offering a chance to practice core crochet skills.
Level of Difficulty
Beginner-Friendly:
The pattern is well-suited for beginners, as it explains each step in detail. The stitches used (double crochet, chain stitches, and slip stitches) are simple and easy to learn, allowing even those new to crochet to follow along successfully.
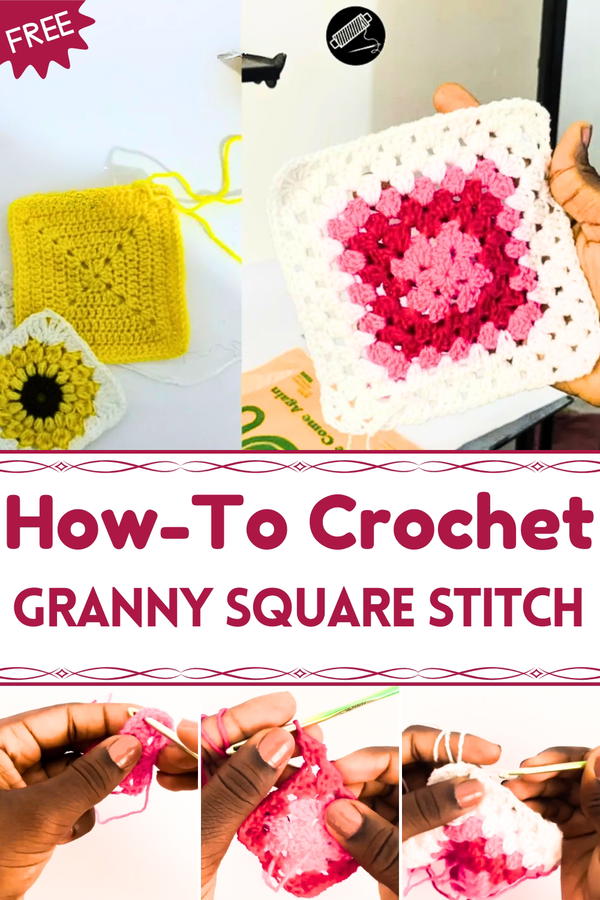
Step-by-Step Guide
Step 1: Create the Magic Ring
- Begin by wrapping the yarn around your fingers to form a magic ring.
- Insert the hook beneath the ring, yarn over, and pull up a loop.
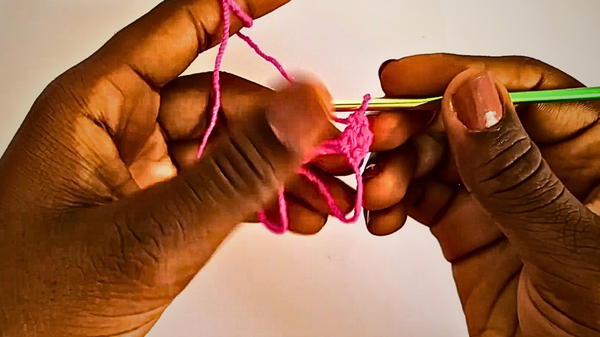
- Chain three stitches, which count as the first double crochet.
2: First Round - Forming the Basic Shape
- Yarn over and make three double crochets inside the magic ring.
- Chain two stitches (to create corners).
- Make three more double crochets in the magic ring, followed by chaining two again.
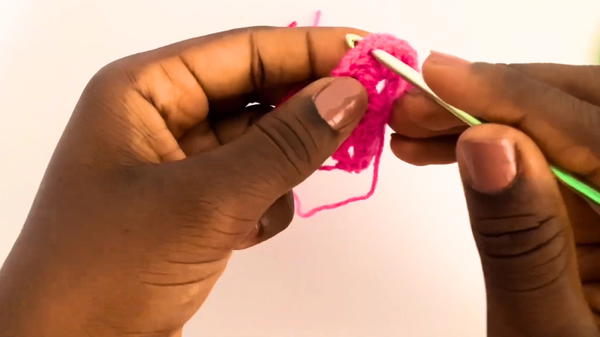
- Repeat this process two more times, ensuring you have four groups of three double crochets, separated by chain-2 spaces (four corners in total).
- Pull the magic ring tight to close the center and slip stitch into the initial chain to complete the round.
3: Second Round - Building Layers
- Without changing colors (or change if desired), chain two, turn your work, and insert three double crochets into the first corner space.
- Chain two and add three more double crochets into the same corner space (this forms the corner for the second round).
- Move to the next corner space and repeat the corner pattern: three double crochets, chain two, and another three double crochets.
- Continue this pattern for all corners, ensuring the square shape is maintained.
- At the end of the round, slip stitch into the chain space to complete the round.

4: Third Round - Adding the Next Layer
- (Optional) Change to a new yarn color by securing it in one of the corner spaces.
- Chain two to start this round, then create the same corner pattern: three double crochets, chain two, and another three double crochets in the same corner.
- In side spaces between corners, insert three double crochets to start forming the sides of the square.
- Continue repeating the pattern around the square: corners receive [three double crochets, chain two, three double crochets], and sides receive three double crochets.
- Slip stitch into the starting chain to end the round.
5: Weaving in Ends
- After completing your desired number of rounds (approximately three layers), cut the yarn and secure the end.
- Weave in all loose yarn ends with a tapestry needle to give your granny square a clean and polished look.
Tutor’s Suggestions
Color Transition:
- Ensure smooth color changes by securing the yarn with a knot or slip stitch when starting with a new color.
Yarn Consistency:
- Use the same brand and weight of yarn for all rounds to maintain uniformity in appearance.
Center Tightening:
- Pull the magic ring tightly after the first round to avoid gaps in the center of the granny square.
Customization:
- Add more rounds to make the square larger, depending on your project needs.
Uses and Benefits
- Versatile Design:
- Granny squares can be used to create blankets, scarves, coasters, cushion covers, bags, and more.
- Skill Development:
- Provides an excellent foundation for practicing crochet techniques and mastering basic stitches.
- Creative Flexibility:
- This pattern allows you to experiment with various color combinations and yarn types.
Tip
To avoid frustration with uneven stitches, keep your tension consistent throughout the project. Practice making uniform chain stitches and double crochets to maintain the neatness of the granny square.
Conclusion
The "Easy Granny Square Pattern" presented in this pattern is an excellent project for beginners and experienced crocheters alike. With its straightforward instructions and classic design, this pattern allows you to create a timeless piece that can be customized for a variety of uses. Whether you’re making a single square or joining several together for a larger project, the granny square is a skill every crocheter should know.


