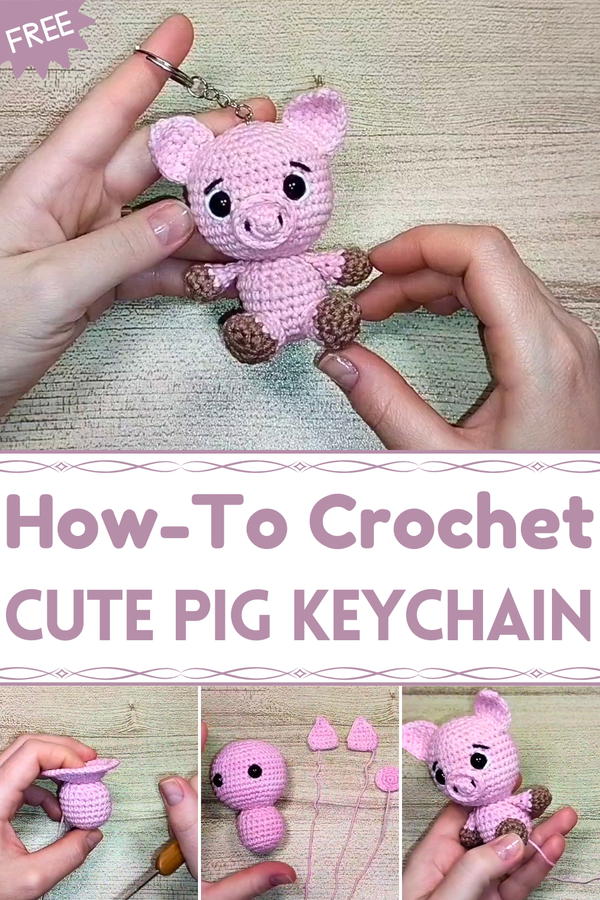
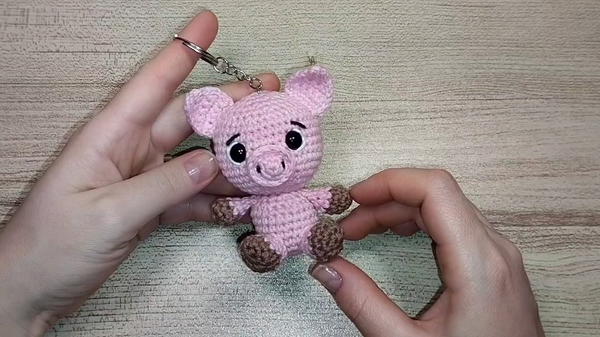
Pocket some cuteness with this Crochet Pig Keychain pattern, a playful design to carry charm everywhere or share as a delightful gift.
Small keepsakes often hold the greatest charm, and a playful accessory can turn an everyday item into something that sparks joy. The Crochet Pig Keychain pattern captures that spirit with its delightful character, combining cuteness with practicality. Shaped into an adorable little pig, it carries a sense of warmth and friendliness, making it a cheerful companion for bags, backpacks, or keys. Soft in texture yet durable in form, it withstands daily use while staying lightweight and easy to carry. Its rounded features and gentle details highlight a sense of fun that appeals to both children and adults alike.
Modern Crochet Pig Keychain for Everyday Looks
Beyond being a charming accessory, it serves as a thoughtful gift, offering a unique way to express affection or add personality to personal belongings. The bright, playful look also makes it an uplifting everyday reminder of joy, lightheartedness, and creativity.
Perfect for party favors, small tokens of appreciation, or personal use, it brings a touch of individuality to ordinary items. Combining usefulness, durability, and visual charm, the Crochet Pig Keychain pattern is more than a simple accessory, it is a tiny treasure that brightens daily life with its charm and character.
Materials Required
- Crochet Hook: Size 2mm.
- Yarn:
- Pink: Slightly thinner (1mm thick) for the main body.
- Brown, Black, and White: All with the same thickness, approximately 1mm.
- Synthetic Cotton Filling: Used to stuff the pig’s body and limbs for shape.
- Safety Eyes (9mm): For the pig’s facial expression.
- Keychain Rings: To complete the keychain design.
- Tapestry Needle: Useful for assembling and weaving in ends.
- Point Marker: For keeping track of rows and stitches.
- Pins: For positioning and securing pieces before sewing.
- Lighter: Used to burn the tips of the safety eyes to secure them.
- Pliers: To close the keychain ring.
- Scissors: For cutting thread.
Special Features
- Seamless Head and Body Design: The head and body of the pig are crocheted as a single unit, reducing the amount of sewing.
- Compact Size: The final piece is small, making it perfect as a keychain or even a small desk decoration.
- Beginner-Friendly: The pattern uses simple crochet stitches like single crochets, increases, decreases, and slip stitches, which are easy to learn and execute.
- Customizable Colors: You can choose colors for the keychain based on your creativity, although the pattern uses pink, brown, white, and black.
- Durable Design: With the addition of synthetic cotton filling and sturdy stitches, the keychain is both lightweight and durable.
Level of Difficulty
The keychain is beginner-friendly, though assembly (sewing small parts like the arms, legs, and tail) requires some attention to detail. The pattern explains each step in detail, making it easy to follow even for those who are new to crocheting.
Tutor’s Suggestions
- Work in Stages: The tutor recommends completing each part (e.g., ears, snout, legs, etc.) before assembling the final piece for a smoother workflow.
- Use Pins for Precision: When positioning elements like ears, arms, and legs, pins help ensure proper placement before sewing.
- Control Thread Tightness: Keep your stitches neither too tight nor too loose to create uniformity in the finished piece.
- Adjust Ring Sizes: If your safety eyes or yarn are thicker/thinner, adjust row counts or proportions to suit the dimensions of your pig.
- Burn the Safety Eye Tips: This is an important step to ensure the eyes remain securely attached.
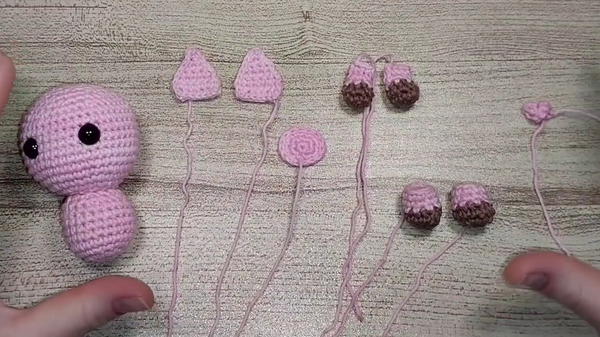
Step-by-Step Guide
1. Crocheting the Ears
- Use the pink thread and create a slip knot.
- Chain 7 stitches.
- Work 6 single crochets (SC) into the back loops of the chain. Start from the second loop.
- Create a chain, turn the work, and crochet another 6 SCs. Repeat this shaping process while gradually reducing the number of stitches via decreases each row.
- Slip stitch around the edges for a clean border.
- Make two identical ears and leave a thread tail for sewing.
2. Crocheting the Snout
- Start with a magic ring and work 6 SCs into it.
- Complete the next rows with combinations of increases and single crochets to expand the snout.
- Add slip stitches in the final row to add structure.
- Pull a long thread and leave it for sewing the snout to the pig’s head.
3. Crocheting the Legs
- Use brown yarn to create a magic ring and work 6 SCs into it.
- Continue for a few rows with increases, followed by rounds of continuous single crochets.
- Switch to pink yarn for the hoof area.
- Shape using a combination of increases, decreases, and single crochets for a rounded, structured leg.
- Use synthetic cotton filling to lightly stuff the legs.
- Make two identical legs and leave a thread for sewing.
4. Crocheting the Arms
- Follow the same initial steps as creating the legs, using the same magic ring and brown/pink color switch.
- Use slightly fewer rows than for the legs to achieve a smaller limb size.
- Stuff lightly with filling and sew closed.
- Make two identical arms.
5. Crocheting the Tail
- Use pink thread to create a slip knot, then chain 6.
- Work single crochets into the chain, adding increases in specific areas to create a curly tail.
- Leave a long thread for sewing.
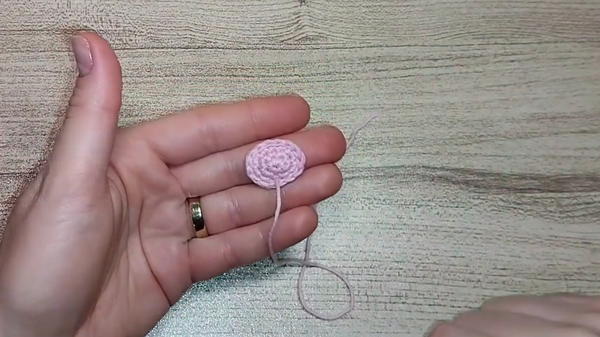
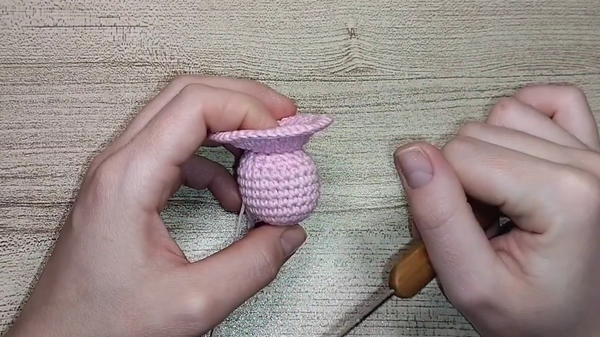
6. Crocheting the Body & Head
- Use pink yarn to create a magic ring with 6 SCs.
- Work rows of increases as you progress upward, creating a round base.
- After completing the body, you continue directly to the head by working in the front loops of the stitches.
- Shape the head by creating rows of increases, decreases, and several straight rows.
- Before closing, fill the head and body with synthetic stuffing. Seal the head by weaving the final rows together with a tapestry needle.
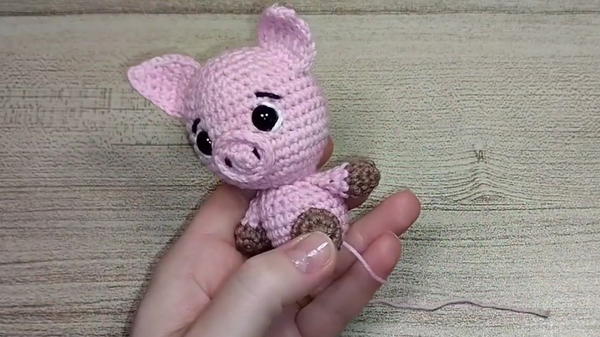
7. Assembling the Pig
- Eyes: Place between rows 20 and 21, leaving 6 stitches between them. Lock the safety eyes in place and burn the tips to prevent loosening.
- Snout: Position in the middle of the face (between the safety eyes). Sew it on while creating the nostril lines using black thread.
- Ears: Attach both ears between rows 3 and 4, ensuring symmetry.
- Arms and Legs: Sew the arms under the ears and attach the legs directly below the body, in line with the eyes.
- Tail: Position at the back of the body, between rows 3 and 4.
Uses of the Crochet Pig Keychain
- Keychain Accessory: A playful and cute addition to your keys.
- Bag Charm: Hang it on backpacks, purses, or totes for a whimsical touch.
- Gift Item: Perfect as a handmade present for animal lovers or children.
- Decorative Keepsake: Use it as a small desk ornament or add it to other crochet projects.
Tip
When sewing the pieces, ensure the thread used for assembly matches the base color of the part being sewn. This gives a polished, professional look to the finished keychain.
Conclusion
The Little Pig Keychain is an adorable crochet project perfect for beginners or those seeking a fun and quick gift. With its simple stitches and thoughtful assembly, you’ll gain experience in crocheting small parts and putting them together seamlessly.


