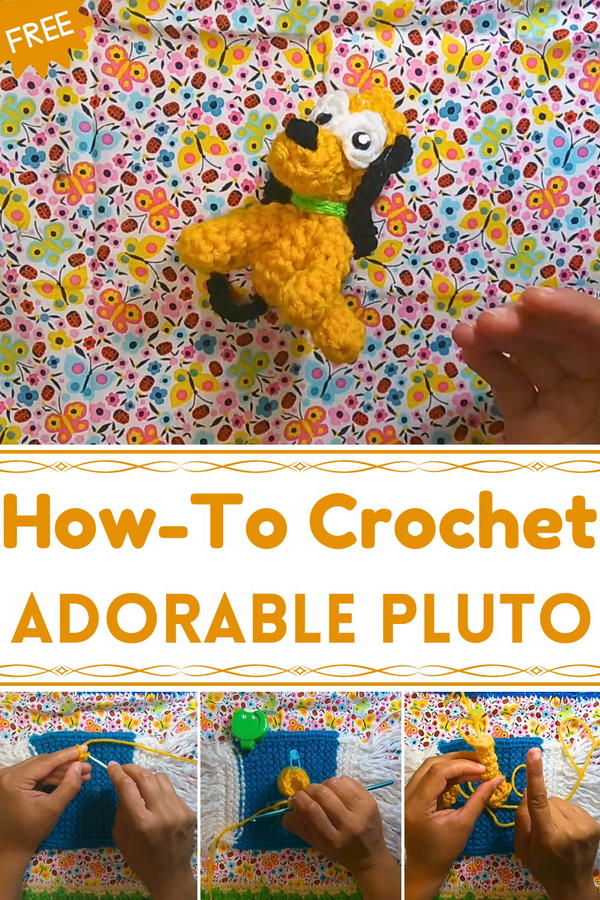
Celebrate playful charm with the Free Crochet Pluto Amigurumi Pattern, a cute and cuddly creation that makes a delightful companion or gift.
Small handmade companions have a unique way of brightening everyday spaces, offering both comfort and charm. Their playful presence can lift moods and add personality to any room. The Free Crochet Pluto Amigurumi pattern transforms simple yarn into a soft, huggable figure that captures character and delight. Its detailed features and cuddly form make it perfect as a decorative accent, a collectible item, or a comforting toy for children.
Fun Crochet Pluto Amigurumi Pattern to Brighten Any Space
This amigurumi goes beyond being visually appealing. It encourages tactile interaction, helping develop fine motor skills while providing a soothing and engaging experience for little hands. Whether displayed on a shelf, nestled among other collectibles, or carried along as a tiny companion, it brings a whimsical touch to any setting.
Working on this project also promotes patience, focus, and mindfulness, offering a satisfying sense of accomplishment as each stitch contributes to a lively, lovable figure. The result is a durable and charming piece, reflecting care, attention, and creativity. Completing it produces more than a toy; it creates a delightful keepsake that spreads joy, enhances spaces with personality, and becomes a treasured companion for years to come.
Materials Needed
Here’s what you’ll need to crochet Pluto:
Crochet Hooks:
- 4.5 mm crochet hook
- 3.5 mm crochet hook (optional for tighter details)
Yarn:
- Gold yarn: Big Twist yarn from Joann (used for Pluto’s body and legs).
- Black yarn: For Pluto’s ears and nose.
- White yarn: Lion Brand yarn from Joann (for Pluto’s eyes).
- Red yarn: For Pluto’s collar (or use light green if you prefer).
Stuffing:
- Polyfill fiberfill for stuffing Pluto’s body and legs.
Safety Eyes:
- 9 mm black gemstone safety eyes (can be purchased from Joann).
Paint:
- White fabric paint from Tulip Company for creating eye highlights.
Tools:
- Scissors
- Stitch marker
- Tapestry needle
- Hot glue gun (for attaching eyes)
Special Features of this Tutorial
- Free Pattern Design: Easy-to-follow step-by-step instructions for crocheting Pluto.
- Adorable Customization: Choose customizable colors for Pluto’s collar or adjust yarn sizes for different proportions.
- Clear Demonstration: The tutorial includes instructions for both left-handed and right-handed crocheters.
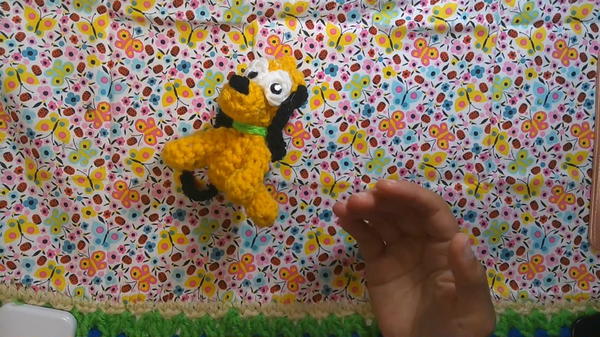
- Compact Amigurumi Size: Creates a hand-sized Pluto (12 cm or 4 inches), perfect for display or gifting.
- Creative Techniques: Learn skills like making magic rings, working in spirals, and creating the popcorn stitch for Pluto’s head bump.
Level of Difficulty
Intermediate - Suitable for crocheters with basic knowledge of stitches such as single crochet, magic rings, increases, and decreases. Working in spirals, shaping Pluto's body with stuffing, and creating even stitches may require some patience and attention to detail, especially for newer crafters.
Step-by-Step Instructions
Part 1: Crocheting Pluto's Body
Step 1: Create the Magic Ring and the Base
Magic Ring (or use a slip knot if preferred):
- Wrap yarn around two fingers to form an "X" and create a loop. Use your hook to pull the first loop through the second and chain 1 for securing.

- Wrap yarn around two fingers to form an "X" and create a loop. Use your hook to pull the first loop through the second and chain 1 for securing.
Round 1:
- Crochet 6 single crochets (SC) into the magic ring. Pull the tail tightly to cinch the loop closed.
Round 2:
- Work 6 increases (2 SC into each stitch) to reach 12 stitches total.
Round 3:
- Alternate between 1 SC and 1 increase. This will result in 18 stitches.
Step 2: Shaping Pluto’s Body
Rounds 4–6: Gradually shape Pluto’s body:
- Round 4: Continue with 1 SC followed by 1 increase (24 stitches).

- Round 5: Work 5 SC followed by 1 increase, repeated to achieve 30 stitches.
- Round 4: Continue with 1 SC followed by 1 increase (24 stitches).
Round 7 Onward: Begin decreases to taper Pluto’s body (instructions for stitch counts are provided in subsequent rounds in the video). Stuff the body with polyfill fiber as you work to maintain shape.
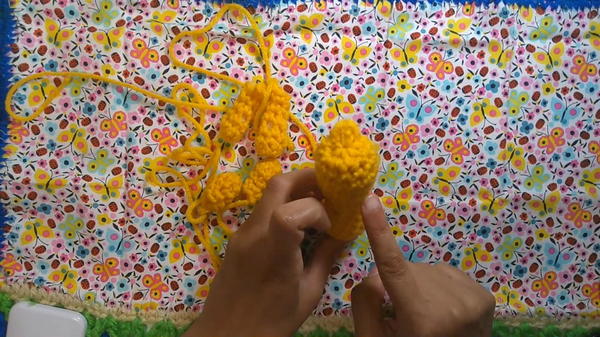
Part 2: Crocheting Pluto’s Legs
Step 1: Front Legs
Magic Ring:
- Begin with 6 SC into the magic ring.
Shape the Leg:
- Work in spirals, gradually increasing or decreasing as instructed to create the leg’s shape.
- Add slight stuffing to ensure firmness without overstuffing.
Repeat for the Second Front Leg.
Step 2: Back Legs
Follow the same process as the front legs, but modify the size.
- The back legs are shorter, requiring fewer rows.
Stuff lightly and set aside.

Part 3: Crocheting Pluto’s Head
Begin the Base:
- Repeat similar steps as the body, starting with a magic ring. Gradually increase to form Pluto’s head shape.
Popcorn Stitch for Head Bump:
- Work 5 single crochets in one stitch, then pull through all loops to create a bumpy head detail.
Stuffing and Shaping the Head:
- Use polyfill to stuff the head securely. Ensure it retains Pluto’s characteristic shape.
- Use polyfill to stuff the head securely. Ensure it retains Pluto’s characteristic shape.
Tutor’s Suggestions
- Yarn Tension: Maintain consistent tension to ensure the stitches are tight and no stuffing peeks through.
- Magic Ring Alternative: If you’re not comfortable with the magic ring, create a slip knot and crochet two chains instead.
- Playback Tip: Use the video’s playback settings (reduce speed to 0.25x) to observe details clearly.
- Popcorn Stitch Nuance: Follow Pluto’s characteristic head bump by focusing on properly grouping the 5 single crochets in one stitch.
Uses for the Finished Pluto Amigurumi
- Decorative Toy: Perfect for Disney fans to display with other crocheted characters.
- Gift for Kids: A handmade Pluto makes a thoughtful gift for children or Disney enthusiasts.
- Part of an Amigurumi Collection: Combine Pluto with other Disney-themed amigurumi like Mickey, Minnie, Goofy, and Donald Duck.
- Creative Practice: Experiment with customizing Pluto’s colors or features for unique designs.
Conclusion
In part one of this crochet tutorial, you successfully created Pluto’s body, head, and legs, showcasing your amigurumi skills step by step. By following Laura Hernandez’s clear instructions, you’ve mastered foundational techniques and explored creative details like the popcorn stitch for the head bump. Stay tuned for part two, where you'll complete Pluto’s nose, eyes, ears, and tail, as well as add other fine details like his iconic red dog collar.
Final Tip
For a professional-looking Pluto, ensure you stuff the body and head evenly to avoid lumps or gaps. Always shape as you go, and use stitch markers to track your rounds accurately.


