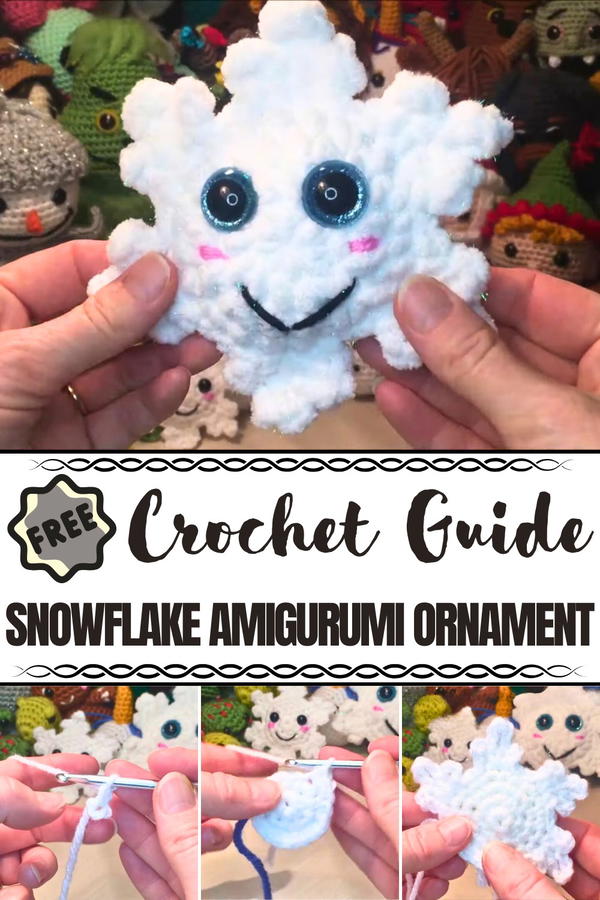
Celebrate winter’s charm with the Crochet Snowflake Amigurumi Ornament pattern, adding timeless beauty and festive warmth to holiday décor.
Delicate and fleeting, snowflakes have always carried a sense of wonder, inspiring traditions that celebrate their beauty in wintertime. The Crochet Snowflake Amigurumi Ornament pattern preserves that magic in a lasting form, offering a festive accent that brings elegance to holiday décor. Intricate loops and airy details reflect the grace of real snowflakes while adding softness and charm to any display. Perfect for decorating Christmas trees, accenting garlands, or brightening windows, each ornament adds a subtle sparkle of seasonal joy.
Beautiful Crochet Snowflake Amigurumi Ornament for Winter Magic
Lightweight yet sturdy, these pieces can be enjoyed for many holidays to come, becoming part of treasured family traditions. Beyond decoration, they serve beautifully as gift toppers, party favors, or heartfelt keepsakes shared with loved ones. The process of shaping each snowflake encourages mindfulness and patience, while the finished piece rewards with timeless charm.
Embellishments such as beads, metallic threads, or subtle colors can bring individuality, ensuring every snowflake feels unique. With its graceful form and versatile uses, the Crochet Snowflake Amigurumi Ornament pattern offers more than decoration—it embodies winter’s quiet beauty and the warmth of handmade tradition, turning simple stitches into lasting festive heirlooms.
Materials Needed
To create the snowflake ornament, gather the following:
- Yarn:
- #4 medium-weight yarn for the main design (any color of your choice).
- Optional: Plush yarn for a softer, puffier snowflake.
- Crochet Hook: 4.25 mm hook for medium-weight yarn.
- (For plush yarn, an appropriately sized hook is recommended).
- Safety Eyes:
- 10 mm safety eyes for medium-weight yarn projects.
- 18 mm safety eyes with glittery discs for plush yarn (or paint your own color on the eyes).
- Fiber Filling: For stuffing the ornament.
- Darning Needle and Scissors: To sew and trim loose ends.
- Stitch Markers (Optional): To keep track of the start of each round.
Special Features
- Beginner-Friendly Pattern: The project uses basic stitches like single crochets, slip stitches, increases, and chains, allowing new crocheters to follow along easily.
- Customizable: You can use medium-weight yarn for a smaller ornament or plush yarn for a chunkier, softer look. The eyes can also be swapped for handmade or painted alternatives.
- Detailed Facial Features: Add personality by crafting blush cheeks and an embroidered mouth using contrasting yarn colors.
- Dual-Sided Design: The snowflake consists of two crocheted pieces, providing a 3D look when sewn together.
- Multiple Yarn Options: The tutor demonstrates how both medium-weight yarn and plush yarn yield different textures and results.
Level of Difficulty
This project is rated as easy to intermediate, making it a fantastic option for beginners looking to expand their crochet skills. The snowflake involves straightforward stitches, but assembling the two sides, adding stuffing precisely, and embroidering the facial details might require some extra focus for those new to crochet.
Tutor's Suggestions
- Start with the Right Tension: For medium-weight yarn, maintain tight and even tension to avoid gaps after stuffing the snowflake. If using plush yarn, ensure you don’t overstuff to preserve the ornament’s flat, puffy shape.
- Use Stitch Markers: The rounds can be repetitive, so markers can help you track the start and end of each row.
- Customize the Eyes and Smile: Use glittery safety eyes or paint your own discs for a unique look. Experiment with thinner yarn or embroidery thread for facial details to achieve clean lines.
- Take Your Time with Slip Stitches: Slip stitching to join rounds (especially with plush yarn) can feel awkward initially, but the end result is worth the patience!
Step-by-Step Instructions
1. Creating the First Side of the Snowflake
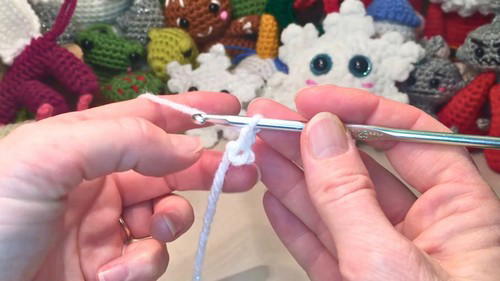
Row 1:
- Begin with a magic loop or preferred method and make 8 single crochets (sc) into the loop.
- Tighten the loop by pulling the tail.
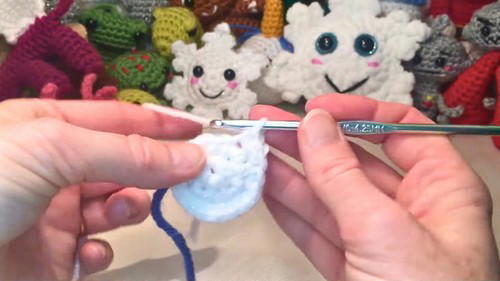
2:
- Work in the round: Perform 1 single crochet followed by 1 increase (2 sc in the same stitch). Repeat this pattern around (total: 12 stitches).
3:
- Alternate between 1 single crochet and 1 increase until you complete the round (total: 18 stitches).
4:
- Crochet 2 single crochets, followed by 1 increase (increase on each third stitch). Repeat the pattern around (total: 24 stitches).
- Once you finish, perform a slip stitch to join.
- Fasten off and leave a small tail (it won’t be used further). Set this side aside while moving to the next step.
2. Creating the Second Side of the Snowflake
Follow the same instructions as the first side to crochet a matching second side for the snowflake.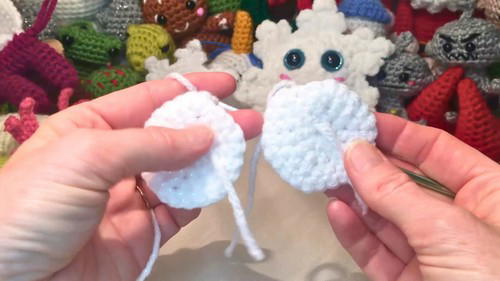
3. Joining the Two Sides Together
- Align the Two Pieces: Place the pieces with the wrong sides facing each other (the smooth, spiral-patterned side should face outward on both sides).
- Slip Stitch to Join: Insert your hook through both layers’ stitches, slip stitch around the edge for secure joining.
- Add Stuffing: Stuff as you go to ensure the snowflake is puffy but not overly rounded.
4. Creating the Snowflake Peaks
For each stitch around the edge, repeat the following:
- Single crochet in the next stitch.
- Chain 3, then slip stitch back into the same base stitch.
- Chain 5, then slip stitch back into the same base stitch.
- Chain 3, and finish with another slip stitch in the same base stitch.
- Perform 3 slip stitches in the next 3 stitches before repeating the pattern.
Repeat this sequence to create a total of 6 peaks around the snowflake.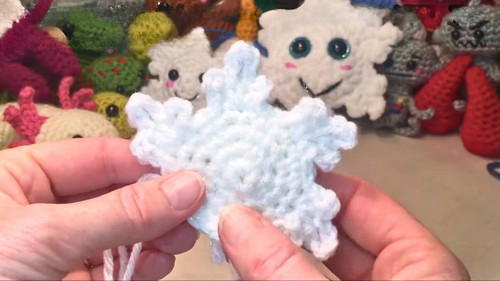
5. Adding Facial Features
- Safety Eyes: Insert safety eyes between Rows 2 and 3, evenly spaced. Secure the backs.
- Cheeks: Use pink yarn and embroider two small parallel lines below the eyes.
- Mouth: Use black yarn or embroidery thread to stitch a small, curved smile beneath the cheeks.
6. Final Steps
- Weave in all loose ends using your darning needle to hide them neatly inside the snowflake.
- For hanging, pull the yarn tail up through the tip of a peak and create a loop. Tie the tail securely, and your ornament is ready!

Uses of the Snowflake Amigurumi Ornament
- Christmas Tree Ornament: Brighten up your tree with your handmade snowflake.
- Handmade Gift: Perfect for gifting to friends and family for the holidays.
- Festive Décor: Display on a mantelpiece or as part of a holiday centerpiece.
- Kids’ Craft Projects: A fun, skill-building activity for children learning to crochet.
Pro Tip
If you’re using sparkly yarn or plush yarn, ensure your hook size is adjusted to maintain the tightness of stitches. This will improve shaping and help keep loose fibers or gaps from showing.
Conclusion
The Crochet Snowflake Amigurumi Ornament is a delightful and rewarding holiday project that will add personality and charm to any home. By following the step-by-step instructions, you’ll create a lovely handmade piece that can be customized with yarn types, safety eyes, and embroidered details. It’s a quick and fun way to celebrate the season, and the final product will be an ornament to cherish for years to come.


