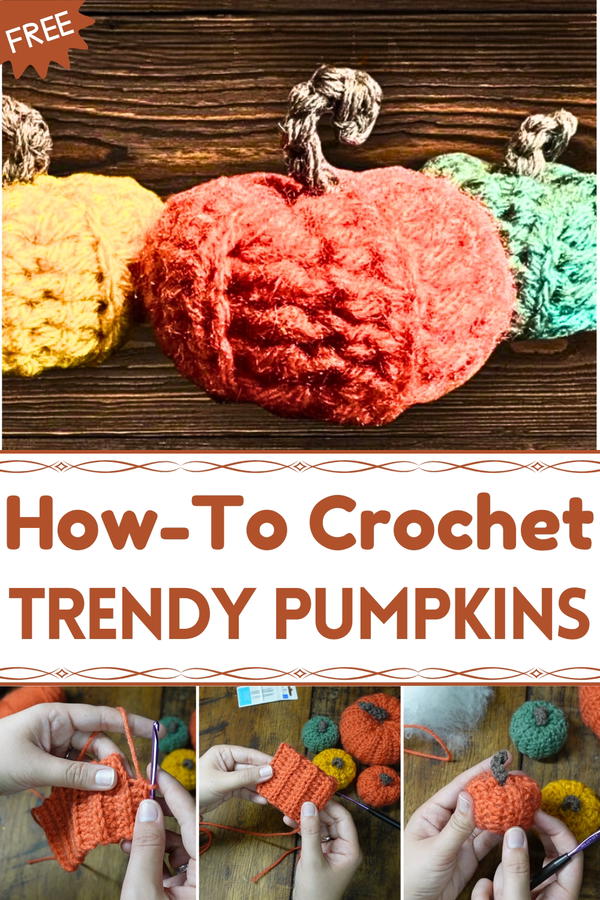
Celebrate autumn vibes with the Free Crochet Pumpkin Pattern, bringing a cozy and festive touch to home, seasonal decor, or charming gift ideas.
As autumn’s golden hues sweep through the months, cozy home accents take center stage—what could be better than a soft, textured crochet pumpkin to symbolize the season? These charming creations bring warmth and beauty to any space, serving as festive decorations or personalized tokens of care. With an effortless crocheting method, this project is accessible to beginners yet customizable for seasoned crafters. The simplicity of the process ensures that even novices can enjoy making something creative and practical, using leftover materials to make decorative pieces that are both sustainable and beautiful.
Easy-to-Make Crochet Pumpkin Pattern for Cozy Fall Vibes
What makes these crochet pumpkins truly special is their flexibility and functionality. They can be used as décor on mantles, dining tables, or shelves, tucked into gift baskets, or even employed as eco-friendly ways to repurpose scrap yarn and materials that would otherwise end up discarded. With their textured elegance, they bring an undeniable sense of fall beauty, proving that a simple, handcrafted item can make a powerful statement in both creativity and sustainability.
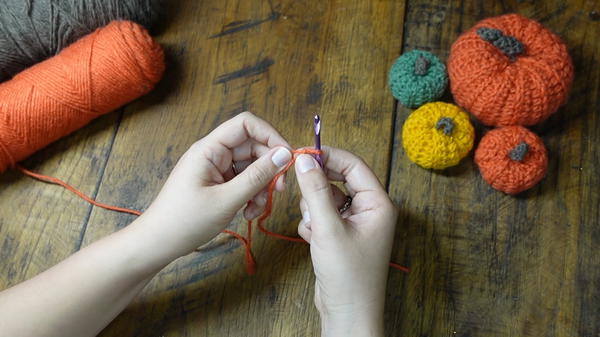
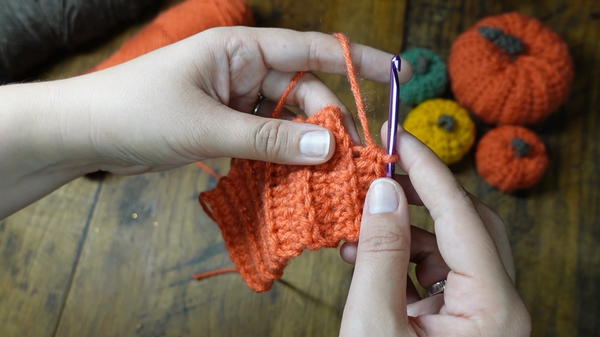
The process begins with forming the pumpkin’s body using a slip knot, followed by chaining a set number of stitches, such as 12 chains for small pumpkins. The pattern then incorporates a half-double crochet stitch, worked through the back loop to produce a ridged texture.
For better dimensions and symmetry, chaining two at the end of each row helps maintain clean edges and avoids unevenness.
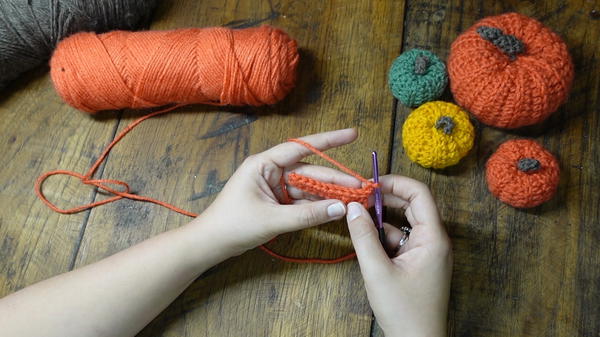
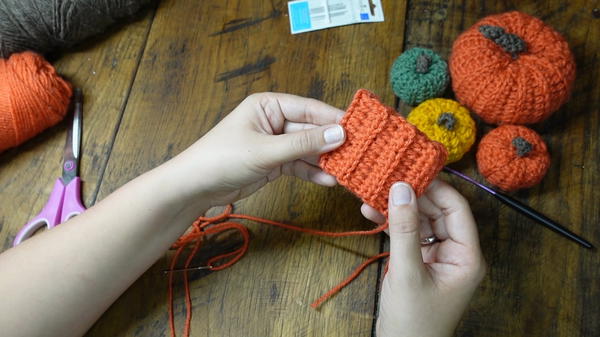
Progressing through successive ridged rows, the piece is transformed into a rectangular base before being folded and stitched into a tubular shape to form the pumpkin body.
By keeping the stitches tight and uniform, stuffing materials like polyfill or household alternatives remain securely enclosed, providing both structure and softness. Once the stuffing is complete, the top and bottom edges are cinched, carefully sewn to achieve the iconic, rounded pumpkin shape.
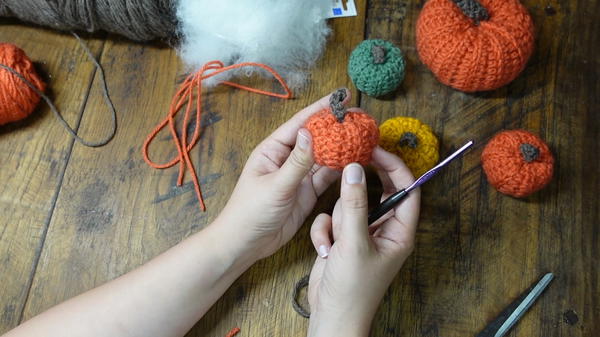
An extra step of looping yarn around the sides enhances the dimensional look, giving each pumpkin a plump finish. The final detail involves crocheting a short curly stem that is attached seamlessly to the top. This simple yet creative touch adds an organic flair, perfect for capturing the season’s cozy charm.
Materials Needed
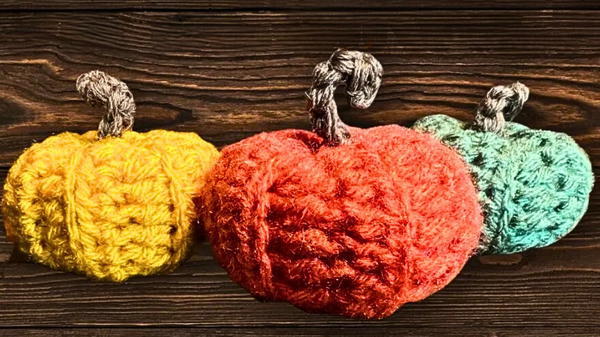
- Yarn: She uses Red Heart Super Saver in gold, coral, and light sage for her pumpkins, with brown yarn for the stems (a leftover yarn she borrowed).
- Polyfill or Alternative Stuffing: If unavailable, the tutor suggests alternatives like old pillow stuffing, toilet paper, or paper towels.
- Crochet Hook: A 4mm hook (slightly smaller than the prescribed size of 5.5mm for her yarn) for tighter stitches to prevent stuffing from showing.
- Darning Needle: Used for assembly and sewing; a tapestry needle can also work.
Special Features
- Beginner-Friendly: Designed for those with no prior crochet experience.
- Small & Customizable: The tutorial emphasizes how easy it is to adjust size and colors to match personal preferences.
- Cost-Effective: Makes use of leftovers like yarn scraps and repurposed stuffing.
Level of Difficulty
- Difficulty: Beginner-friendly, and Haleana reassures viewers that patience and practice with each step will lead to success.
- Challenging Areas:
- Beginners may struggle with the second row or keeping stitches loose.
- Achieving proper tension and understanding the yarn/hook interaction takes practice.
Tutor's Suggestions
- Experiment with both pencil style and knife style hook grips to find the most comfortable method.
- If crocheting tightly is a challenge in the second row, start anew and loosen your stitches.
- Always chain two at the end of a row to maintain even edges.
Uses for Crochet Pumpkins
- Home Decor: Add fall-themed accents to your home.
- Gifts: A thoughtful, handmade seasonal gift idea.
- Waste Reduction: Put leftover yarn to good use instead of throwing it away!
Bonus Tip
Creator stresses the importance of chaining at the end of rows to ensure your project remains rectangular (avoiding a triangular shape). This is crucial for maintaining consistent dimensions.
Key Steps
In this tutorial, creator guides viewers step-by-step in making an adorable tiny crochet pumpkin. Inspired by the fall trend, she aims to teach even absolute beginners how to create these pumpkins, providing tips and reassurance along the way. This project is described as simple, fun, and a creative way to use leftover yarn while embracing the festive spirit.
Conclusion
This tiny crochet pumpkin tutorial is perfect for crocheters of any skill level, especially beginners. It combines creativity, cost-effectiveness, and festive flair while encouraging viewers to experiment with their designs.


