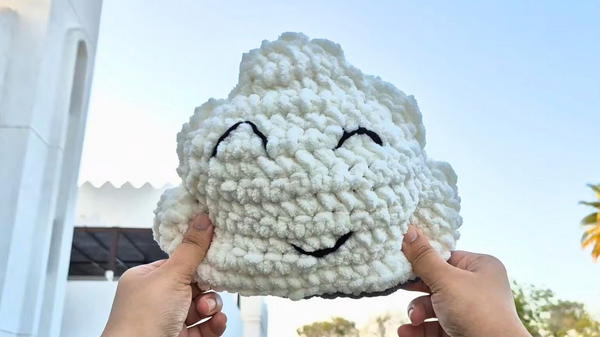
Spark comfort and emotional connection with the Free Crochet Reversible Mood Cloud Pattern featuring cheerful flips and soft, expressive charm for all ages.
A growing number of parents and teachers are turning to sensory toys to help children understand and manage emotions. One soft, playful option making waves is the Free Crochet Reversible Mood Cloud Pattern. This expressive piece features two faces—one smiling, one frowning, stitched on opposite sides to reflect a child’s changing moods. Its clever construction allows the cloud to flip easily from happy to grumpy, encouraging emotional expression through hands-on interaction.
Viral Free Crochet Reversible Mood Cloud Pattern & Beginner Tips
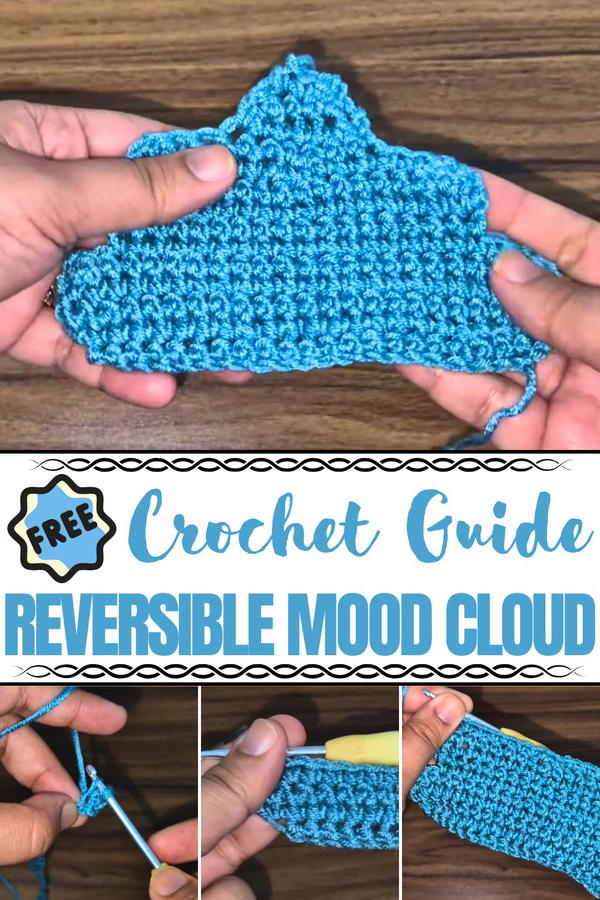
The structure uses basic shapes, simple decreases, and surface embroidery to give each side its own personality. A charming use of pastel yarns enhances the cloud's calming appearance, while the sturdy form holds up to frequent flipping. This reversible design isn't just a cute toy, it also becomes a meaningful communication tool, especially useful for non-verbal children or in classrooms.
Perfect for desk decor, therapy kits, or thoughtful gifts, the project brings both function and joy to any setting. From soft stitches that cushion tiny hands to the clever reversible technique, the Free Crochet Reversible Mood Cloud Pattern makes emotional awareness both fun and tactile. Its versatility, charm, and usefulness make it more than just a project, it becomes a playful companion in everyday life.
Step-by-Step Guide to Create a Reversible Mood Cloud
Level of Difficulty
Difficulty Level: Beginner-friendly
The project is designed for those starting out with crocheting. The tutor deliberately uses simpler stitches and provides detailed instructions to make it accessible for newcomers. Even those unfamiliar with reversible projects can easily follow along.
Materials Needed
- Chunky Blanket Yarn: Two main colors (e.g., gray/dark blue for the sad cloud, white for the happy cloud).
- Sport Weight Yarn: Thinner yarn for embroidering details. Suggested colors: black (eyes, features) and blue (tear drops).
- Crochet Hooks:
- 7mm crochet hook for blanket yarn.
- 3.5mm crochet hook for thinner yarn (used for visualization and embroidery details).
- Scissors.
- Yarn Needle.
Special Features
Reversible Design:
The project uses reversible crocheting techniques, creating a hollow structure. This allows the happy cloud to flip into the sad cloud and vice versa.Beginner Stitch Breakdown:
The tutor explains basic stitches clearly—like single crochet, increases, decreases, and slip knots.Quick Assembly:
The chunky blanket yarn ensures faster progress, creating plush shapes that are forgiving if there are minor errors.Personalized Embellishments:
The cloud includes embroidered eyes and expressions on both sides (a smile for happy, a frown for sad), plus optional water drop shapes for the sad side.
Step-by-Step Instructions
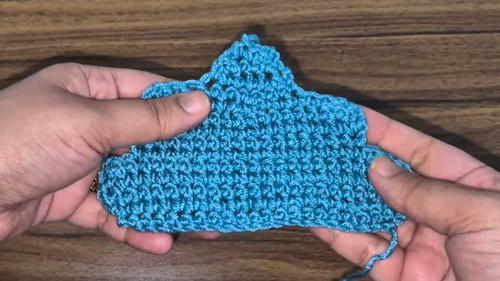
1. Making the Cloud Base
Create the Cloud Shape:
- Begin with a slip knot and chain 21 stitches.
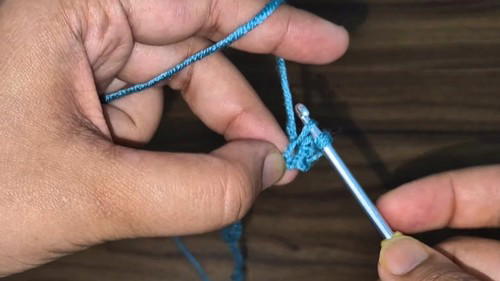
- Add single crochets and increases as you work back and forth. Follow the stitch count provided by the tutor to shape the curvature of the cloud’s edges.
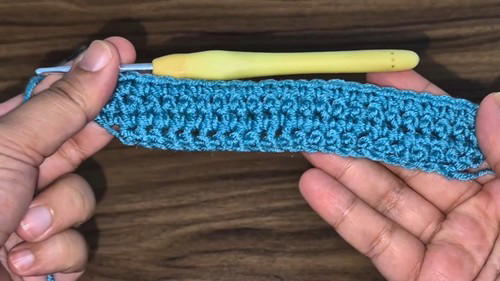
- Gradually incorporate decreases for indentations that resemble cloud curves.
- Begin with a slip knot and chain 21 stitches.
Repeat the Base:
- Make four identical pieces—two in the white yarn for the happy cloud, and two in gray or dark blue yarn for the sad cloud.
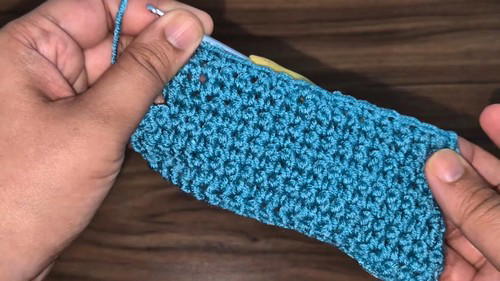
2. Joining the Pieces
- Assemble Each Color:
- Use slip stitches to connect the front and back pieces of the white yarn (happy cloud) and gray yarn (sad cloud). Leave the bottom portion open for reversibility.
- Combine the Clouds:
- Align the edges of the gray cloud and white cloud, sewing only the outer loops of corresponding stitches. Keep the center hollow to allow flipping.
- Align the edges of the gray cloud and white cloud, sewing only the outer loops of corresponding stitches. Keep the center hollow to allow flipping.
3. Adding the Facial Embellishments
Eyes:
Create upward curves for happy eyes and downward curves for sad eyes using sport weight yarn and a yarn needle. The tutor provides guidance on shaping the arches.Mouths:
Embroider a smile for the happy side and a frown for the sad side.Optional Water Drops:
Add small crocheted tears next to the sad side. This involves crocheting a simple ring with double and single crochets to form the droplet shape.
4. Final Testing and Adjustments
Tuck and flip repeatedly to ensure the cloud reverses smoothly. Adjust any embroidered parts if sections accidentally sew together. The tutor emphasizes patience during embroidery to avoid closing the reversible section.
Suggestions from the Tutor
For Beginners:
Use thinner yarn to learn stitches and improve accuracy before attempting the final plushy with chunky blanket yarn.Embroidery Care:
While adding facial features, avoid sewing through both front and back, as this can disrupt the reversibility.Work at Your Own Pace:
The forgiving nature of chunky yarn allows you to fix errors without fuss.
Uses and Features
Decorative:
A playful addition to your couch, bed, or workspace.Mood Indicator:
Switch sides to reflect your mood—happy or sad.Gifting:
A handmade, heartfelt gift for loved ones.
Conclusion
The reversible mood cloud is not only fun to make but also versatile in its appeal. It's beginner-friendly, quick to crochet, and highly customizable with its expressive features. Whether you're starting out or looking for an adorable craft project, this will challenge and delight you.
Tip for Success
Practice the foundational stitches, single crochet, increases, and decreases, before starting. They serve as the building blocks for the cloud and will make the process smoother.


