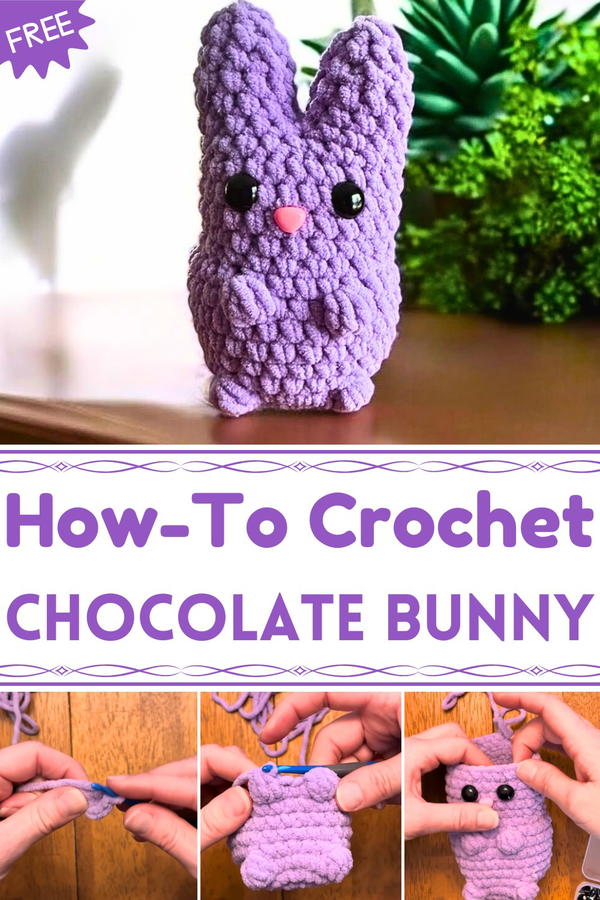
Delight your senses with the Free Crochet Chocolate Bunny Pattern that brings a sweet handmade touch to spring décor and festive gift ideas.
A sweet symbol of comfort and nostalgia, the chocolate bunny has long been a favorite at festive tables and in thoughtful gifts. Bringing that timeless charm into yarn form, the Free Crochet Chocolate Bunny Pattern captures the warmth of handmade love in every soft stitch. Perfect as a seasonal decoration, a child’s cuddle companion, or a delightful keepsake, this adorable bunny offers more than visual appeal, it carries sentiment in every detail.
Realistic Crochet Chocolate Bunny Pattern That Steals Every Heart
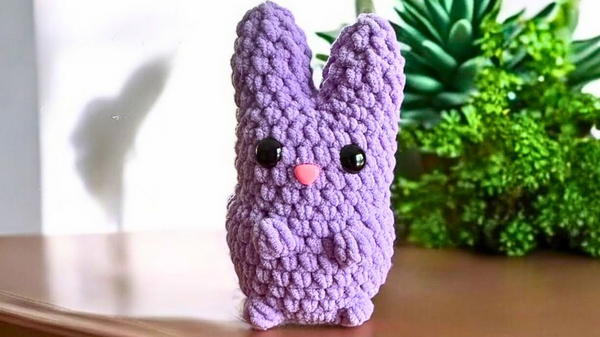
Its plush texture and gentle form make it a lovely addition to nursery shelves or spring displays, radiating a cozy, heartwarming presence. The project allows you to experiment with shades of brown, soft creams, or even pastel hues, making each bunny uniquely yours. Lightweight and quick to complete, it’s ideal for those who enjoy meaningful projects that combine simplicity with joy.
With the Free Crochet Chocolate Bunny Pattern, you can turn small amounts of yarn into something irresistibly cute and thoughtful. Whether gifted or kept close, this little bunny brings smiles, comfort, and a touch of whimsy to any space, a charming reminder that handmade treasures often hold the sweetest kind of happiness.
Materials Needed
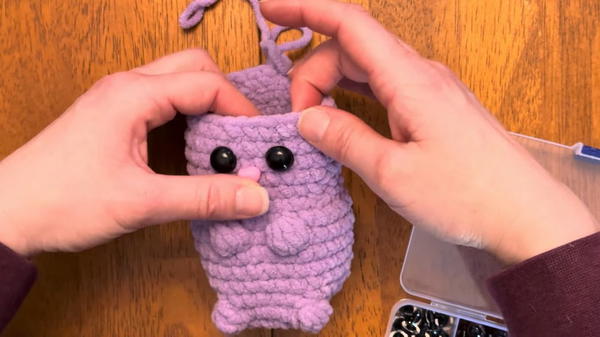
- Yarn: Any weight yarn can be used depending on your desired bunny size. Ashley suggests using five-weight bulky yarn (e.g., Parfait Chunky or Sweet Snuggles Light), but she uses purple yarn in the demonstration instead of chocolate brown.
- Safety Eyes and Nose: Use 12 mm safety eyes and a 10 mm safety nose. Alternatively, you can embroider these features.
- Crochet Hook: A 4 mm hook is recommended for this project. Adjust hook size to match your yarn.
- Polyfill: For stuffing the bunny to give it its shape.
- Scissors: To cut your yarn.
- Tapestry Needle: Useful for weaving in ends neatly.
- Stitch Marker: Optional, to keep track of rows and starting points.
Step-by-Step Instructions
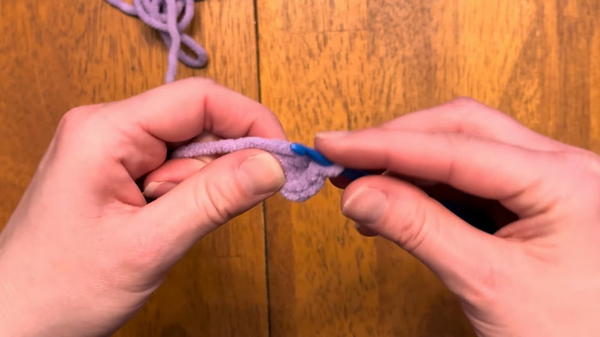
Step 1: Create the Magic Ring and Base
- Begin by creating a magic ring. If you prefer, you can use the chain-two method instead.
- Crochet 10 single crochet (SC) into the magic ring. Tighten the ring to create a firm base.
- Tip: If your yarn tends to break easily, tighten the magic ring while working the first few stitches.
- Tip: If your yarn tends to break easily, tighten the magic ring while working the first few stitches.
Step 2: Increase the Rounds
- Round 2: Place two single crochet in each stitch for a total of 20 stitches.
- Round 3: Begin another increase round using the following pattern:
- Crochet 1 single crochet in the first stitch and 2 single crochet in the next stitch, repeating across the round for a total of 30 stitches.
- Add a stitch marker to track the starting point if desired.
Step 3: Add Bobbles for the Tail and Feet
- Crochet 10 single crochet in the round.
- For the first bobble stitch (foot):
- Yarn over, pull up a loop, and repeat until there are five loops on your hook. Then yarn over and pull through all five loops, tugging snugly to form the bobble.
- Crochet 6 single crochet and repeat the bobble stitch for the second foot.
- Single crochet 11 stitches to reach the bunny’s back center, then create a third bobble stitch to form the tail.
- Optional: Use a contrasting yarn color for the tail if desired (e.g., white for a non-chocolate bunny).
- Optional: Use a contrasting yarn color for the tail if desired (e.g., white for a non-chocolate bunny).
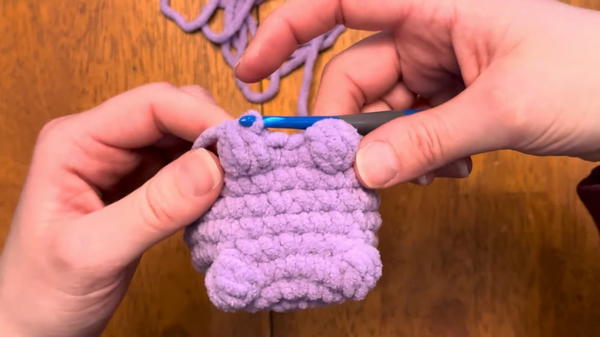
Step 4: Build the Bunny’s Body
- Crochet one single crochet in each stitch around for 30 stitches per round. Repeat this for 3 more rounds to form the bunny's body.
- Continue single crocheting around the bobbles as part of the body, ensuring they stay in their respective positions (feet in the front, tail at the back).
Step 5: Add Front Paws
- Crochet 12 single crochet to reach the front-center position.
- Create a bobble stitch to form the first front paw. Move on:
- Crochet another single crochet, then place a second bobble stitch for the next paw.
- Complete the round with 28 single crochet while incorporating the paws.
Step 6: Shape the Neck with Decrease Rounds
- Begin a decrease round to narrow the neck. Use the following pattern:
- Crochet 5 single crochet, followed by 3 decrease stitches.
- Single crochet 8 stitches, then 3 more decreases to taper the body.
- Repeat for additional rounds, ensuring the bunny’s shape remains smooth. Adjust stitch counts as necessary if your tension differs.
Step 7: Add Facial Features
- Insert 12 mm safety eyes into rounds 14 and 15 of the bunny’s face.
 Add the safety nose just below the eyes.
- Tip: Play around with placement to create distinct expressions. You can embroider these features if desired.
Step 8: Stuff the Bunny
- Firmly stuff the bunny with polyfill. Focus on shaping the cheeks and body, ensuring the bunny stands on its own with a flat base.
- Distribute stuffing evenly around the interior for a rounded, shapely look.
Step 9: Crochet the Ears
- Divide 24 stitches in the head into two sections of 12 stitches to form the ears.
- Crochet 12 single crochet on one side, leaving the other side untouched for now.
- Work 3 rounds of single crochet for the ear.
- Proceed to create decrease rounds to taper the ear shape:
- Decrease Round: Crochet 1 single crochet, followed by a decrease, repeating 4 times for a total of 8 stitches.
- Stuff the ear lightly before finishing it with slip stitches and weaving in the end.
Step 10: Create the Second Ear
- Begin working the other side with the same instructions as the first ear.
- Add stuffing, stitch the ear closed, and ensure symmetry between the two ears.
Step 11: Close the Bunny’s Head
- Use the remaining yarn from the ears to close any gaps at the top of the bunny’s head.
- Secure the ears tightly and weave in any loose ends.

Special Features
- Versatility: Customize the bunny in any color or pattern, and add optional accessories like bows or carrots.
- Unique Design: Includes bobble stitches for feet, tail, and paws, giving the bunny a textured and playful look.
- No Sewing: The ears are crocheted directly into the bunny’s head, eliminating the need for stitching additional parts.
- Free-standing: The flat base ensures the bunny can stand upright on its own.
Tutor’s Suggestions
- Adjust stitch counts based on personal tension and yarn type to maintain proper shaping.
- Tighten the magic ring early if using breakable yarn to avoid unraveling.
- Use stitch markers for consistency and facial features for personality.
- Add lightweight stuffing to the ears while crocheting smaller parts to avoid difficulties later.
Level of Difficulty
- Beginner-Friendly: The project uses basic stitches (single crochet, bobble stitch, decreases) with clear explanations, making it suitable for beginners.
Uses
- A fun decorative piece for Easter or spring-themed settings.
- An adorable toy for children or a thoughtful handmade gift.
- Market-ready crochet design for local sales or craft fairs.
Tip
When crocheting the ears, add stuffing gradually to avoid struggling with smaller openings in later rounds. Ensure both ears are symmetrical for a polished overall look.
Conclusion
Ashley’s tutorial for creating a chunky bunny provides clear, step-by-step instructions and helpful tips for crocheters of all levels. The project is highly customizable, functional, and visually appealing, making it ideal for handmade gifts, decorative pieces, or personal enjoyment. The unique design, including textured bobble stitches, adds character and charm to the bunny, while ensuring that the process remains approachable for beginners.


