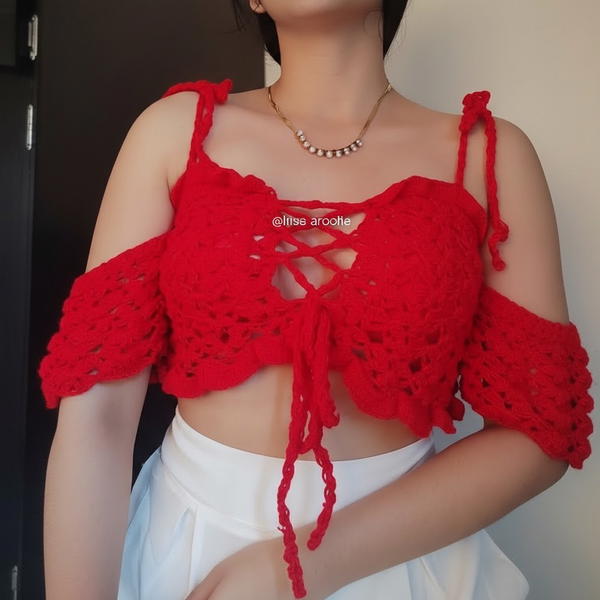
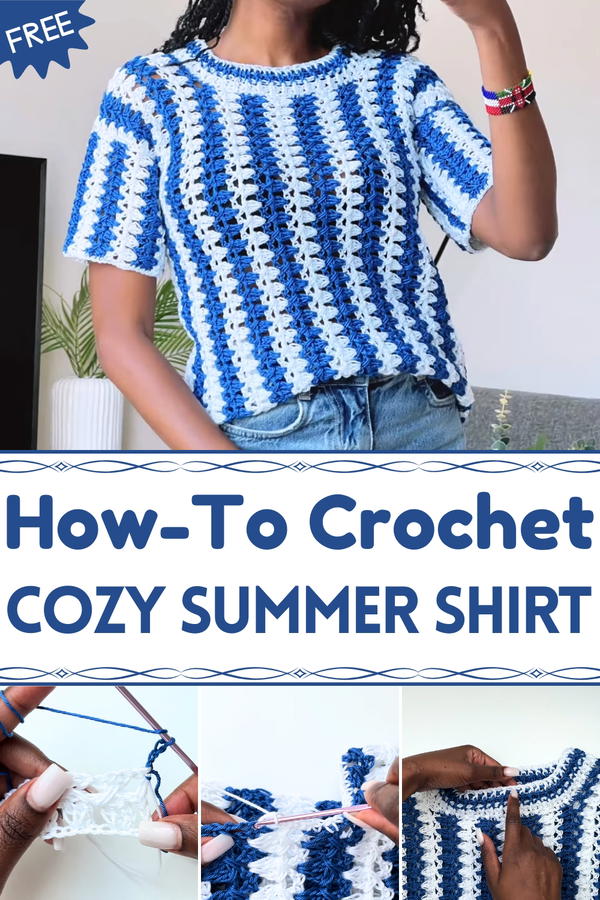
Stay cool and stylish with this Free Crochet Summer Shirt Pattern, a lightweight piece perfect for sunny days and effortless wardrobe charm.
Warm sunlight often calls for clothing that feels airy, comfortable, and effortlessly stylish, perfect for embracing the season’s relaxed pace. A Free Crochet Summer Shirt pattern captures that need, offering a lightweight garment that drapes beautifully and allows the skin to breathe during warm days. Ideal for casual outings, beach strolls, or layering over favorite tops, this shirt combines comfort with subtle elegance, making it versatile for a variety of occasions.
Modern Twist Crochet Summer Shirt Pattern That Turns Heads
The process of working each stitch encourages focus and calm, transforming yarn into a finished piece that feels both practical and gratifying. Color choices provide opportunities for personal expression, from soft neutrals that complement any wardrobe to bright, cheerful hues that celebrate sunny days. Its adaptable fit accommodates different body types, while the airy texture ensures freedom of movement and lasting comfort.
Lightweight and easy to fold, it becomes a convenient addition to travel bags or seasonal wardrobes, ready to add a stylish touch whenever needed. Whether gifted to a friend, added as a personal favorite, or worn as a go-to summer essential, this handmade shirt merges function and aesthetic appeal. A Free Crochet Summer Shirt pattern offers the joy of creative handwork while resulting in a versatile garment that celebrates warmth, style, and effortless comfort.

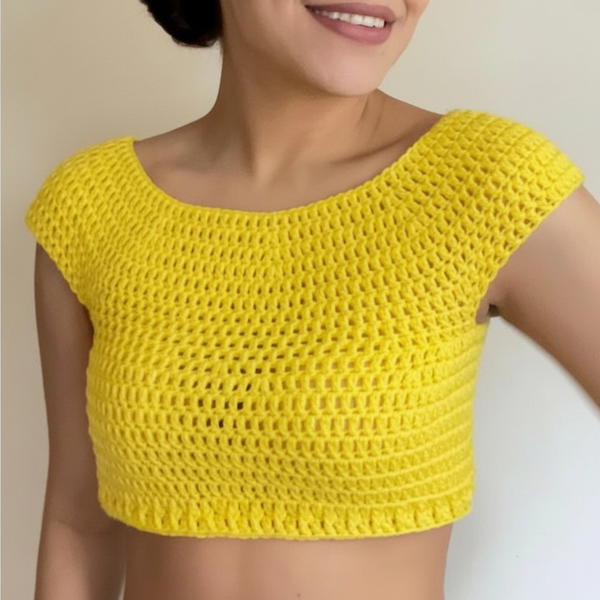
Special Features of the T-Shirt
Customizable Sizing:
- Suitable for any age or gender, with detailed instructions on adjusting measurements for shoulder width, neckline, length, and sleeve size.
Two-Row Repeating Pattern:
- Uses a granny stitch row followed by a cross-stitch row for a textured yet simple design.
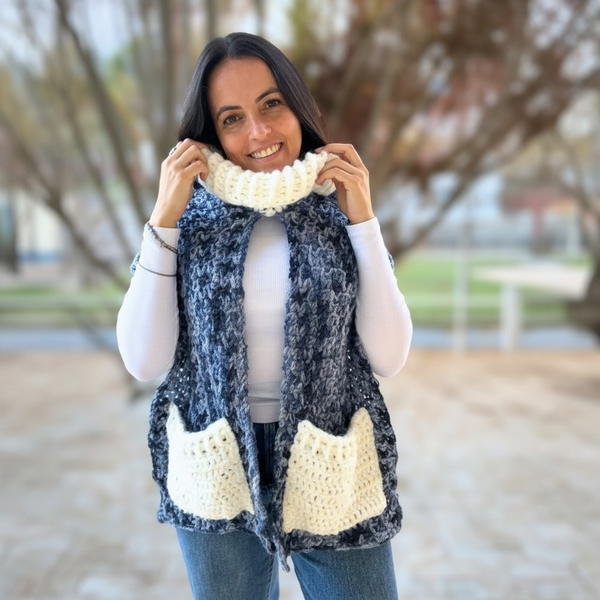
Color Coordination:
- The shirt can include matching or contrasting colors based on user preference. Agnes matched the t-shirt colors to her child’s scooter for personalization.
Comfortable Fabric:
- Made using 100% cotton yarn, making it breathable and ideal for kids or adults.
Defined Ribbing:
- Includes front post and back post stitches for the neckline, sleeves, and bottom edges for a polished finish.
Materials Needed
To create this crochet t-shirt, you’ll need:
- Yarn: 8 skeins of Wollidu Kira (100% cotton, size 2 yarn).
- 4 skeins blue and 4 skeins white were used in the tutorial.
- Hook Size: 3.0 mm crochet hook.
- Tape Measure: To take accurate measurements.
- Scissors: For cutting yarn.
- Darning Needle: For sewing panels and weaving in loose ends.
- Stitch Markers: Helpful for attaching sleeves and aligning sections.
Step-by-Step Instructions
1. Taking Measurements
Agnes emphasizes the importance of taking precise measurements:
- Shoulder-to-shoulder width: Measure the distance from one shoulder tip to the other. Add 3 inches to this measurement for extra allowance.
- Length of the shirt: Measure from the top of the shoulder to where you want the shirt to end.
- Sleeve Length: Measure from the shirt’s shoulder seam to your desired length.
2. Starting the T-Shirt Panels
Creating the Base Row (Side-to-Side Construction)
- Crochet a long chain slightly longer than the measured length of the shirt. Cut off excess once completed.
- The chain is a multiple of 3 + 5. Skip 5 chains at the start.
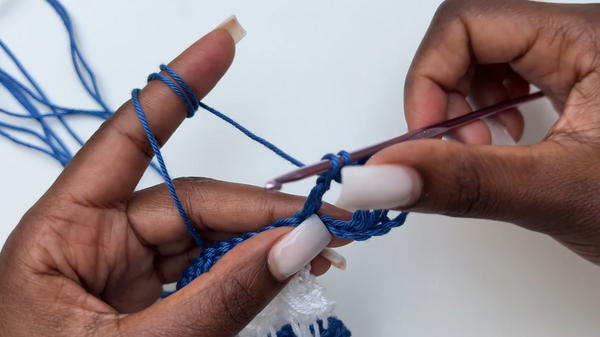
- Begin the granny stitch row:
- Work 3 double crochets (forming a cluster) into the sixth chain.
- Skip 2 chains and make another cluster in the third chain.
- Repeat clusters until the shirt's full length is achieved.
- Work 3 double crochets (forming a cluster) into the sixth chain.
- Finish the row with a single double crochet at the end for neatness.
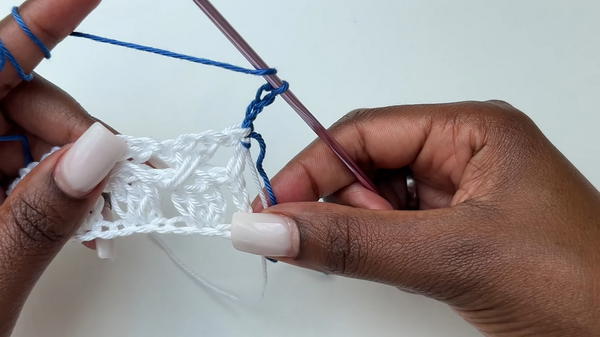
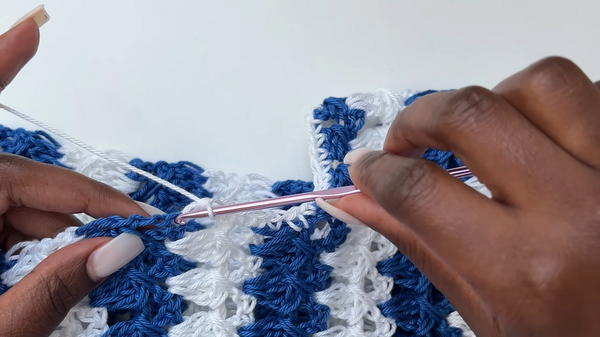
Row Two: Cross-Stitch Row
- Chain three and turn your work.
- Create a cross-stitch pattern:
- Work between clusters from the previous row. First, make a double crochet.
- Chain one, then go back to the previous stitch space and make another double crochet to form an "X."
- Repeat this step across the row.
- Keep alternating between granny stitch and cross-stitch rows.
3. Shaping the Neckline
Back Panel Neckline
- Divide the main panel according to the neckline measurements.
- Leave out a calculated section in the middle for the neckline (based on size). For example, Agnes left 7 inches in the neckline for her child’s shirt.
- Crochet fewer rows in this section to shape the neckline for the back panel (higher than the front panel).
Front Panel Neckline
- Similar to the back panel but leave more stitches for the neckline to create a lower cut. Agnes leaves four cross-stitches for the front neckline.
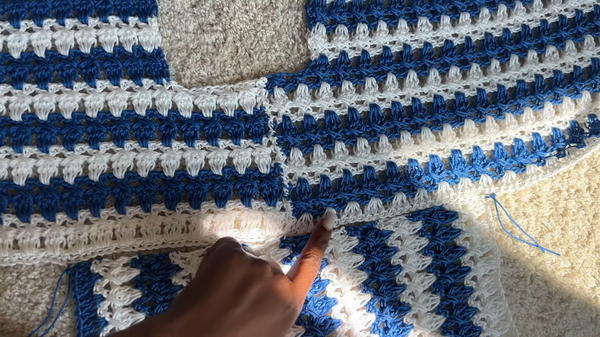
4. Joining the Panels
- Overlay the front and back panels with the wrong sides facing each other.
- Use a darning needle or your preferred sewing method (e.g., mattress stitch) to join the panels along the shoulder seams.
- Ensure alignment by counting rows and using stitch markers.
5. Adding the Sleeves
- Crochet sleeve panels separately using the same granny stitch and cross-stitch pattern.
- Measure the width of the sleeve (e.g., Agnes made hers 12 inches wide) and align it to the shoulder seam using stitch markers.
- Sew the sleeves to the body of the shirt using the mattress stitch or another method.
- Finally, sew the shirt’s side seams, including the sleeves, to assemble the full garment shape.
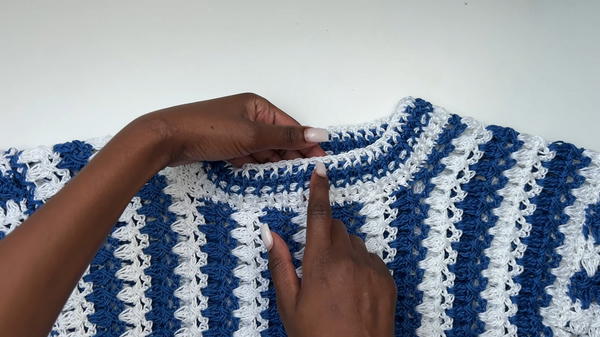
6. Neckline Ribbing
- Work an initial row of single crochets around the neckline to provide a smooth edge.
- Alternate front post and back post stitches for several rows to establish the ribbing. Agnes used a pattern of 5 ribbing rows:
- 2 rows of white yarn, 2 rows of blue, and then 1 final row of white yarn for the neckline.
- 2 rows of white yarn, 2 rows of blue, and then 1 final row of white yarn for the neckline.
7. Optional Edging for Sleeves and Bottom Hem
- Agnes worked single crochet rows on both sleeves and the shirt's bottom hem for a clean finish. This step is optional but highly recommended for a neat look.
Level of Difficulty
This project is suitable for intermediate beginners who have experience with basic stitches like double crochet, chain stitches, and slip stitches.
Tutor’s Suggestions
Focus on Measurements:
- Precise measurements are key to ensuring the shirt fits properly. Use a t-shirt or directly measure the wearer for accuracy.
Chains and Clusters:
- Don’t worry about counting chains precisely—make extra chains and cut off the excess once your panel meets the desired length.
Use Your Preferred Sewing Method:
- While Agnes recommends the mattress stitch for neat joins, try any method that works best for you.
Color Coordination:
- Experiment with colors to make the t-shirt uniquely tailored to the wearer’s preference or themed occasions.
Account for Stretch:
- Cotton yarn may stretch by 1-2 inches with wear, so build this into your measurements.
Uses of the Crochet T-Shirt
- Everyday Wear: Comfortable for casual use by kids or adults.
- Gift Idea: A handmade, personalized gift for loved ones of any age.
- Custom Projects: Experiment with colors and patterns to create themed or seasonal shirts.
Conclusion
This crochet t-shirt project is both functional and stylish, suitable for kids and adults. The two-row repeat makes the pattern simple yet visually appealing. The flexibility in sizing and color choices allows endless customization possibilities.
Bonus Tip
When working with cotton yarn, avoid overly tight stitches to prevent your work from looking stiff and ensure breathability. Checking measurements periodically will also ensure the t-shirt fits perfectly.