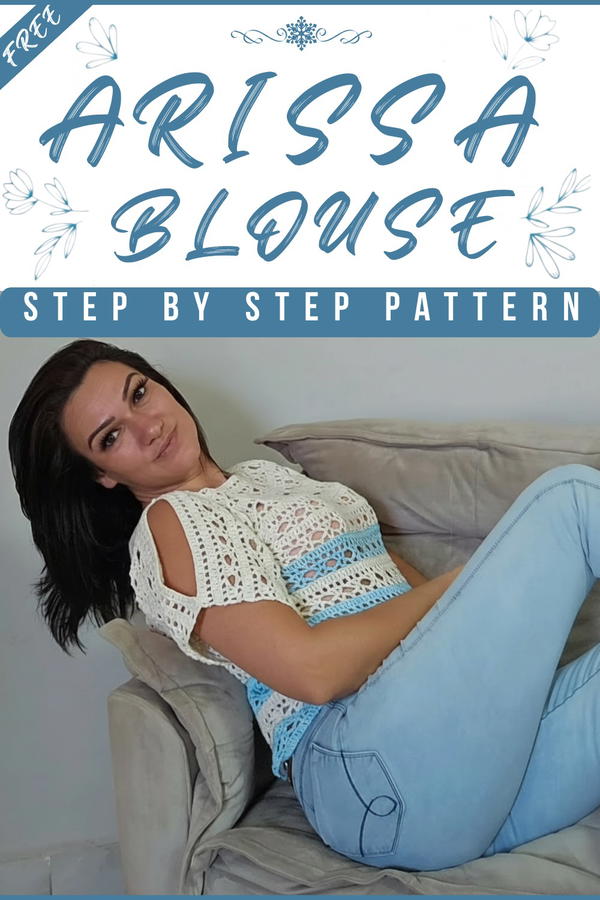
Light, breathable, and effortlessly stylish, this blouse brings charm and elegance to any outfit. The Crochet Arissa Blouse Pattern features a stunning design with intricate details that make it a standout piece for every occasion. Whether you’re heading to casual gatherings or dressing up for special events, this blouse adapts perfectly to your needs.
Free Crochet Arissa Blouse You’ve Been Dreaming Of
Its soft texture and airy feel make it ideal for warm days, while its sophisticated look works beautifully for layering during cooler seasons. The pattern creates a timeless beauty with a flattering fit for all body types, combining comfort and grace seamlessly.
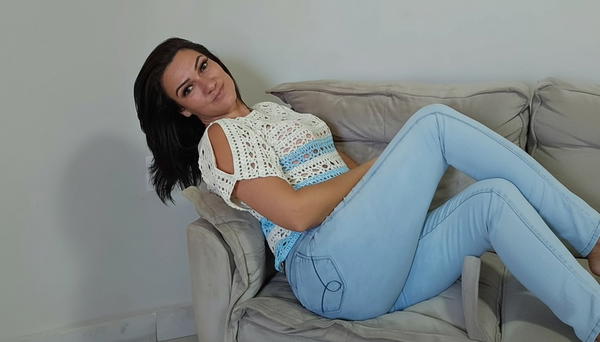
Pair it with jeans, skirts, or trousers to elevate your style effortlessly, while the delicate crochet work adds a touch of handmade magic. Perfect for crafting your own unique look, this blouse balances everyday practicality with elegance, making it a versatile wardrobe favorite that will never go out of style.
Materials List
Yarn:
- Charme Yarn by Círculo (Tex 378):
- Used here in Azul Candy (Color #22) and Natural (Color #20).
- Approximately 1 skein of each color for size G (you may need more for larger sizes).
Tools:
- Crochet Hook: 3 mm recommended for the base pattern.
- Finishing Needle: Use a 2.0 mm or 2.5 mm needle for weaving in ends.
- Optional: Tapestry Needle for easier finishing.
- Stitch Markers: Helpful for measuring or holding areas to be sewn.
- Measuring Tape: For bust and sleeve measurements.
Skill Level
- Intermediate to Advanced.
Key Abbreviations
(All terms are in US Crochet Terminology.)
- ch: chain
- sc: single crochet
- dc: double crochet
- st: stitch
- sp: space
- sl st: slip stitch
- rep: repeat
- yo: yarn over
Special Notes
- Blouse is Worked in Multiples of 6: Ensure the foundation chain is a multiple of 6 for symmetry.
- Measure Bust and Divide by Two: This will determine the width of the front and back panels.
- Sizing: Size G is made with a bust measurement of 44 inches using ~45 cm (17.7 inches) for the width of each panel. Adjust for smaller or larger sizes.
- Sleeves: Instructions for customization and increases are included.
Pattern
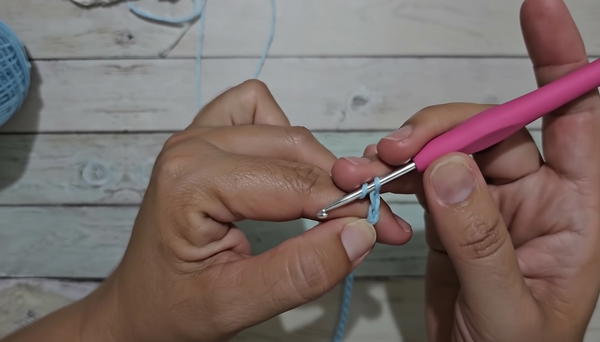
1. Foundation Chain
- Create a slip knot and begin chaining in multiples of 6 until the length matches half your bust measurement.
- For example, if your bust measures 90 cm (35.5 in), chain until it measures 45 cm (17.7 in).
- Once the desired measurement is reached, add 2 extra chains (this will create the turning chain for the first row).
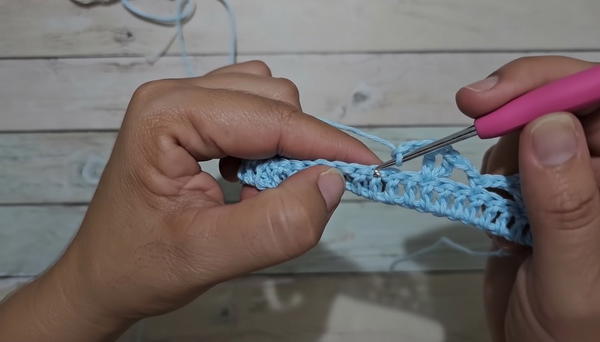
2. Row 1 (Double Crochet Base Row):
- Begin by yo, skip the first 3 chains from the hook.
- Work 1 dc in the 4th chain from the hook.
- 1 dc in each chain across to the end of the row.
- Turn your work.
Tip: Keep stitches slightly loose for this pattern to ensure a comfortable drape.
3. Row 2 (V-Stitch Pattern):
- Ch 3 (counts as 1 dc), then ch 2 (counts as a separating chain).
- Skip 2 dc from the base row and work a V-stitch (1 dc, ch 2, 1 dc) in the next st.
- A V-stitch is created by inserting both dc into the same base stitch.
- Ch 2, skip 2 dc, and make another V-stitch in the next st.
- Repeat this pattern until the end of the row.
- At the end: ch 2, skip 2 st, 1 dc in the top of ch-3 from the previous row. Turn.
4. Row 3 (Fan Pattern):
- Ch 3 (counts as 1 dc), then ch 2 (separating chain).
- Inside each V-stitch, work a Fan Stitch:
- (1 dc, ch 1, 1 dc, ch 1, 1 dc).
- Each fan consists of 3 dc separated by 2 ch-1 spaces.
- Between each fan: Ch 2 and move to the next V-stitch.
- Repeat the fan motif across the row, ending with 1 dc in the 3rd chain of turning ch from the previous row.
- Turn work.
5. Row 4 (Alternating Fans):
- Ch 3 to turn and begin the row.
- For every fan from the previous row, work the following:
- (1 dc, ch 1, 1 dc, ch 1, 1 dc).
- Between each fan, work *ch 2, 1 dc in the center space between fans from the previous row, and ch 2, continue fans inside the next V-stitch space.
6. Repeat Rows 3 and 4 for Length
Continue alternating fan rows for the desired length of the blouse front and back panels. For Size G, work 7 motif repeats (measuring ~32 cm / 12.5 in).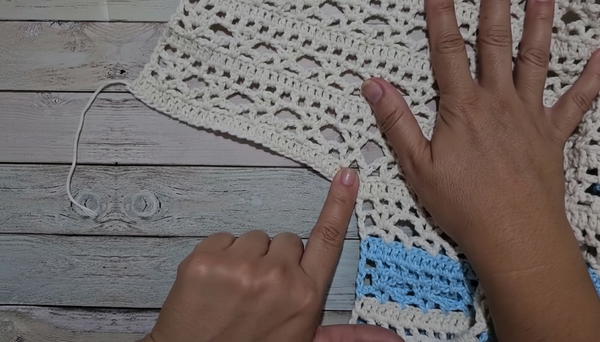
7. Sleeves (Optional):
(a) Adding Chain Extension for Sleeves:
- At the base, count how many chain stitches need to be added for the circumference of your armhole.
(For reference: approx. 30 chains = 16 cm (6.3 in).) - Add these chain stitches to both sides of the blouse before joining the front and back panels.
(b) Working Sleeve Pattern:
- Work 4 motif repeats (32 rows of fans) for the desired sleeve length.
- End with a row of dc with holes, followed by a final solid dc row for a clean edge.
8. Joining the Front and Back Panels
- Use a tapestry needle or sl st to seam both sides of the panels together.
- For the neckline and shoulder seam, leave a space of 46 dc stitches (each side) for the neckline opening.
- Test-fit the blouse to confirm the neckline and shoulder seam lengths before finalizing.
9. Details and Finishes
Optional Side Detailing:
Leave 1-2 cm (roughly 3-4 stitches) unsewn for a decorative side slit, or sew the sides completely for a more fitted look.Weaving in Ends:
Weave in all loose ends with a tapestry needle.
Conclusion
Your Arissa blouse is now complete! With its elegant fantasy stitch and customizable design, this blouse adds style to your wardrobe while being an approachable project for crochet enthusiasts.
Pattern Correction
If your foundation chain becomes uneven after starting, undo and carefully recount your chains to ensure you maintain the correct multiple of 6.
Tips for Success
- Relax Your Stitches: Loosen tension for a softer drape.
- Measuring for Sleeves: Use a measuring tape over the shoulder to ensure the sleeve length matches your ideal fit.
- Customization: Experiment with colors and textures, or add decorative seams for a unique style!
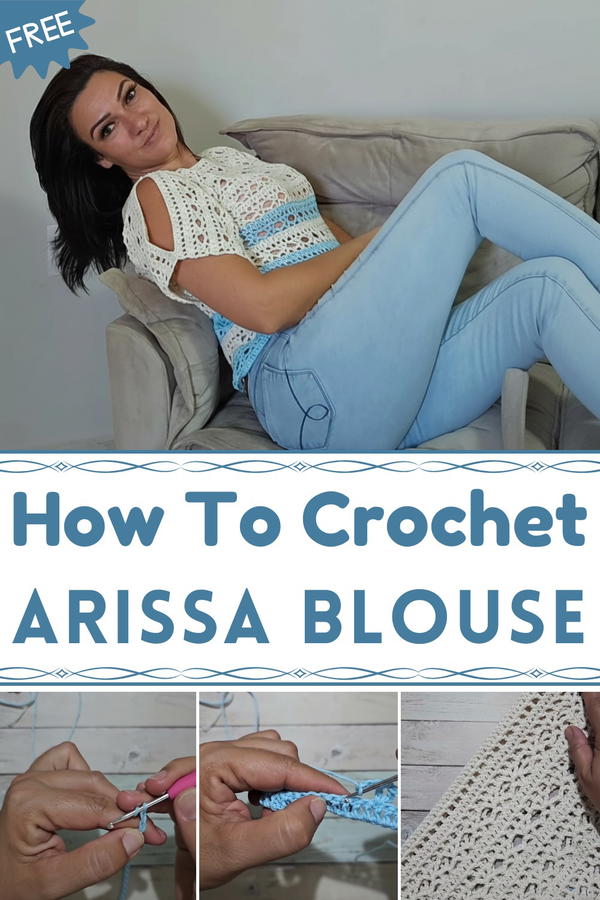
Crochet Arissa Blouse Pattern – Step-by-Step
This easy-to-make Arissa blouse is versatile, delicate, and has a beautiful texture crocheted with a simple fantasy stitch. It is suitable for intermediate to advanced crocheters and offers customization options for size and sleeve length. Perfect for casual or formal wear, this project is quick, affordable, and produces stunning results.