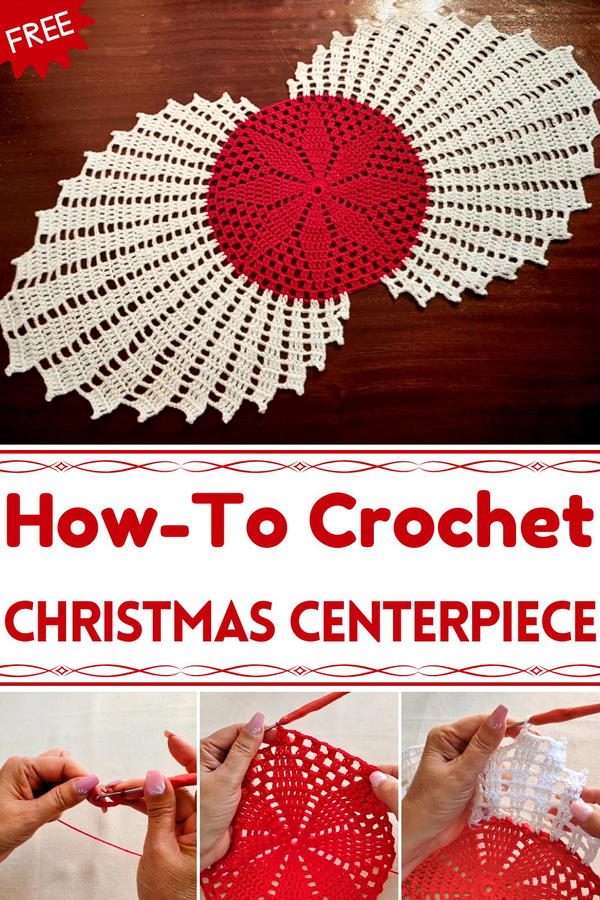
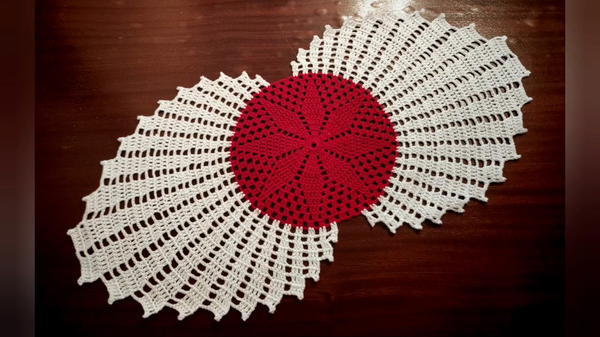
Grace your table beautifully with this Free Crochet Christmas Centerpiece Pattern, forming layers, adding accents, and finishing for a festive display.
Its beauty lies in the harmony of color, form, and simplicity, bringing a handmade touch that instantly lifts the atmosphere. This centerpiece serves not only as decoration but also as a lasting reminder of the joy found in thoughtful details. Suitable for beginners and experienced makers alike, the pattern offers an enjoyable way to bring tradition into modern holiday décor.
Its versatility allows it to complement candles, ornaments, or greenery, tying every element together beautifully. The Free Crochet Christmas Centerpiece Pattern turns every table into a reflection of warmth, connection, and festive spirit—proof that the most memorable celebrations begin with the smallest touches made by hand and filled with heart.
Special Features
- Versatile Design: Fully customizable in terms of size, color, and accent decorations.
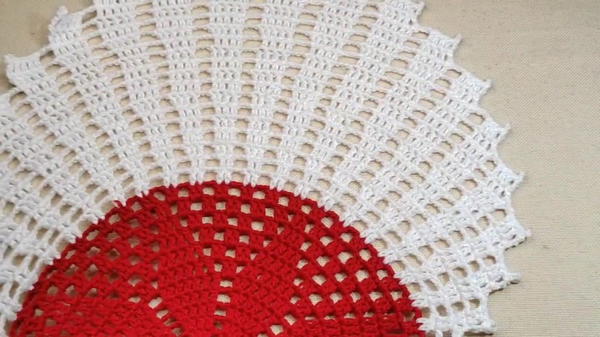
- Timeless Appeal: Based on an old and classic pattern that is beautifully detailed.
- Unique Two-Part Construction: The centerpiece is created in two symmetrical halves for a balanced and polished look.
- Detailed Tutorial: Clear step-by-step instructions for all stages of the project.
Materials Needed
- Thread: 100% cotton thread, four-ply, similar to Aunt Lydia’s #3 (tutor used thread from Portugal).
- Recommended colors: red, white, green, or gold for a seasonal touch.
- Crochet Hook: 2.75 mm hook is suggested (smaller hook yields tighter, neater stitches).
- Scissors: For trimming and cutting threads.
- Markers: To track your starting and ending points across the rows.
- Optional Embellishments: Small crocheted butterflies (pattern available in the video description) or other seasonal accents.
- Blocking Supplies: Pins and a blocking mat to shape the final piece.
- Yarn Needle: For weaving in ends.
Level of Difficulty
- Beginner-Intermediate:
- Basic stitches (chain, slip stitch, and double crochet) are used throughout the project.
- Lightly advanced techniques like increasing, decreasing, and creating picots (decorative stitches).
- Great for improving stitch tension and symmetry skills.
Tutor’s Suggestions and Insights
- Thread Tension: If you tend to crochet tightly, substitute the 2-chain spaces with 3 chains to maintain symmetry.
- Size Adjustments: You can increase the size of the centerpiece by adding more rows, following the established pattern of increases.
- Construction Notes:
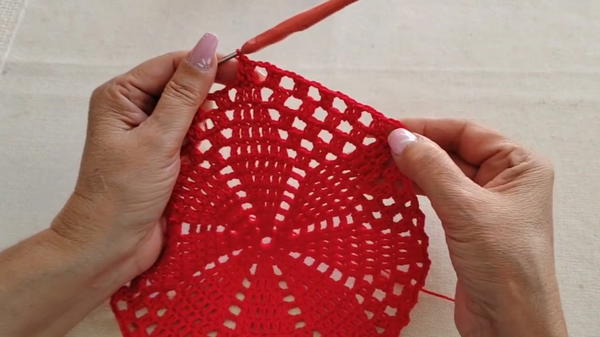
- First, the foundation is created as rows increase in width using repeated stitches.
- The piece is crafted in two halves (working one side fully, then replicating on the other side).
- Blocking Recommended: To bring out the shape and refine the symmetrical design, block your work after completing the project.
- Seasonal Embellishments: Consider adding a decorative touch, like crocheted butterflies, or light beads/ribbons, to fit your holiday theme.
Step-by-Step Details
1. Start With the Base
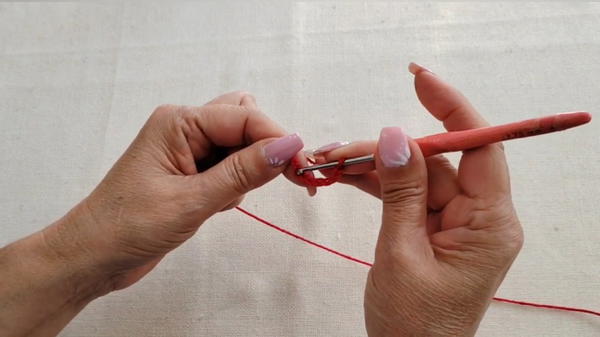
- Foundation Round: Chain 8, slip stitch into the first chain to form a loop.
- Create 8 groups of 2 double crochets, separated by 1 chain in between. Close with a slip stitch.
2. Build the Increasing Rounds
- Next Rounds: Each round increases double crochets per group:
- Round 2: 3 double crochets in each group.
- Round 3: 4 double crochets in each group (increasing on the last double crochet in each group).
- Continue increasing the stitch count by 1 in each row until you reach 7 double crochets in each group.
3. Begin the Decreasing Rows
- Row 8–11: Decrease the double crochets in each group systematically (6, 5, etc.) until the group size reduces to 3 double crochets.
- Work decorative chain spaces in between groups and incorporate picots for a polished, elegant finish.
4. Create the Motif Segments
- Once the foundation is done, divide the work into halves:
- Mark the halfway point, counting 22 groups from the center.
- On one side, crochet groups of double crochets and chain spaces (increasing and decreasing as required).
- Leave a space of 3 "blocks" between motifs for symmetry.
5. Adding Decorative Picots
- Picots are created at the top edges during each row to add a decorative flair.
- Consist of a 3-chain loop worked back into a previous stitch, creating a small pointed edge.

6. Block and Assemble
- After completing both halves, block your work to finalize the shape and size.
- Add embellishments if desired (e.g., crocheted butterflies or small Christmas décor).
Uses
- Table Centerpiece: Ideal as a holiday focal piece for dining or coffee tables.
- Festive Decor: Use as a base for larger Christmas displays, candles, or floral arrangements.
- Gift Idea: Make one as a handmade holiday gift for friends or family.
Conclusion
This crochet Christmas centerpiece is a blend of elegance, creativity, and tradition. The pattern allows for personalization, with different colors and optional embellishments to suit various tastes. Perfect for both seasonal crafting and as a meditative project, it results in a uniquely stunning decoration that spreads holiday cheer. With the detailed tutorial, even beginners can confidently create this masterpiece.
Pro Tip
Keep tension consistent to achieve even rows, especially during increases and picot stitches. If in doubt, practice the decorative picots on a scrap swatch before incorporating them into the project.


