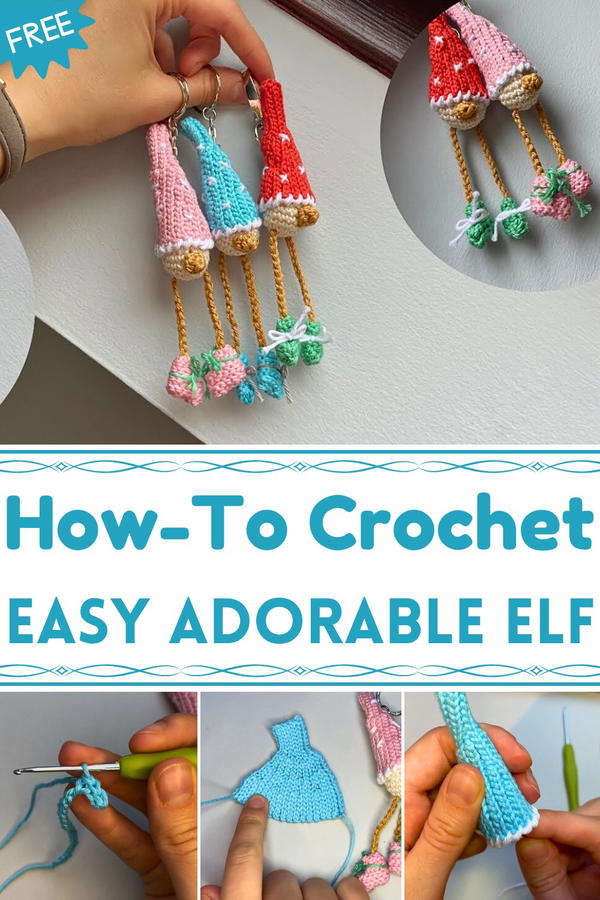
Add whimsical charm to your creations with this Free Crochet Elf Pattern, perfect for crocheting adorable, handmade decorations and festive gifts.
On a quiet winter evening, a small figure with pointed ears and a mischievous grin first captured the imagination of a curious crafter. The Free Crochet Elf pattern brings this playful character to life, turning simple yarn into a charming miniature companion. Each stitch contributes to a sturdy yet soft form, making these elves perfect for seasonal decorations, festive table displays, or whimsical gifts for friends and family.
Playful Crochet Elf Pattern That Inspires Festive Creativity
Working on this pattern encourages fine motor skills, patience, and precision, transforming the act of crocheting into a calming, meditative experience. The elf’s compact size allows for versatile use: they can perch on shelves, adorn holiday trees, or be integrated into handcrafted scenes, adding personality and color to any setting. Multiple elves can be combined to create themed collections, playful displays, or interactive décor that sparks joy and conversation.
Lightweight but durable, these figures maintain their shape while offering tactile appeal, making them enjoyable to hold and display. Beyond decoration, crocheting the elf fosters creativity and provides a sense of accomplishment with each completed piece. The Free Crochet Elf pattern turns ordinary yarn into a delightful, multifunctional companion, offering both charm and practical benefits that brighten spaces and inspire thoughtful, hands-on creativity.
Materials Required
- Yarn:
- Primary colors: Green, white, red, and blue for the elf’s body, hat, and boots.
- Secondary colors: Brown (for the nose) and a contrasting thread for additional details.
- Crochet Hook: Size 2mm.
- Yarn Needle: For sewing and making decorative details.
- Scissors: For trimming yarn tails.
- Stuffing Material: For filling the elf’s head and body.
- Optional: A different color thread for adding decorative stars to the hat.
Step-by-Step Instructions
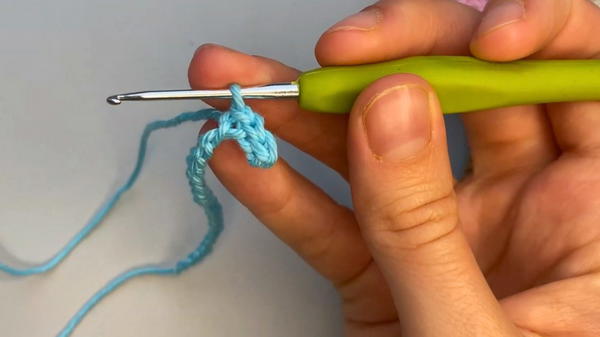
1: Creating the Hat
- Begin with a foundation of 25 chain stitches.
- Work slip stitches into the chain stitches in the next row.
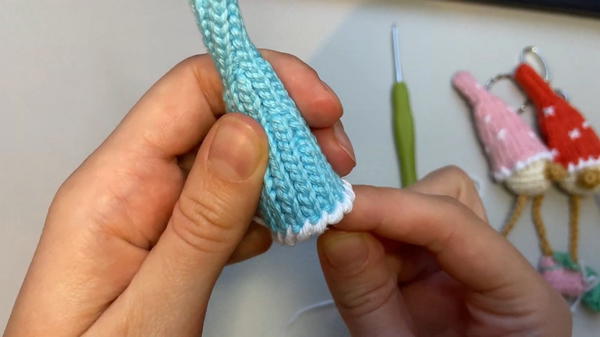
- For subsequent rows, crochet in the back loop only to create a ribbed texture.
- Alternate rows with decreasing numbers of stitches:
- Row 1: 14 slip stitches.
- Row 2: 10 slip stitches.
- Row 3: 6 slip stitches, then decrease to 4.
- Repeat until reaching the tip.
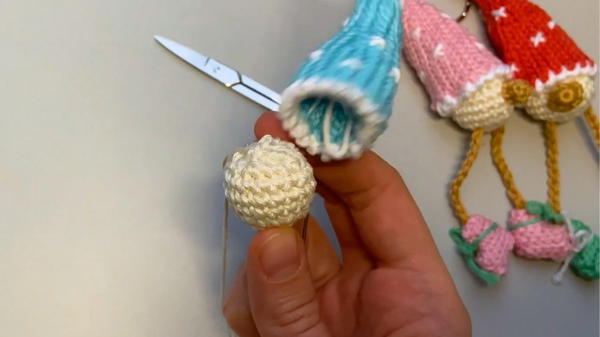
- Once complete, sew the seam to form the pointed, folded hat and decorate as desired with yarn designs like stars or stripes.
2: Crocheting the Head
- Start with a magic ring and make 6 single crochets into the ring.
- Continue adding increases:
- Round 2: Make an increase in each stitch to form 12 stitches.
- Round 3: Follow a pattern of single crochet followed by an increase until there are 18 stitches.
- Work 3 more rows of 18 stitches to create the head’s shape.
- Begin decreasing in later rows and incorporate stuffing as the opening narrows.
3: Designing the Body
- Repeat the same technique as the head, starting with a magic ring and working in rounds.
- Adjust the size to your preference by increasing and decreasing the stitch count.
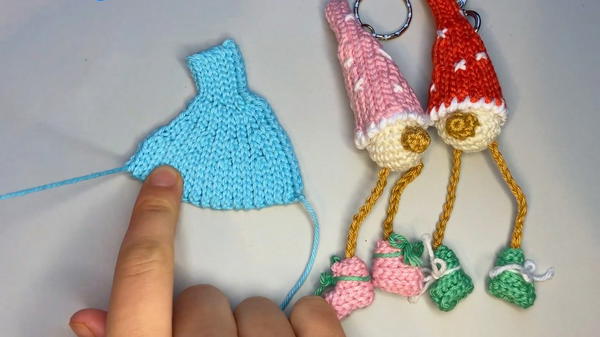
4: Crafting the Boots and Legs
- For the boots, crochet a foundation chain of 12 stitches and work slip stitches back in rows.
- Reduce stitch count over several rows to shape the boot tips.
- Create the legs by forming chains of 40 stitches, which will be later joined to the boots.
- Sew the boots to the legs and attach them securely to the body.
5: Adding the Nose
- Using brown yarn, crochet another magic ring with 6 single crochets.
- Sew the small circle to the center of the elf’s face to create the nose.
6: Assembling the Elf
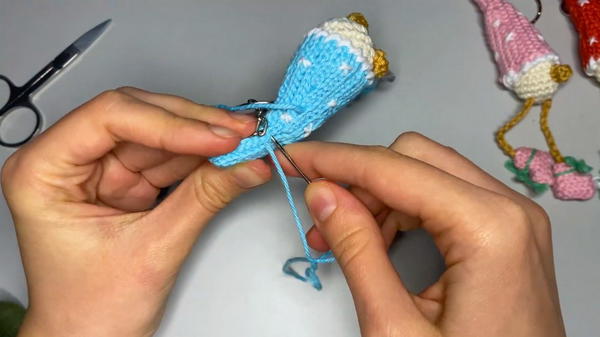
- Attach the head to the body using a yarn needle and a long tail of yarn. Ensure that it is secured tightly.
- Add the decorative hat to the top of the head and sew it neatly in place.
- Affix the legs to the bottom of the elf’s body and hide any excess yarn.
7: Decorative Additions
- Use contrasting yarn to embroider stars or patterns onto the hat or body.
- Embellish with other creative details, such as belts or additional stitching.
Special Features
- Customizable: You can modify the colors, patterns, or design details to suit your taste or match the season.
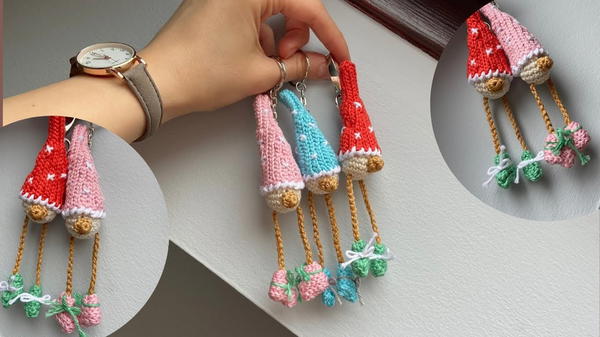
- Compact Size: The finished elf is small and portable, making it a versatile piece for ornaments, keychains, or standalone decorations.
- Beginner-Friendly Technique: The project predominantly uses slip stitches and single crochet, making it accessible for newer crocheters while still engaging for experienced crafters.
Difficulty Level
Beginner to Intermediate
- The steps are broken down clearly, which makes it suitable for crocheters who understand basic stitches.
- Some precision is required when working with decreases and assembling the pieces, hence intermediate-level skills may be helpful.
Tutor’s Suggestions
- Focus on Tension: Keep an even tension throughout to maintain uniformity in the shape of the elf.
- Pay Attention to Hidden Stitches: Especially when working in loops or turning the work, double-check for hidden stitches to avoid errors.
- Experiment with Colors: The tutor encourages using different yarn colors to make your elf unique.
- Add Personal Touches: Small details like stars, patterns, or extra accessories enhance the final look.
Uses
- Holiday Decorations: Perfect as festive tree ornaments or tabletop displays.
- Handmade Gifts: A sweet, thoughtful present for friends and family.
- Playful Toy: These soft and safe elves make excellent toys for kids or decorative companions in a nursery.
Tip
When assembling the elf, leave long yarn tails for each piece. These tails can double as sewing materials, reducing the need for extra knots and improving the final look by minimizing loose ends.
Conclusion
This crochet elf is a delightful project, combining fun, creativity, and practicality. The step-by-step tutorial ensures you can crochet a beautiful elf even if you're new to crocheting. With its customizable design, durability, and charm, this elf is perfect for gifting, decorating, or simply adding a touch of joy to your home.


