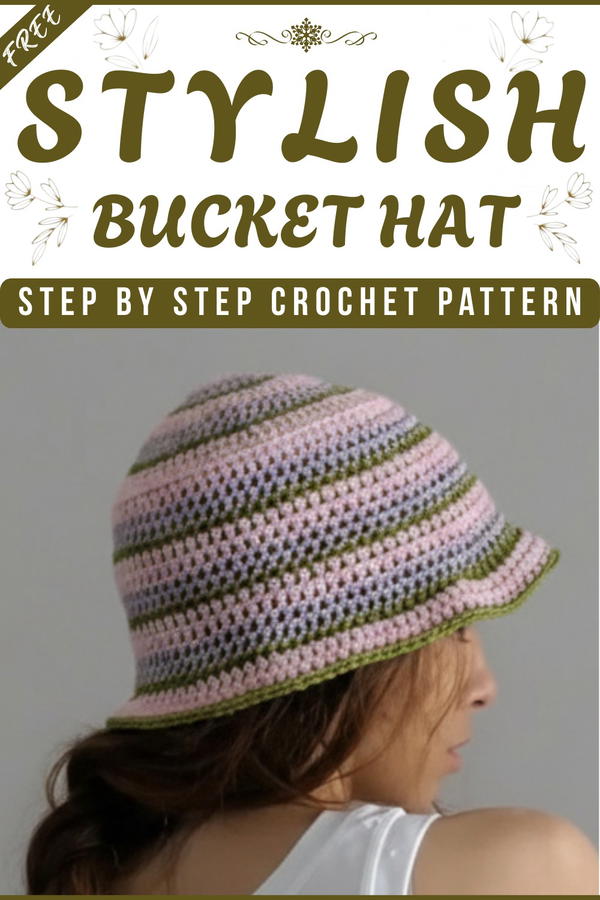
A soft round hat with a comfortable brim can brighten up any look and help you stay cool and stylish under the sun. The crochet bucket hat pattern is easy to follow, making a light and flexible hat that’s perfect for everyday wear. The beauty of this design is in its unique and cozy look, which makes each bucket hat feel special. You can wear it to the beach, out for a walk, or simply to add a fun touch to your daily style.
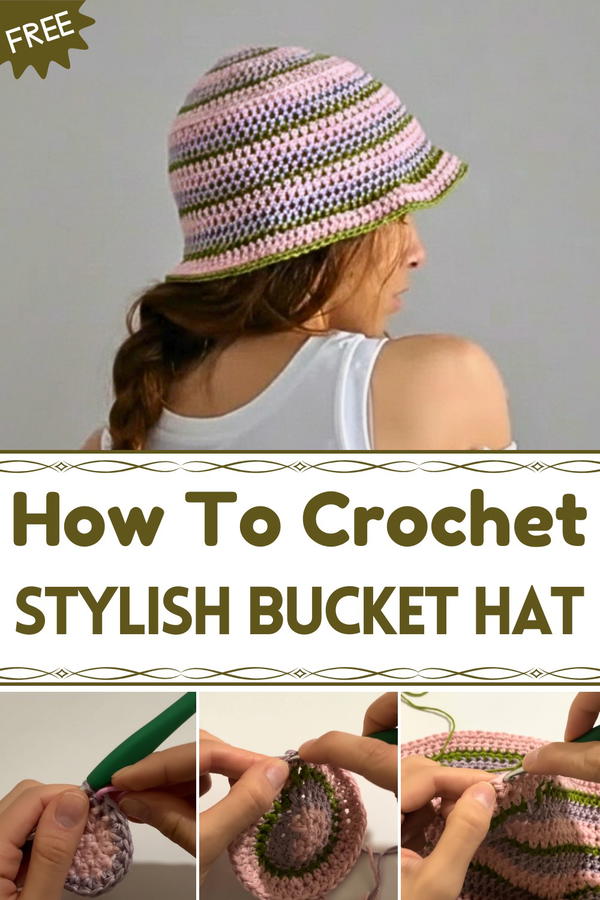
Sunlit Crochet Bucket Hat Pattern for Outdoor Adventures
This hat is suitable for any age, fitting both kids and adults. One important feature is how easy it is to fold and take with you anywhere, plus you can make it in any color to match your favorite outfit. The crochet bucket hat pattern is loved for its comfort and the cheerful style it brings to anyone who puts it on.

Crochet Bucket Hat Pattern
Materials
- Yarn: Cotton yarn, or material of your preference (medium worsted weight recommended)
- Hook: 5 mm crochet hook
- Notions:
- Measuring tape
- Scissors
- Stitch markers (or scoreboard)
- Tapestry needle
Skill Level
Intermediate to Advanced
Key Abbreviations (US Terms)
- ch = chain
- hdc = half double crochet
- sc = single crochet
- st(s) = stitch(es)
- sl st = slip stitch
- rep = repeat
- inc = increase (2 stitches in one)
Special Notes
- Hat is worked in continuous rounds; use a stitch marker to denote the first stitch of each round.
- Color changes can be made at the end of any round by completing the last stitch with the new color.
- Increases are made by working 2 hdc into the same stitch.
Pattern Instructions
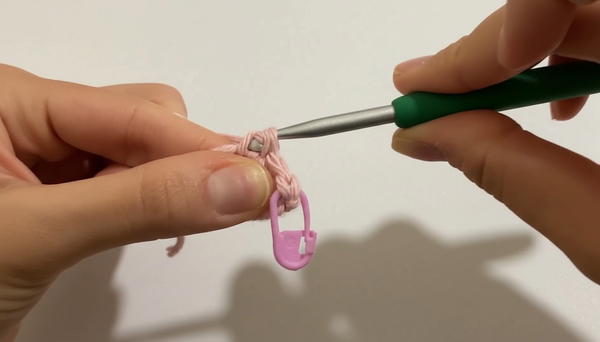
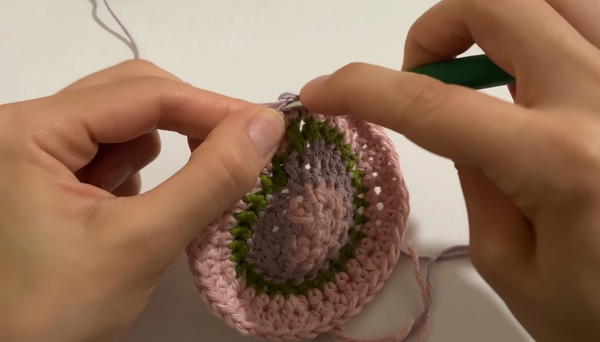
1. Magic Ring Foundation
- Make a magic ring.
- Ch 1 to secure the ring.
2. Round 1
- Work 6 hdc into the magic ring.
- Place marker in first stitch.
- Pull the yarn tail to close the ring.
3. Round 2
- Inc in each stitch: 2 hdc in each hdc around (12 hdc).
- Place marker in first stitch.
4. Round 3
- (1 hdc, inc) around:
- 1 hdc in first st, inc in next st (2 hdc in same st).
- Repeat sequence around (18 hdc).
5. Round 4
- (2 hdc, inc) around:
- 1 hdc in first st, 1 hdc in next st, inc in third st.
- Repeat sequence around (24 hdc).
6. Round 5
- (3 hdc, inc) around:
- 1 hdc in each of the next three sts, inc in fourth st.
- Repeat sequence around (30 hdc).
7. Round 6
- (4 hdc, inc) around:
- 1 hdc in each of the next four sts, inc in fifth st.
- Repeat sequence around (36 hdc).
8. Round 7
- (5 hdc, inc) around:
- 1 hdc in each of the next five sts, inc in sixth st.
- Repeat sequence around (42 hdc).
9. Round 8
- (6 hdc, inc) around:
- 1 hdc in each of the next six sts, inc in seventh st.
- Repeat sequence around (48 hdc).
10. Round 9
- (7 hdc, inc) around:
- 1 hdc in each of the next seven sts, inc in eighth st.
- Repeat sequence around (54 hdc).
11. Round 10
- (8 hdc, inc) around:
- 1 hdc in each of the next eight sts, inc in ninth st.
- Repeat sequence around (60 hdc).
12. Round 11
- (9 hdc, inc) around:
- 1 hdc in each of the next nine sts, inc in tenth st.
- Repeat sequence around (66 hdc).
13. Round 12
- (10 hdc, inc) around:
- 1 hdc in each of the next ten sts, inc in eleventh st.
- Repeat sequence around (72 hdc).
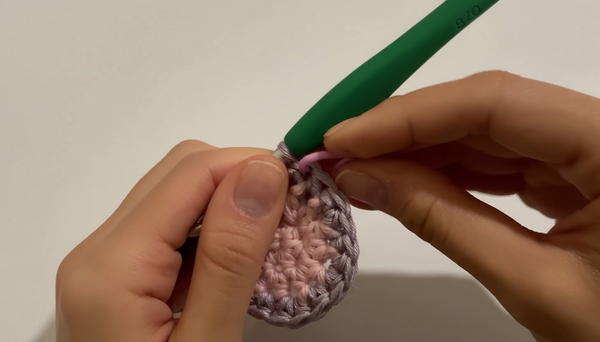
14. Round 13 (Ribbed Edge)
- Work hdc in BLO (back loop only) in each st around (72 hdc).
- Place marker in first stitch.
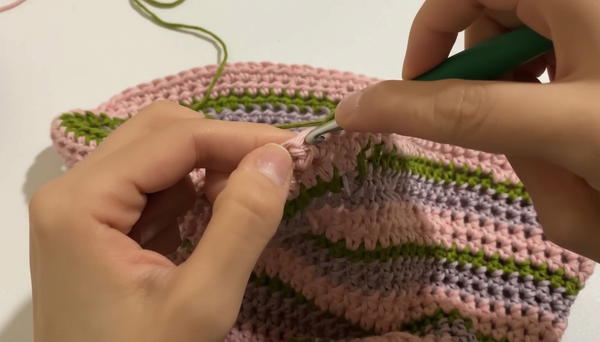
15. Rounds 14–23 (Body of Hat)
- Work hdc in each stitch around, no increases.
- Mark first stitch each round.
- Work 10 rounds (or desired height; sample: ~8 cm).
16. Round 24 (Side Edge)
- (11 hdc, inc) around:
- 1 hdc in each of the next eleven sts, inc in twelfth st.
- Repeat sequence around (78 hdc).
17. Round 25
- (12 hdc, inc) around:
- 1 hdc in each of the next twelve sts, inc in thirteenth st.
- Repeat sequence around (84 hdc).
18. Round 26
- (13 hdc, inc) around:
- 1 hdc in each of the next thirteen sts, inc in fourteenth st.
- Repeat sequence around (90 hdc).
19. Round 27
- (14 hdc, inc) around:
- 1 hdc in each of the next fourteen sts, inc in fifteenth st.
- Repeat sequence around (96 hdc).
20. Round 28
- Work hdc in each stitch around, no increases (96 hdc).
21. Round 29 (Final Round)
- Work sc in each stitch around, no increases (96 sc).
- Join first st with sl st.
- Make one more sl st in next st.
- Ch 1; fasten off.
22. Finishing
- Use tapestry needle to weave in all yarn ends.
Conclusion
This pattern produces a comfortable and classic crochet hat. With stepwise increases and a ribbed border, this hat fits smoothly and is easily customizable in size and color. The pattern’s seamless construction makes it perfect for gifting or personal wear.
Pattern Corrections & Tips
Correction:
- For different hat sizes, adjust starting rounds or total increase rounds accordingly.
- If your stitch count doesn't match after increases, check for missed stitches or errors in sequence.
Tips:
- Use a stitch marker for the first stitch of each round to keep count.
- Change colors at the end of a round by completing the final stitch with the new color strand.
- The ribbing is worked in back loops only for a textured edge.
- Try the hat on as you go and add rounds to adjust the height or fit if needed.