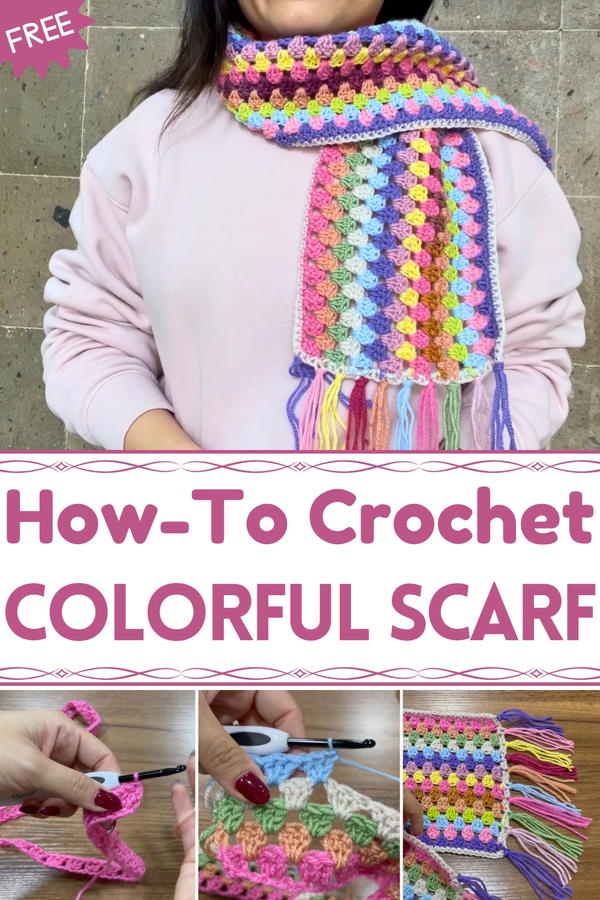
Wrap in vibrant style with this Free Crochet Colorful Scarf Pattern, offering a lively, handmade touch that brightens outfits and adds cheerful flair.
Scarves have long served as both functional garments and expressions of personal style, offering warmth while complementing an outfit’s colors and textures. Incorporating vibrant hues into a scarf adds energy and charm, turning a simple accessory into a statement piece. The Free Crochet Colorful Scarf Pattern provides a way to craft a lively, eye-catching scarf that combines comfort with visual appeal. Lightweight yet cozy, it offers protection against chill while remaining breathable, making it ideal for daily wear, seasonal transitions, or layering with outerwear.
Bright Crochet Colorful Scarf Pattern to Cheer Up Any Outfit
The alternating colors and textured stitches create dynamic patterns that draw attention and enhance any ensemble, while allowing crafters to customize palettes according to personal taste or trends. Step-by-step instructions guide both beginners and experienced crocheters, ensuring a satisfying and accessible project that rewards focus and patience. Beyond practical benefits, working on this scarf encourages mindfulness, offering a relaxing and productive crafting experience.
Finished scarves serve multiple purposes: as stylish everyday accessories, thoughtful handmade gifts, or vibrant accents for seasonal wardrobes. Each completed piece embodies warmth, creativity, and handcrafted charm, transforming yarn into a functional accessory that brightens outfits, lifts spirits, and adds a personalized touch to daily routines, proving that practicality and artistry can coexist beautifully.

Materials Required
- Yarn: Leftover yarn, approximately 2mm in thickness. The tutorial uses a total of 100g of yarn, consisting of various colors.
- Crochet Hook: 4.5mm to match the yarn thickness.
- Scissors: For trimming and cutting strands of yarn.
- Yarn Needle: For weaving in loose ends.
Step-by-Step Instructions
Step 1: Starting the Foundation Chains
- Create a slip knot on your hook.
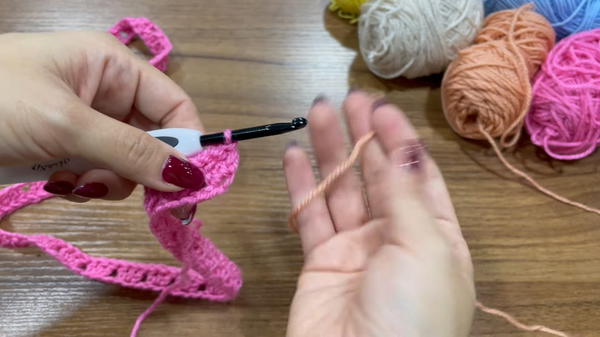 Chain a length that is a multiple of three and matches your desired scarf length.
- Example: For a scarf that is 1 meter long, chain 150 chains.
- Add 1 extra chain to the starting chain to set up row one.
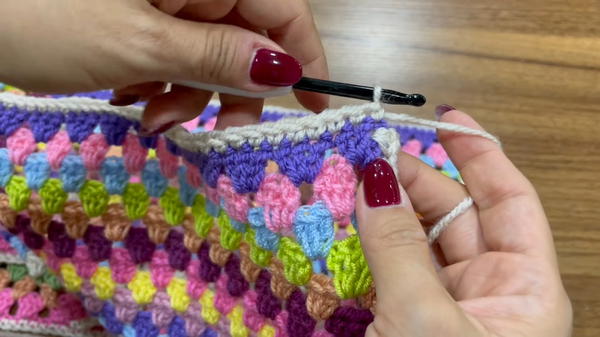
Step 2: Row 1
Begin with a granny stitch pattern:
- Skip the first 3 chains after the hook.
- In the 4th chain, make 2 double crochets (dc) within the same chain.
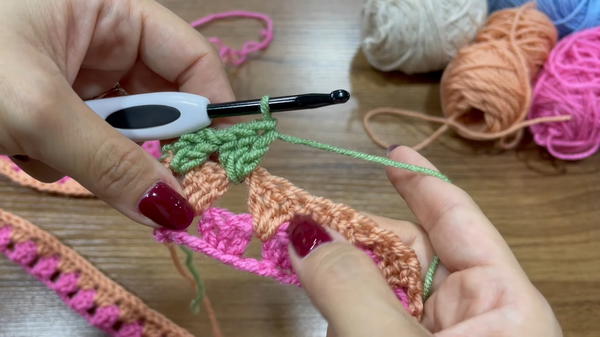
- Combined with the skipped 3 chains at the start, this forms the first group of 3 double crochets.
Repeat the pattern:
- Skip 2 chains.
- Make 3 double crochets in the next chain.
Continue this process until the end of the row, finishing the granny stitch groups.
Step 3: Change Colors
- Cut the current yarn at the end of row 1.
- Attach a new color of yarn to start row 2.
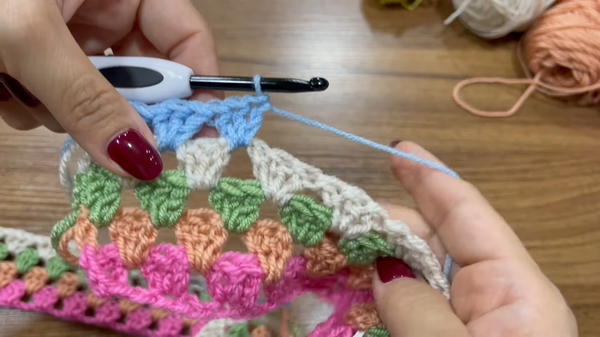
Step 4: Row 2
- Chain 3 stitches (counts as 1 double crochet).
- Work within the spaces between the granny stitch groups:
- Make 3 double crochets into the open spaces between the groups from row 1.
- Repeat this for each space, filling each gap with a new group of 3 double crochets.
- At the end of the row, make 1 double crochet into the top of the chain 3 from the previous row.
Step 5: Subsequent Rows
- Begin each row by chaining 3 stitches.
- Alternate repeating rows 2 and 3:
- For rows similar to row 2, place granny stitch groups in spaces between groups of the previous row.
- For rows similar to row 3, begin the row by adding 2 double crochets in the starting space, making the first group of 3 stitches.
- Continue to alternate colors for each row, cutting and securing the yarn before starting a new color.
Step 6: Finishing the Granny Stitch Section
- Continue crocheting until the scarf reaches your desired width.
- Example: For a width of 20 cm, the tutorial includes 15 rows of granny stitch.
Step 7: Adding a Border
- Join a new yarn color at the edge and make 1 chain.
- Crochet a round of single crochets around the entire scarf:
- In the spaces formed by the double crochet groups, make 2 single crochets.
- Along the base chains, make 1 single crochet in each chain.
- In the spaces formed by the double crochet groups, make 2 single crochets.
- Complete the border by slip stitching into the first single crochet. Cut the yarn and secure it.
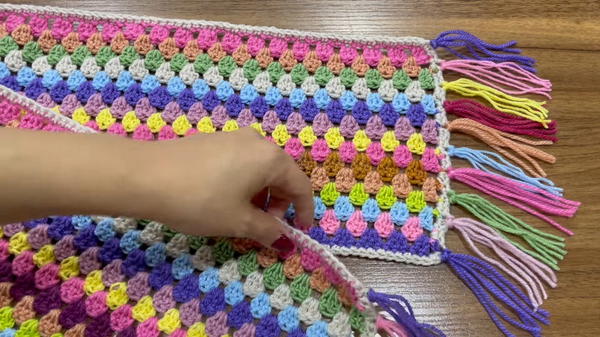
Step 8: Adding Fringe (Optional)
- Cut yarn strands of 20 cm length (3 strands per beard).
- Attach the strands to the edge of the scarf:
- Insert your crochet hook into the edge, pull the yarn strands halfway through, and create a loop to tie them securely.
- Skip 2 stitches between each beard for even spacing.
- Repeat along one edge of the scarf, and mirror the process on the opposite edge.
Special Features
- Uses Leftover Yarn: Eliminates waste by creatively using yarn scraps.
- Versatile Design: The granny stitch creates a timeless and eye-catching look.
- Customizable Output: Adjust the length, width, and colors to suit your preferences.
- Easy-to-Learn Granny Stitch: Ideal for beginners while being fun and relaxing for experienced crocheters.
Level of Difficulty
This project is beginner-friendly. It involves basic crochet techniques such as:
- Slip stitching
- Double crochet (dc)
- Single crochet (sc)
The repetitive nature of the granny stitch makes it easy to follow and a good practice project for newcomers.
Tutor’s Suggestions
- Use a Consistent Tension: To ensure the scarf lies flat and looks even.
- Match Yarn Weights: Stick to yarns of similar thickness for a cohesive appearance.
- Design as You Go: Lay out your color changes in advance or decide the sequence while crocheting.
- Secure Loose Ends: Weave in all yarn tails as you work to avoid excess finishing at the end.
Uses
- Personal Wear: A cozy and vibrant accessory for winter or casual outings.
- Gifting: A thoughtful handmade gift for friends and family.
- Yarn Scrap Project: An excellent way to use yarn leftovers from previous projects.
Tip
Pro Tip: If you want an even softer and cozier scarf, consider blocking it after finishing. This helps straighten and even out stitches, improving the final look.
Conclusion
This colorful granny stitch scarf is an affordable, fun, and creative way to use leftover yarn. With a simple pattern and easy-to-follow steps, it’s accessible to crocheters of any skill level. The tutorial guides you from start to finish, incorporating personalized color choices and optional decorative fringe for a polished final product.


