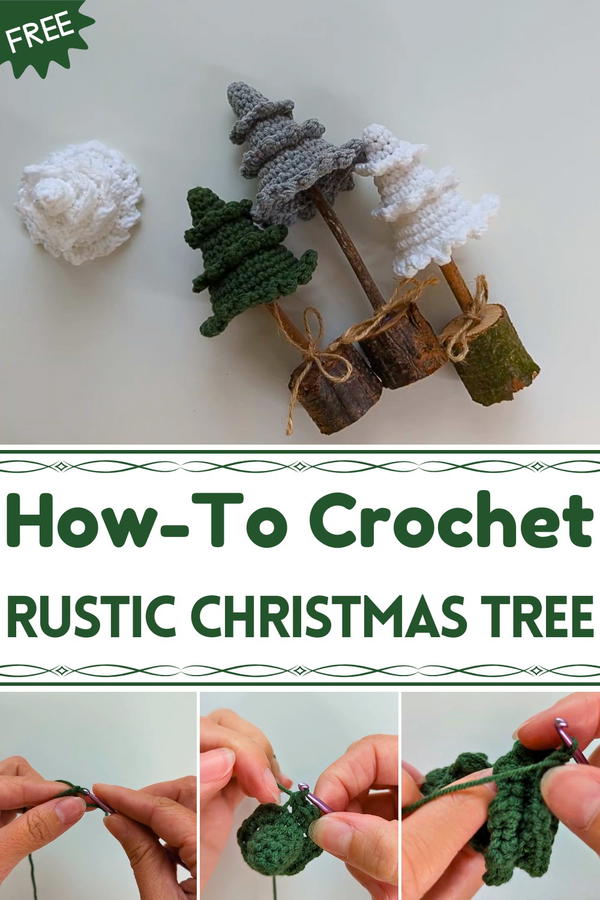
Bring cozy charm to your holidays with this Free Crochet Rustic Christmas Tree Pattern, adding warm, textured beauty and festive spirit to your décor.
Cozy holiday décor often transforms a home into a warm and inviting space filled with festive cheer. Adding the Free Crochet Rustic Christmas Tree pattern at the heart of your décor brings a charming handmade accent that radiates seasonal beauty and character. Its textured layers and natural earthy tones create a rustic look that complements mantels, tabletops, or festive centerpieces effortlessly.
Sweet Crochet Rustic Christmas Tree Sparks Joyful Cheer
This rustic Christmas tree stands out for its unique handmade appeal, adding depth and visual interest with soft, approachable textures. Its specialty lies in versatility, as it can be crocheted in various sizes, from small ornaments to larger statement pieces and customized with tiny decorations or left plain for a minimalist aesthetic. Lightweight and durable, this tree is easy to display, store, and reuse for many holiday seasons.
Beyond decoration, it brings warmth, character, and a sense of handmade charm to any home. Perfect for beginners and experienced makers alike, the project offers a satisfying creative experience with tangible results. Combining practicality, elegance, and festive spirit, this rustic Christmas tree enhances seasonal décor while showcasing the beauty of handmade artistry. Add a touch of charm and festive cheer to your home with this timeless, handcrafted holiday accent.
Materials
- Yarn: "Sirdar Snuggly" (or any yarn of your choice), 50% cotton and 50% acrylic, preferably in green or other festive colors.
- Hook: 3mm crochet hook.
- Other Materials:
- Polyester filling (optional, depending on design).
- Scissors.
- Tapestry/embroidery needle.
- Hot glue gun.
- A small wooden log (about 2.5 cm in diameter).
- A small stick (for the tree trunk).
- A decorative string or bow.
Special Features
- Chic Rustic Look: The project combines crochet with natural materials like wood for a vintage and rustic vibe.
- Layered Tree Effect: The combination of stitches and rounds creates a naturally textured and tiered look.
- Beginner-Friendly: Simple stitches and clear instructions make this project accessible to crocheters of all skill levels.
Level of Difficulty
Beginner to Intermediate. While minimal crochet experience is required, the project introduces techniques like working in front loops, back loops, and creating increases for shaping.
Step-by-Step Instructions
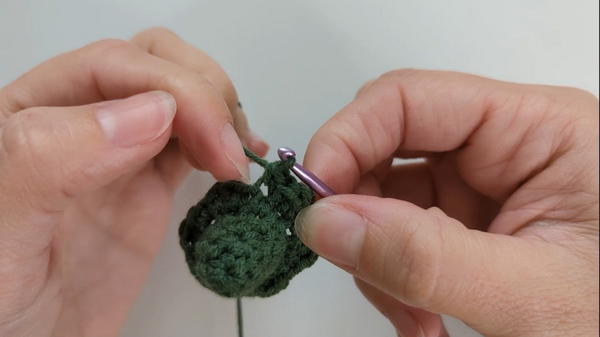
1. Begin with the Tree Base
- Round 1: Create a magic ring. Work 6 single crochets into the magic ring and pull the ring tight. (6 stitches total).
- Round 2: Work 1 single crochet into each stitch around. Use a stitch marker if needed. (6 stitches total).

2. Start Shaping the Tree
- Round 3: Work 1 single crochet in the first stitch, then increase (2 single crochets in the next stitch). Repeat this 3 times. (9 stitches total).
- Round 4: Work 1 single crochet in each stitch around. (9 stitches total).
3. Continue Building the Layers
- Round 5: Work 1 single crochet in the first 2 stitches, then increase in the third stitch. Repeat this 3 times. (12 stitches total).
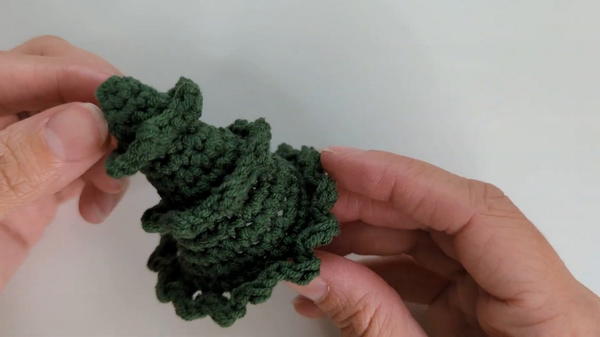
- Round 6 (Front Loop Only): Begin creating the layered effect by working only in the front loops: work an increase – 1 single crochet, 1 double crochet, 1 single crochet in the same stitch – followed by 1 single crochet in the next stitch. Repeat this 6 times. (12 stitches total).
- Round 7 (Back Loop Only): Work 1 single crochet in each back loop around. (12 stitches total).
4. Gradually Widen the Tree
- Round 8: Work 1 single crochet in the first 3 stitches, then increase in the fourth stitch. Repeat this 3 times. (15 stitches total).
- Round 9: Work 1 single crochet in each stitch around. (15 stitches total).
- Round 10: Work 1 single crochet in the first 4 stitches, then increase in the fifth stitch. Repeat this 3 times. (18 stitches total).
- Round 11: Work 1 single crochet in each stitch around. (18 stitches total).
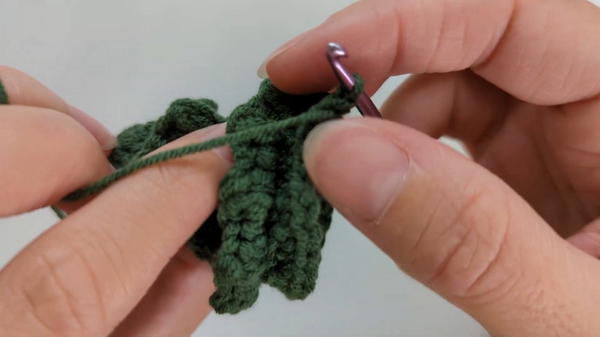
5. Add More Layers to the Tree
- Round 12 (Front Loop Only): Work an increase (1 single crochet, 1 double crochet, 1 single crochet) in the first stitch, 1 single crochet in the next. Repeat this 9 times. (18 stitches total).
- Round 13 (Back Loop Only): Work 1 single crochet in each back loop around. (18 stitches total).
6. Final Shaping of the Tree
- Round 14: Work 1 single crochet in the first 2 stitches, then add an increase in the third stitch. Repeat this 6 times. (24 stitches total).
- Round 15: Work 1 single crochet in each stitch around. (24 stitches total).
- Round 16: Work 1 single crochet in the first 3 stitches, then increase in the fourth stitch. Repeat this 6 times. (30 stitches total).
- Round 17: Work 1 single crochet in each stitch around. (30 stitches total).
7. Final Layer and Closing
- Round 18 (Front Loop Only): Work an increase (1 single crochet, 1 double crochet, 1 single crochet) in the first stitch, then 1 single crochet in the next. Repeat this 15 times. (30 stitches total).
- Finish off with a slip stitch and leave a long tail for sewing.
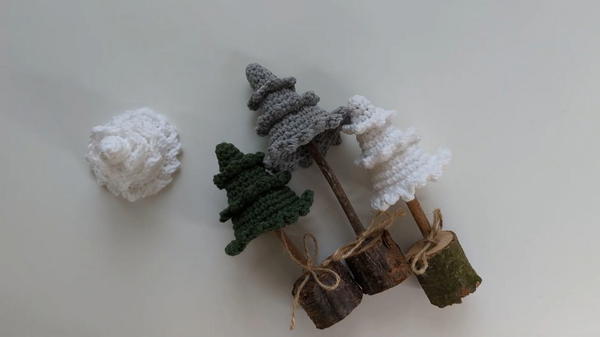
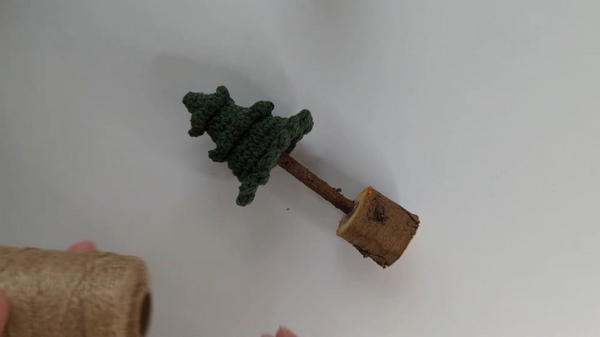
Assembly
- Attach the Stick Trunk: Use a hot glue gun to secure the stick to the center of the wooden log (the base).
- Connect the Tree: Add hot glue to the top of the stick and fix the bottom of your crocheted tree onto the trunk. Press down and hold for 20-30 seconds to ensure it sticks firmly.
- Decorate: Add a small bow or decorative string around the base to hide the glue and enhance the rustic appeal.
Tutor’s Suggestions
- Greta recommends using stitch markers, especially if you're a beginner, to keep track of rounds easily.
- Don’t overstuff the tree if using polyester filling, as the rustic design looks better with a natural shape.
- Experiment with different yarn colors and weights to create a variety of rustic trees.
Uses
- Perfect as a tabletop decoration during Christmas.
- Lightweight and ideal for mantle displays or as part of a centerpiece.
- A great DIY gift or project to make in multiples for a handmade Christmas vibe.
Tip
When working in rounds, be mindful of tension, especially when switching between front and back loops. Consistency in tension ensures smooth transitions and defined layers in your rustic tree.
Conclusion
These charming rustic Christmas trees are a delightful festive project that’s both simple and satisfying to create. With their versatile design and natural wooden base, they elevate any holiday decor setup.


