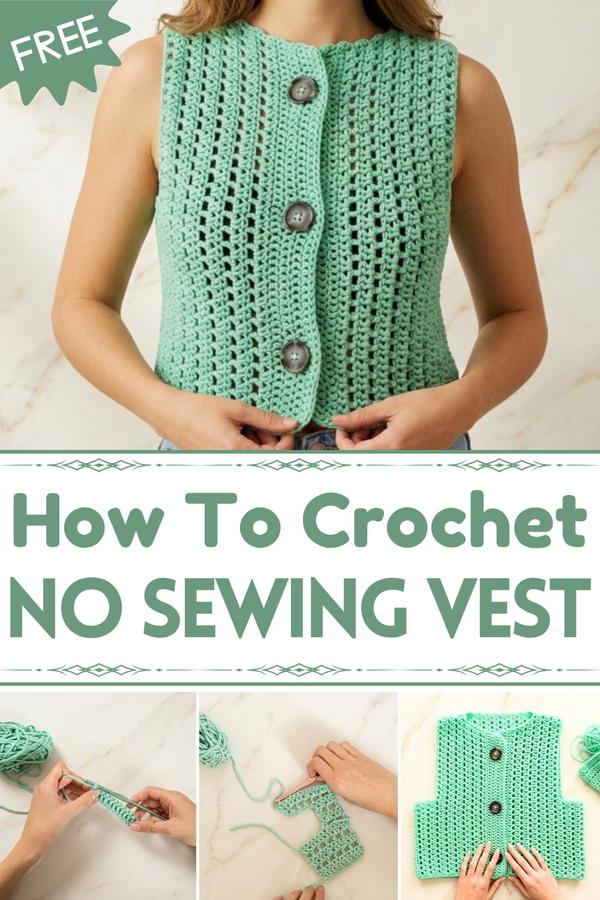
Design your own stylish statement with this free crochet vest pattern, perfect for layering, adding elegance, and creating handmade charm that’s truly unique.
A handmade vest brings a unique charm to your wardrobe, combining elegance with practicality. Using the free crochet vest pattern, crafting one becomes an enjoyable experience, allowing your creativity to shine. This design turns soft yarn into a fashion statement, featuring intricate patterns that add texture and beauty to the vest. Its lightweight and versatile appearance make it suitable for layering over dresses, shirts, or even casual tops in any season.
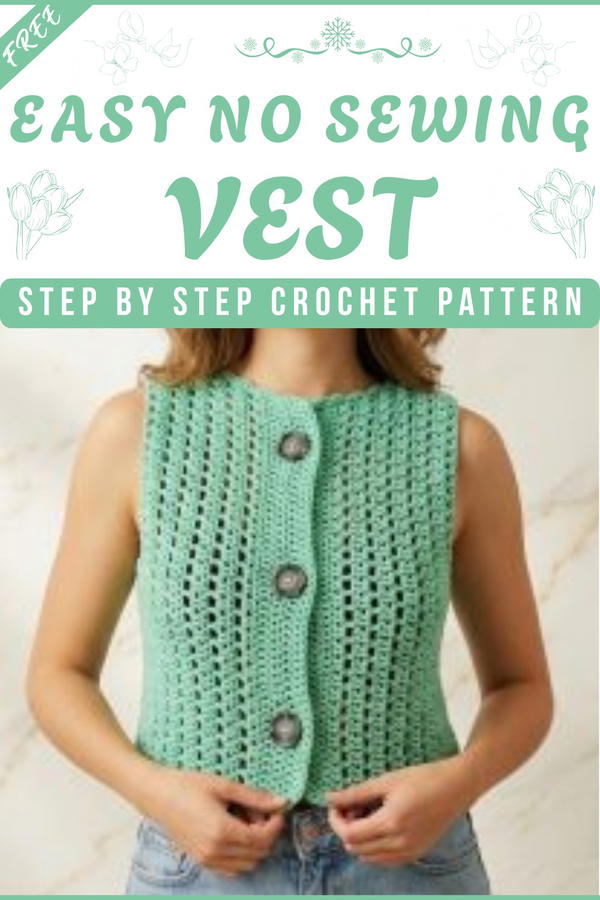
Crochet Vest Pattern with Free Step-by-Step Guide
Perfect for dressing up or down, this vest is both stylish and functional. The intricate crochet detailing highlights its beauty, while the soft fabric ensures you stay comfortable throughout the day. Whether made for yourself or as a thoughtful handmade gift, this pattern is easy to follow and offers endless possibilities with different colors or yarn styles. Turns simple stitches into a timeless vest that stands out and fits seamlessly into every fashion style.
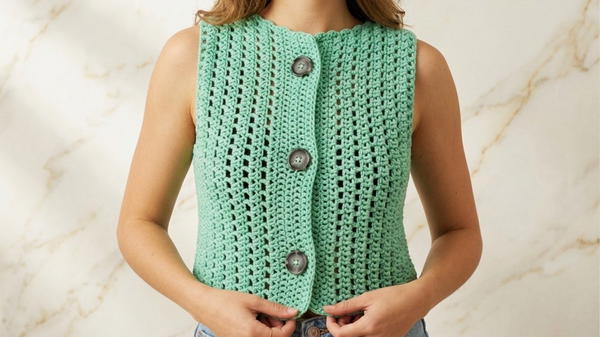
Crochet No-Seam Vest with Fancy Stitch
Skill Level
Intermediate.
Finished Size
The finished size will vary depending on personal measurements. The pattern is designed to be easily customizable, with measurements provided in the video for reference. Adjust the length and width to your preference.
Gauge
10 cm x 10 cm = 16 double crochets by 8 rows (using DK yarn and appropriate hook size). Adjust your hook size to meet the required gauge.
Materials
- Yarn:
- Yarn weight: Double Knit (DK).
- Quantity: Adjust based on size. Approximately 400–600g for most adult sizes.
- Fiber: Cotton or acrylic blend for a breathable and soft texture.
- Crochet Hook: 4 mm (G/6).
- Stitch Markers: To mark decreases and buttonhole placements.
- Scissors: For cutting yarn.
- Darning Needle: For weaving in loose ends.
- Measuring Tape: To ensure proper dimensions.
- Buttons: Choose depending on desired size and number.
Key Abbreviations (US Terminology)
- ch: Chain
- dc: Double Crochet
- sl st: Slip Stitch
- hdc: Half Double Crochet
- sp: Space
- st(s): Stitch(es)
- yo: Yarn Over
Pattern Overview
- Start by crocheting a large rectangle that will make up the back section of the vest.
- Leave spaces for the armholes and continue crocheting directly to form the sides and front panels.
- No seaming required until the final step of sewing at the shoulders.
- Add buttonholes and finish with simple decreases for the collar shaping.
Instructions
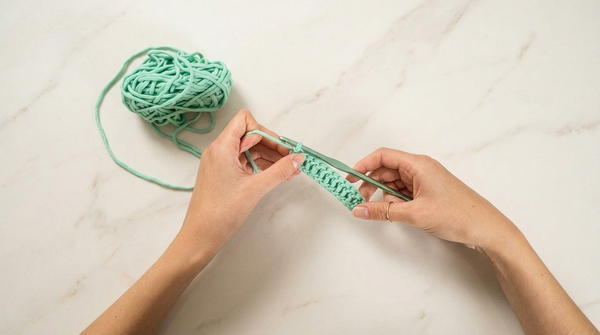
Step 1: The Fancy Stitch Pattern
Before starting the large rectangle, familiarize yourself with the fancy stitch pattern.
Foundation Row:
- Make a starting chain that measures the desired width of the back of your vest. Check measurements with your tape measure.
- Begin the first row by working dc into the second chain from the hook and every chain across.
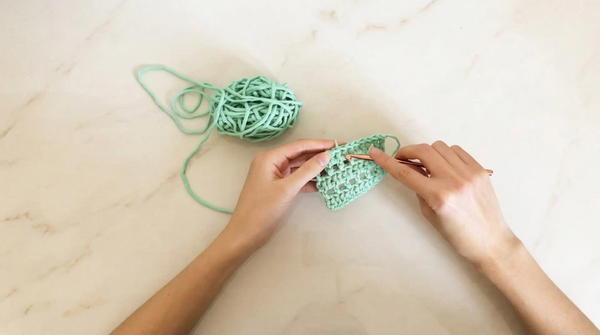
Row 1 (Fancy Stitch):
- Turn the work, ch 3, skip 1 st, and work dc into the second st. Ch 1, skip 1 st, and repeat dc into the second st until the end of the row.
Row 2:
- Turn the work, ch 2, and insert the hook into the spaces created in the previous row. Work 2 dc into each space until the end.
Row 3:
- Repeat Row 1.
- Note: Ensure that the double crochets from Row 3 align with the double crochets in Row 1.
Alternate Rows 2 and 3 to create the desired texture. Use this pattern for the back rectangle and the front panels.
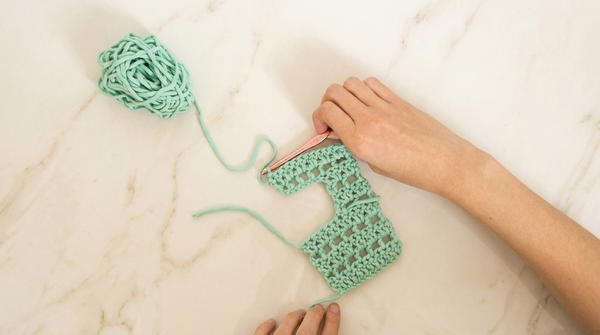
Step 2: Crocheting the Back
Starting Foundation:
- Make a foundation chain that measures the desired width of the back of your vest.
Work in Fancy Stitch:
- Use the stitch pattern above and continue until the rectangle reaches your desired length for the vest back (e.g., mid-back length or slightly longer).
Armholes:
- Leave a space on each side (measurements customized to your size) for the armholes.
Step 3: Forming the Sides and Front
Without cutting the yarn, continue working the fancy stitch directly from the rectangle to create one side of the vest.
Width of the Side:
- Crochet the side panel to the desired width. Ensure the armhole measurement is maintained.
- Crochet the side panel to the desired width. Ensure the armhole measurement is maintained.
Front Panel:
- Extend the side panel to form the front panel, using the same stitch pattern. Ensure the front width matches your measurement and adjust if necessary.
- For the front opening, work a foundation chain at the start of the last row and continue the fancy stitch, ensuring the new chain creates an even front panel.
Repeat the steps for the other side of the vest.
Step 4: Collar Shaping
Once you’ve crocheted 6 cm (or your preferred measurement) along the front panel, begin decreases to shape the collar.
Decrease Row:
- At the end of the row, make hdc instead of dc in the last dc space to make the decrease subtle.
Continue Pattern:
- On subsequent rows, decrease stitches gradually as described above, keeping the fancy stitch pattern intact.
- Place markers to indicate decrease rows.
Step 5: Adding Buttonholes
Buttonhole Placement:
- Once the front panel reaches the desired length, work a few rows of dc to create the buttonhole band.
Creating the Holes:
- On the third row, place buttonholes by leaving spaces for them. For each buttonhole, skip 3 dc and ch 3 to create the opening.
- Continue with dc to the end of the row.
Next Row:
- On the row following the buttonholes, work 3 dc into the 3 ch stitches to close the spaces and continue normally.
Step 6: Finishing the Vest
Sewing the Shoulders:
- Once both panels are complete, sew the front and back panels together at the shoulders using a darning needle or a simple crochet slip stitch.
- Ensure the armholes remain open and aligned.
Weaving in Ends:
- Use a darning needle to neatly weave in all loose ends.
- Use a darning needle to neatly weave in all loose ends.
Customization Ideas
- Adjust the width and length of the rectangle to suit your body shape and size.
- Use multiple colors or gradient yarn for a creative twist.
- Add a decorative border around the armholes and front opening for a polished look.
- Experiment with buttons of various shapes and sizes to match your style.
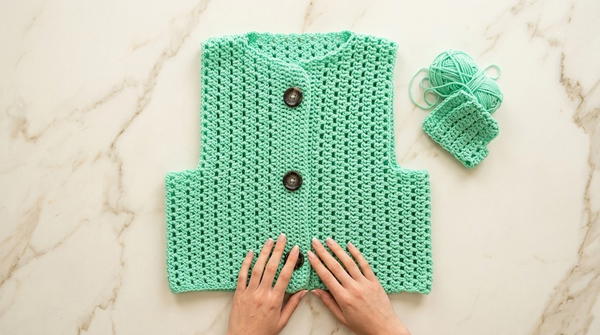
Conclusion
You’ve now completed your no-seam fancy-stitch vest! This versatile piece can be worn with casual or layered outfits and is a timeless addition to your handmade wardrobe. With minimal seams and a simple construction method, this project is ideal for crocheters who enjoy functional and stylish creations with a modern twist.
Tips
- Swatch First: Always make a small swatch of the fancy stitch to ensure you’re comfortable with the pattern and gauge.
- Check Your Progress: Measure your rectangle frequently to ensure that all measurements align with your sizing.
- Blocking: Lightly block the vest before wearing to relax the stitches and give a professional finish.