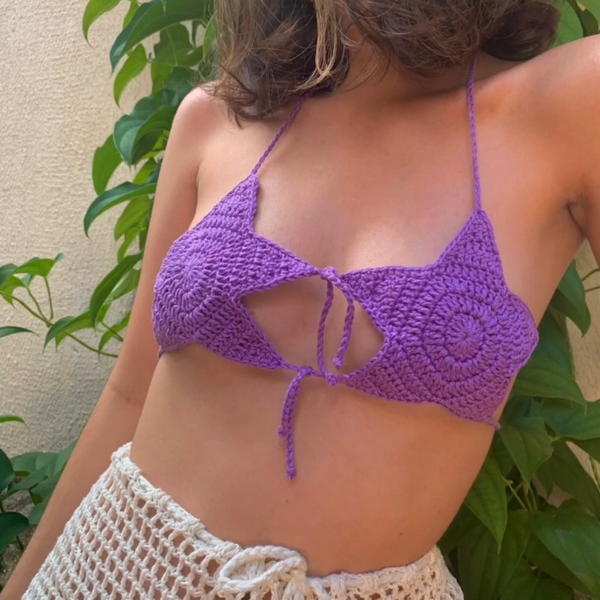
Turn heads this season with this stylish Crochet Bra Top Pattern, designed to add a breezy, chic, and handmade vibe to your warm-weather wardrobe.
A comfortable and stylish bra top can make you feel confident and beautiful every day! This handmade piece is soft and gentle on your skin, designed to fit just right and give you support without feeling tight. Its simple yet elegant look makes it perfect to wear anywhere — under your clothes, at home, or as a cool top during warm days. The crochet pattern adds a special touch, with lovely designs that make the top unique and charming.
Lightweight Crochet Bra Top Pattern for Hot Days
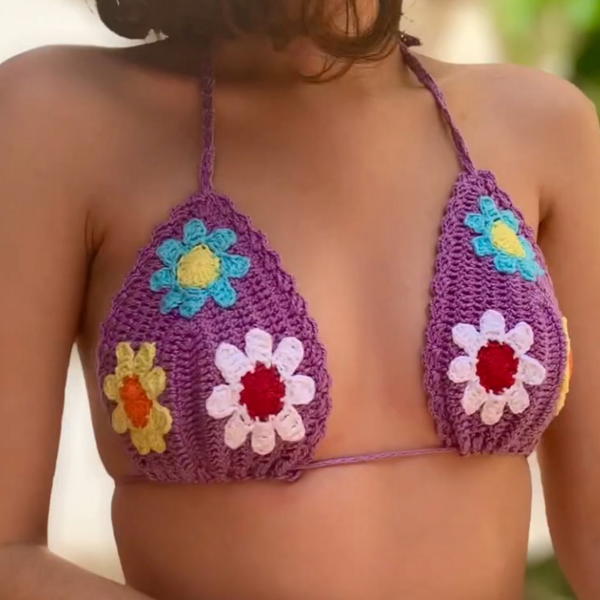
Because it’s light and breathable, you stay fresh and happy all day long. Easy to put on and take off, this bra top combines comfort with a natural, handmade beauty. It’s a wonderful choice for anyone who loves feeling cozy and looking great, showing that simple things can be just as lovely and special as fancy ones. Enjoy the soft touch and sweet style every time you wear it!
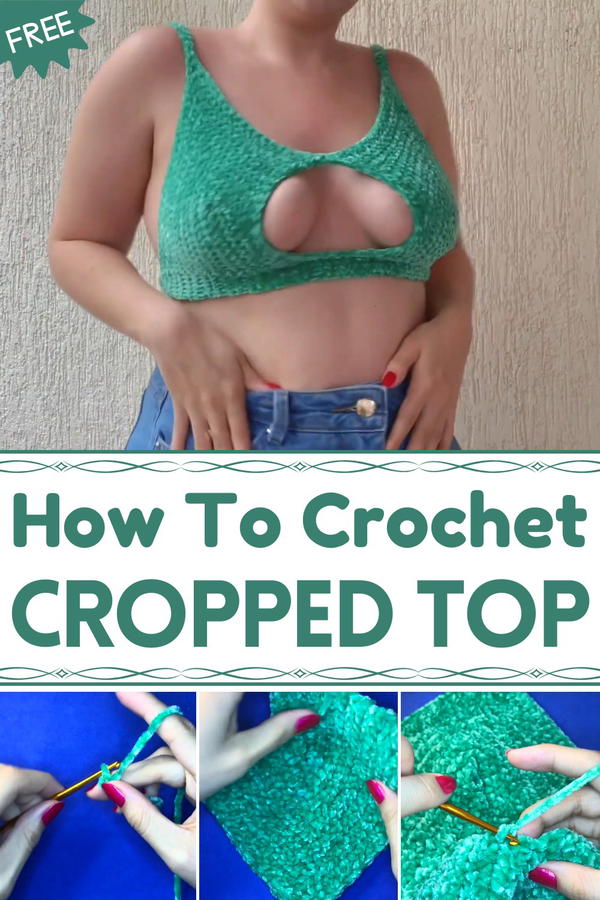
Plush Yarn Crochet Bra Top Pattern
Special Features
- Made with super soft, plush amigurumi yarn, giving a velvet-like texture
- Uses simple single crochet (sc) stitches for an easy, closed design
- Creates shaping with increases and placement markers
- Adjustable size by measuring bust and chain length
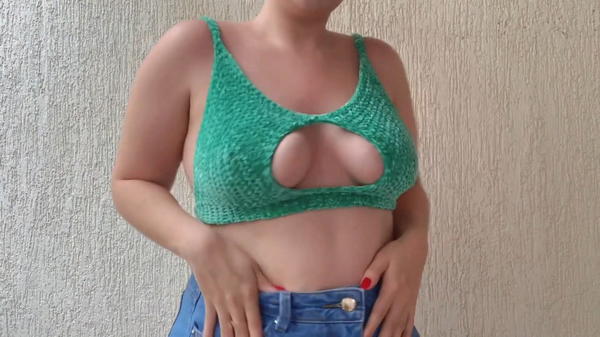
- Neat finishing with sewn straps and a flattering neckline
Difficulty Level
Beginner Friendly – Great for those comfortable with chaining, single crochet, increases, and basic sewing.
Materials Needed
- Círculo Amigurumi Plush yarn (or similar plush yarn)
- Crochet hook size 3.5 mm (adjust if stitches are too loose or tight)
- Yarn needle or tapestry needle for sewing
- Stitch markers or thread for marking points
- Scissors
Step-by-Step Pattern
Step 1: Measure and Chain Base
- Measure from the middle of your breast base to the nipple to find your bra cup size.
- Chain 12 stitches (or according to your measurement divided appropriately).
- Adjust chain length to fit your size before starting the work.
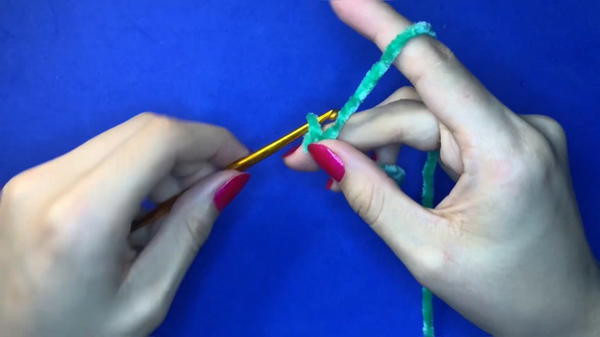
Step 2: Work First Row – Single Crochet (sc)
- Starting in the second chain from hook, make one sc in each chain across (12 sc total).
- Use your fingers to feel the stitches if the plush yarn makes it hard to see. Make sure stitches aren’t too loose.
- Chain 1 and turn.
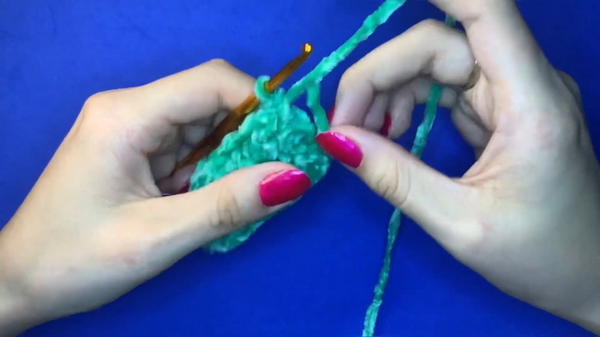
Step 3: Shape the Cup with Increases
- Identify the last chain of the row (where you will increase).
- In the last stitch, make 3 single crochets to create a curve for the cup’s shape.
- Place a stitch marker at the middle sc of these three to mark the apex of the cup.
- Continue working single crochets in each stitch for the row till the end.
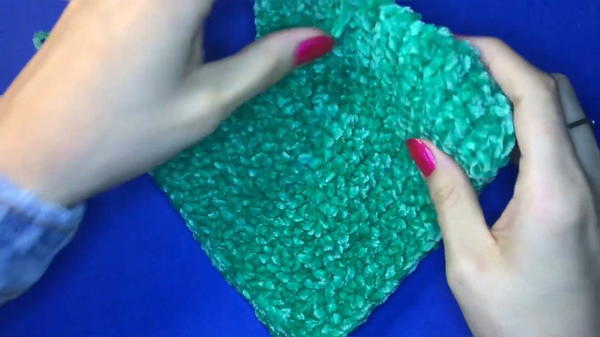
Step 4: Work Subsequent Rows
- Keep working rows of single crochet in each stitch back and forth, maintaining the increases at the cup’s apex marker (3 sc in the marked stitch).
- Add markers every 3 rows at increase points to help with shaping and counting.
- Continue until cup measures appropriately for you.
Step 5: Mirror the Other Cup
- Repeat Steps 1-4 to create the second cup identical to the first.
- Both cups should have equal size and shape.
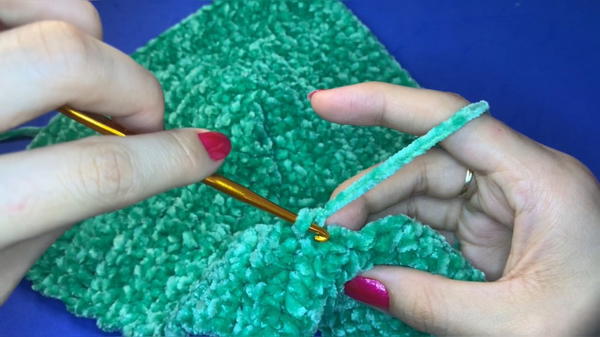
Step 6: Prepare the Band (Underbust Strap)
- Chain the length you want for the band’s thickness (approx. 6 chains recommended, adjust for your comfort).
- Work rows of single crochet stitches until the band reaches the desired width (approx. height to fit under your bust).
- End rows by chaining 1 and turning.
Step 7: Sew Cups to Band
- Fold band in half and mark the center.
- Position cups with wrong side facing you and base edges aligned with the band center.
- Using yarn and needle, sew cups securely on the band with a row of single crochet stitches for reinforcement.
- Attach carefully to avoid crooked seams.
Step 8: Add Side Straps for Back and Neck
- Chain a comfortable length for the neck strap and two back straps according to your size.
- Using yarn needle, sew or crochet straps firmly in place.
- Adjust strap thickness by making 2-3 rows of single crochet stitches as desired for support.
Step 9: Finishing Touches
- Work a neat border around cups and band with single crochet stitches for firmness and style.
- Optionally, round off and shape the neckline edge with smaller crochet hook or slip stitches.
- Tie loose ends and block lightly if possible.
Tutor's Tips
- If stitches feel loose or yarn fuzzy, use a smaller hook for tighter work.
- Mark your increase points clearly to keep symmetrical shaping.
- Plush yarn can hide stitches, so take your time counting and use touch as well as sight.
- Adjust cup and band size by chaining more or fewer stitches.
- Sew straps on securely to avoid stretching or slipping.
Uses
- Soft, warm bra top for colder seasons or layering under clothes.
- Charming DIY loungewear or casual wearable piece.
- Great gift idea for crochet lovers who enjoy plush textures.
Conclusion
This plush yarn crochet bra top is simple, comfy, and adorable, making a great beginner project with stunning results. With clear instructions on shaping, stitching, and finishing, you’ll create a beautiful piece perfect for cozy days or casual wear. Measure carefully, enjoy the soft texture, and customize your size to fit just right.