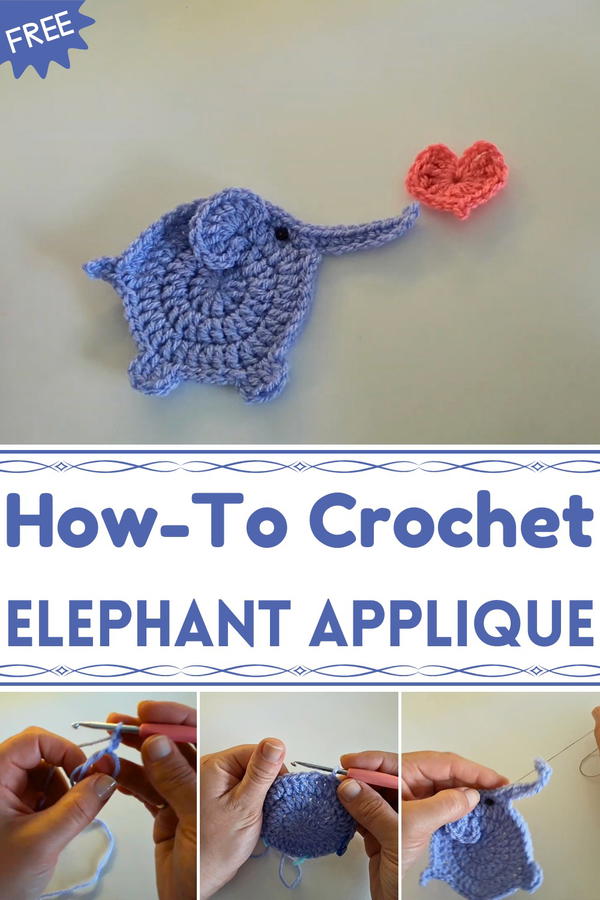
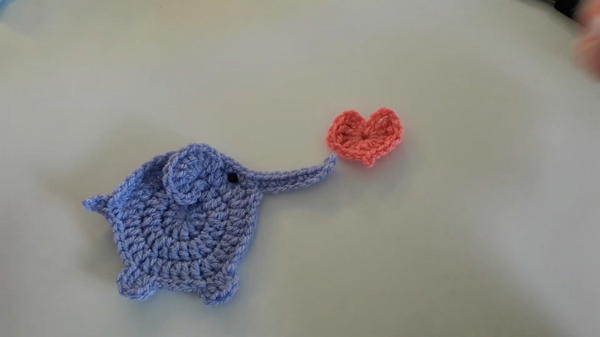
Delight in whimsy with this Free Crochet Elephant Applique Pattern, featuring cute details and a charming accent for clothes, bags, or décor.
Its compact size allows for quick completion, while its charming details make a big visual impact. Ideal for beginners seeking a simple, rewarding project or experienced makers wanting to add personal touches, each applique can be customized with different colors to suit any theme or occasion. The Free Crochet Elephant Applique Pattern transforms leftover yarn into something meaningful, offering a creative way to craft small yet memorable pieces.
Whether used to embellish gifts, decorate a nursery, or add a playful element to everyday items, this cheerful elephant carries a sense of warmth and joy in every stitch. Soft, lightweight, and endlessly versatile, it turns simple textiles into heartfelt creations that celebrate the charm of handmade artistry, leaving a lasting impression through small, thoughtful details.
Materials Needed
- Yarn: DK (double knitting) yarn, such as lavender-colored yarn for this example.
- Crochet Hook: 4 mm crochet hook.
- Needle: For sewing ends and attaching features.
- Scissors: To cut yarn neatly.
- Eye Material:
- Small buttons or black beads.
- Alternatively, black yarn for sewing the eye.
- Stitch Markers: Optional but helpful for marking placement of trunk, tail, and legs.
Step-by-Step Guide to Crochet the Elephant
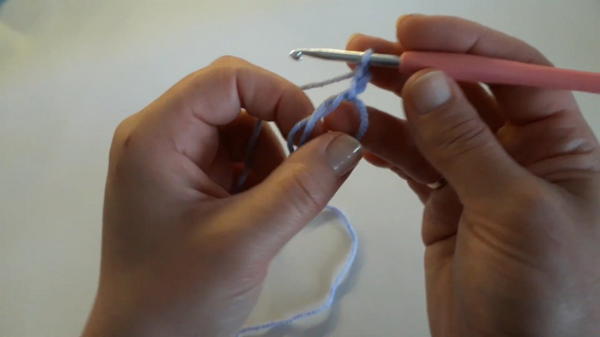
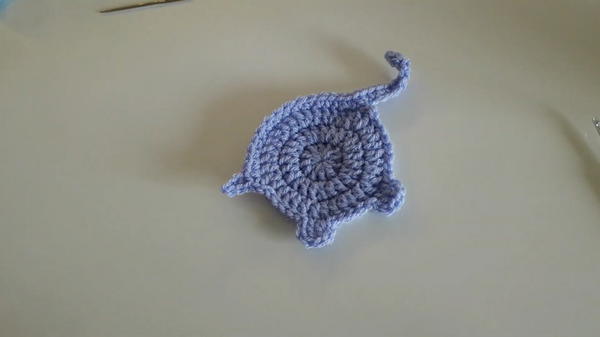
Step 1: Creating the Circular Base
- Make a magic circle:
- Wrap the yarn around two fingers, creating a cross.
- Insert the hook under the circle, grab the yarn, and secure it with two chains.
- Row 1:
- Crochet 11 double crochets into the center of the magic circle. Counting the initial chain 2, you will have 12 stitches total.
- Pull the tail of the yarn tightly to close the circle.
- Slip stitch into the first stitch to join the round.
- Row 2:
- Chain 2 and make two double crochets into each stitch (increase in every stitch).
- Total stitches at the end: 24.
- Slip stitch to the first stitch to close the round.
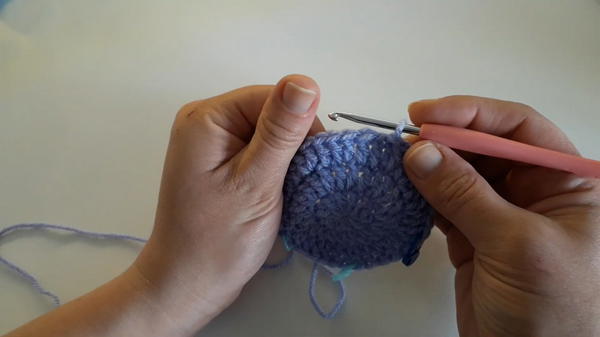
- Row 3:
- Chain 2 and follow an increase pattern: two double crochets in one stitch, one double crochet in the next stitch (2, 1, 2, 1 pattern).
- Total stitches at the end: 36.
- Slip stitch to the first stitch to close.
- Optional: For a larger elephant (mama or daddy elephant), repeat rounds with increases:
- Row 4: Two double crochets, then one double crochet in two consecutive stitches (2, 1, 1, 2 pattern).
- Total stitches at the end: 48.
Step 2: Adding Features
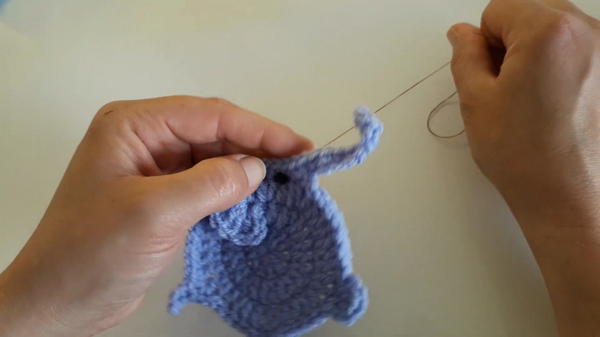
- Trunk:
- Choose the location for the trunk and crochet 10 chains.
- Starting in the second chain from the hook, make:
- One slip stitch.
- Single crochets into each remaining chain.
- Connect the trunk to the base with one half-double crochet to fill any gaps.
- Tail:
- Identify the position opposite the trunk and chain 4.
- Skip the first chain and slip stitch into the second chain.
- Finish with single crochets continuing around the edge of the base.
- Legs:
- Mark positions for two legs.
- For each leg:
- Slip stitch into the marked stitch, chain 2, and perform two double crochets in consecutive stitches.
- Chain 2 and slip stitch back into the original stitch.
- Repeat for the second leg.
- Ear:
- Locate the position for the ear, make 3 chains, and crochet 8 double crochets into the same stitch.
- Chain 3 and slip stitch into the same base stitch.
- Eye:
- Use a needle to sew a button, bead, or stitches with black yarn in the desired eye placement.
- Use a needle to sew a button, bead, or stitches with black yarn in the desired eye placement.
Special Features
- The tutorial emphasizes creative freedom, allowing you to adjust the size of the elephant by adding more rounds or chains.
- The final product can be customized with embellishments like butterflies or hearts.
- The detailed features—trunk, tail, legs, ear, and eye—give the elephant its adorable and lifelike appearance.
Level of Difficulty
- Beginner-friendly to Intermediate: The tutorial mainly uses basic stitches like chains, slip stitches, single crochets, half-double crochets, and double crochets. The steps are explained clearly, making it suitable for those comfortable with foundational crochet techniques.
Tutor’s Suggestions
- Customization:
- Create baby elephants or larger elephants by adjusting the number of rounds for the base and chains for the trunk and tail.
- Experiment with different yarn colors to match your creative vision.
- Stitch Markers:
- Use markers to make placement easier, but it’s not mandatory.
- Securing Eyes:
- If making the elephant for a baby, ensure the eye material is securely sewn or embroidered to prevent choking hazards.
Uses
- Appliqué: Add elephants as decorative appliqués for baby blankets, sweaters, or bags.
- Gifts: Create personalized crochet elephants to gift as keepsakes.
- Home Décor: Use these motifs for wall hangings or garlands.
- Fun Projects: It's a great, quick project for practicing circular base techniques and adding features.
Tip
To ensure durability, knot and sew ends securely, especially for projects intended for babies. For more pronounced features, consider adding small embellishments like embroidered designs or accessories.
Conclusion
This tutorial offers a charming and versatile crochet design for a baby elephant motif, perfect for both beginners learning basic techniques and experienced crocheters looking for a quick, creative project. With minimal materials and easy-to-follow steps, you can create adorable elephants that can be customized in size, color, and detail.


