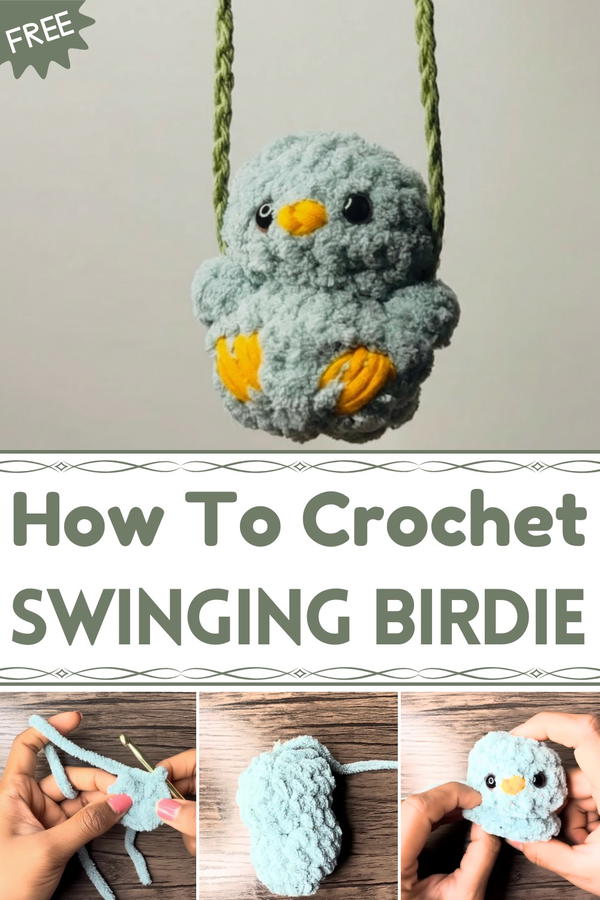
Bring joy to your space with a cheerful swinging birdie that moves softly, adding color and happiness to any corner in a simple, charming way.
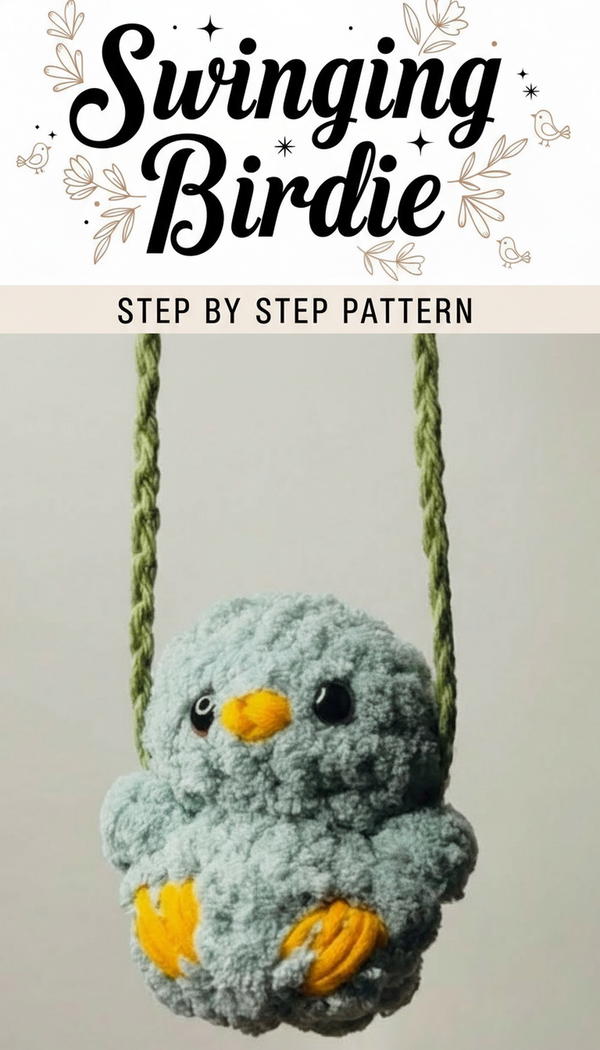
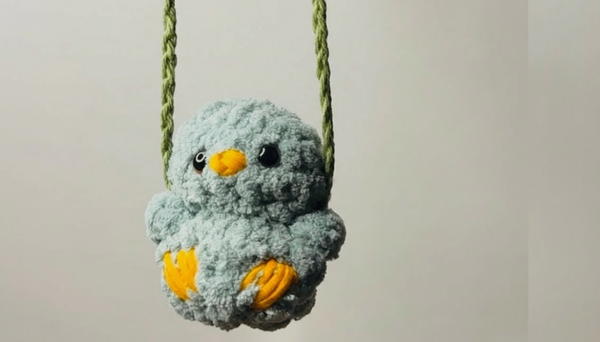
A little bird that gently swings and dances with every breeze brings a touch of magic and joy wherever it goes. Soft, colorful, and full of charm, this sweet creation looks so lifelike with its delicate wings and rounded body that it feels like a tiny friend fluttering by your side. Hanging this cozy bird in a child’s room, near a window, or even on your car mirror can brighten up any space with its playful movement and cheerful spirit.
Cute Crochet Swinging Birdie Pattern for a Cozy Home Decor
It’s not just a beautiful decoration—it’s a small bundle of happiness that lifts your mood and makes everyday moments feel special. Whether given as a heartfelt gift or treasured as your own, this swinging bird invites warmth, fun, and a little bit of nature’s wonder into your life in the most delightful way.
Crochet Swinging Birdie Pattern
Skill Level: Beginner to Intermediate
Special Features:
- Magic ring start for a neat circle
- Puff stitch for textured feet
- Safety eyes for a cute look (or embroidered eyes with yarn)
- Detachable swing hanging by crocheted arms
- Compact, perfect as a keychain or car accessory
Materials Needed:
- Three yarn colors (example: blue for body, orange for beak & feet, green for swing)
- 5mm crochet hook
- Stitch marker
- Yarn needle
- Scissors
- Fiberfill (for stuffing)
- Safety eyes or black yarn (for eyes)
Pattern Steps
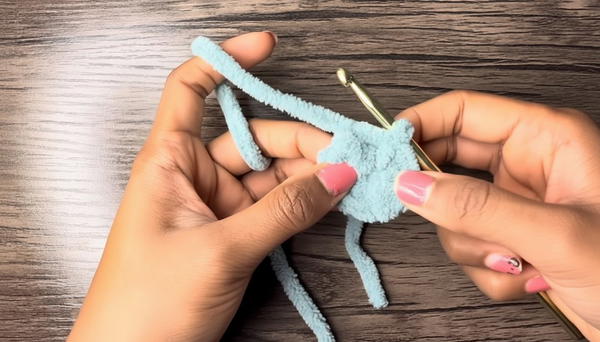
Step 1: Begin with Magic Ring (Round 1)
- Lay a yarn tail and loop yarn around fingers to form an X and pull up a loop with your hook.
- Make a magic ring.
- Work 8 single crochets (sc) inside the magic ring.
- Tug the tail to close the ring tightly. Do not join with a slip stitch; move directly to Round 2.
Step 2: Round 2 – Increase Round
- Place stitch marker on the first sc of this round.
- Work 2 sc in each stitch around (increasing from 8 to 16 stitches).
Step 3: Round 3 – Single Crochet Around
- Remove stitch marker and work 1 sc in each stitch around (16 stitches).
- Replace the stitch marker.
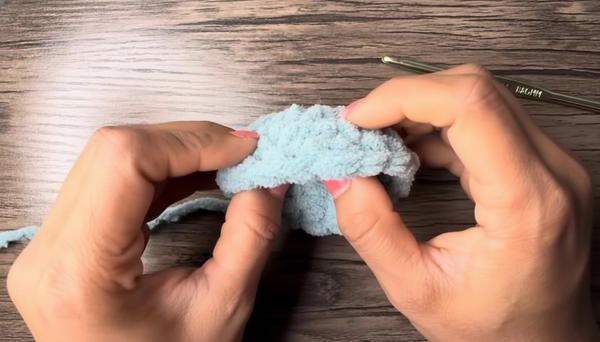
Step 4: Round 4 – Repeat Single Crochet
- Continue with 1 sc in each stitch (16 stitches).
- Turn the work inside out to reveal the start of the bird’s head shape.
Step 5: Making the Beak
- Pull up your work to a big loop to not lose your place.
- Switch to orange yarn.
- Insert hook into one stitch space and grab orange yarn.
- Chain 1 to form the beak and fasten off by cutting yarn.
- Pull both yarn ends to the inside of the head using a yarn needle.
- Repeat beak stitches in the same spot to make it bigger if desired.
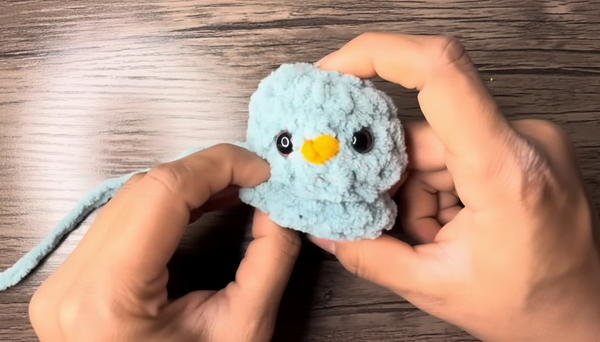
Step 6: Attaching Safety Eyes
- Position eyes about one stitch away from the beak on each side.
- Secure the eyes with stoppers on the back of the crochet piece.
Step 7: Round 5 – Decrease Round
- Work a decrease (sc2tog) all the way around (insert hook into first stitch, then next stitch, yarn over and pull through all loops) to reduce stitches from 16 to 8.
- Replace stitch marker.
Step 8: Round 6 – Increase in Front Loops Only
- Work 2 sc in each front loop only around to increase stitches from 8 back to 16.
- Focus only on front loops, not both loops.
Step 9: Round 7 – Pattern with Increases
- Work 1 sc in the first 3 stitches, then increase (2 sc in next stitch), repeat this pattern around until 20 stitches. This creates separation between head and body.
Step 10: Round 8 – Attach Feet and Single Crochet
- Work 1 sc in the first 10 stitches.
- Switch to orange yarn to create a puff stitch in the front loop only for feet:
- Yarn over, insert hook, pull up a loop (3 loops on hook) three times.
- Yarn over and pull through all 7 loops on hook.
- Chain 1 to secure.
- Work 2 sc in blue yarn in between puff stitches.
- Repeat puff stitch and chain 1 for second foot.
- Complete the round with single crochets in remaining stitches.
- Cut orange yarn at end of round.
Step 11: Stuff the Bird
- Insert fiberfill or yarn scraps stuffing into the head and body through the opening.

Step 12: Round 9 – Decrease Round
- Work decrease (sc2tog) around, reducing from 20 stitches to 11.
- Keep stuffing firm during this round.
Step 13: Round 10 – Final Decrease and Closing
- Continue decrease stitches (sc2tog) for final closing, down to 5 stitches.
- Instead of decreasing further, sew the remaining hole closed with your yarn needle.
- Weave yarn ends inside and trim.
Step 14: Optional Foot Touch-up
- If feet look hidden, rework puff stitches over feet for visibility with orange yarn.
Step 15: Crocheting the Swing
- Using green yarn, make a slip knot, then chain 65 (or preferred length) for the swing.
- Chain 1 more, then fasten off and cut yarn.
Step 16: Attaching the Swing Arms
- Wrap the swing chain around the bird’s body (avoid twists).
- Count 7 stitches from top of head, slip hook under two stitches, and with blue yarn:
- Work a puff stitch around swing yarn to hold it in place, then slip stitch to finish the arm.
- Secure and weave in ends.
- Repeat on the other side.
Step 17: Finishing the Swing
- Tie the two swing chain ends in a secure knot at the top.
- Adjust arms and swing for perfect fit.
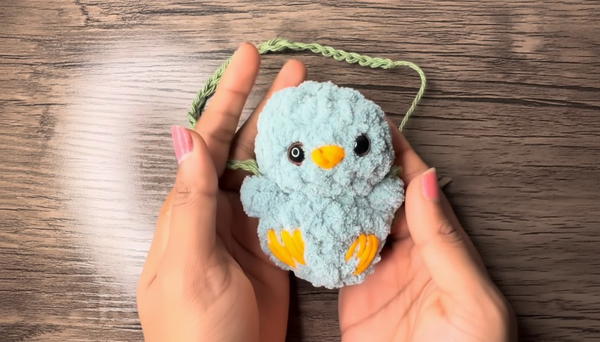
Conclusion:
This cute swinging birdie crochet is a perfect little gift or car charm! With textured puff stitch feet and a charming hand-stitched beak and eyes, this project gives you a chance to practice magic rings, single crochets, increases/decreases, and decorative stitches like puff stitch. It’s beginner-friendly with a delightful outcome you can customize with your favorite colors.
Tip:
Use fiberfill or scrap yarn generously to stuff the bird firmly. A well-stuffed bird holds its shape better and makes the details pop! Also, adjust the swing length to suit where you plan to hang your birdie.