Flash your style with a Crochet Cropped Top Pattern that feels light, stays breezy, and adds playful charm to sunny days, casual outings, or fun hangouts.
Summer fashion is all about staying cool while looking stylish, and a cropped top is perfect for that. This pattern creates a short, neat top that sits above the waist, giving a playful and fresh look. Its simple shape makes it easy to wear for many occasions, whether you’re going to the beach, a casual outing, or just relaxing at home. The stitches can be tight or slightly open, letting air pass through, which keeps it comfortable on warm days.
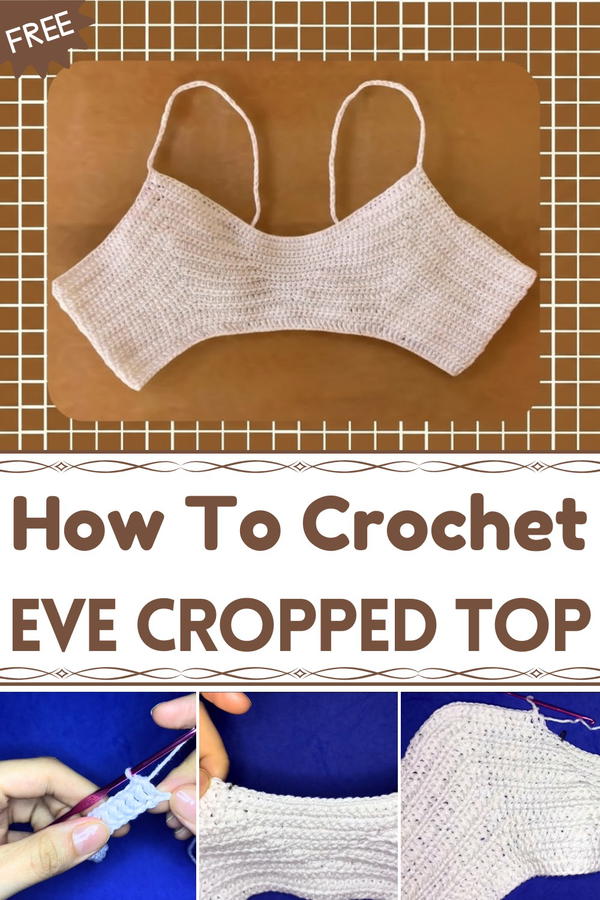
Colorful Crochet Cropped Top Pattern Perfect for Any Occasion
You can choose bright, fun colors to make it cheerful or soft shades for a calm, elegant feel. Pair it with shorts, skirts, or jeans for an effortless style. The texture of the crochet adds a handmade charm that is eye-catching but not heavy. It is light, flexible, and suits many body types, making it a versatile piece that mixes comfort with a cute, modern appearance.

Crochet Simple Cropped Top Pattern
Materials Needed:
- Amigurumi cotton yarn (Círculo brand or equivalent), color of choice (white used here)
- Crochet hook size 2.5 mm (or 3 mm as alternatives)
- Measuring tape
- Stitch markers or clips
- Yarn needle
- Scissors
Difficulty Level:
Beginner to Intermediate – straightforward half double crochet stitches, working in rows, basic shaping with increases, and simple yarn color management.
Special Features:
- Customizable size based on bust measurement
- Uses half double crochet (hdc) stitches for quick fabric build
- Shaping by increasing in designated “marker” stitch areas
- Neat finishing with single crochet edging and chain strap loops
- Durable and breathable cotton yarn perfect for warm weather
- Comfortable cropped fit
Step-by-Step Detailed Pattern:
Step 1: Take Measurements and Calculate Foundation Chain
- Measure the bust circumference of your client or yourself.
- Divide the bust measurement by 2 (e.g., For 100 cm bust, half is 50 cm).
- The result (half bust) becomes your target base chain length in centimeters.
- Chain until your chain cord measures approximately this length (Bia made 55 chains for 50 cm).
Step 2: Chain Foundation Row
- Crochet a foundation chain to the desired length (e.g., 55 chains).
- Add 2 additional chains for the height of the first half double crochet (hdc) row.
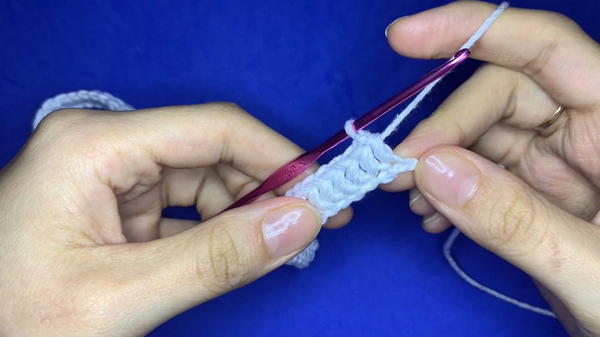
Step 3: First Row (Row 1) — Half Double Crochet (hdc)
- Starting in the 4th chain from the hook, make a half double crochet (hdc) stitch in each chain across.
- To make a hdc: yarn over, insert hook into chain, yarn over again, pull through chain (3 loops on hook), yarn over and pull through all 3 loops.
- Continue hdc stitches until end of row.
Step 4: Following Rows — Repeat Half Double Crochet
- Chain 2 (or chain 1 + single crochet according to your preference) to start the next row, turn your work.
- Work one hdc stitch into each stitch across.
- Repeat this row until piece reaches desired height before shaping.
Step 5: Mark the Middle and Increase Points for Shaping
- Fold piece in half lengthwise to find the middle; make two side markers and one central marker (using clips or stitch markers).
- Count stitches between markers for accuracy (e.g., 18 stitches between middle and side marker).
- These markers will dictate where to increase stitches for shaping the bra cup.
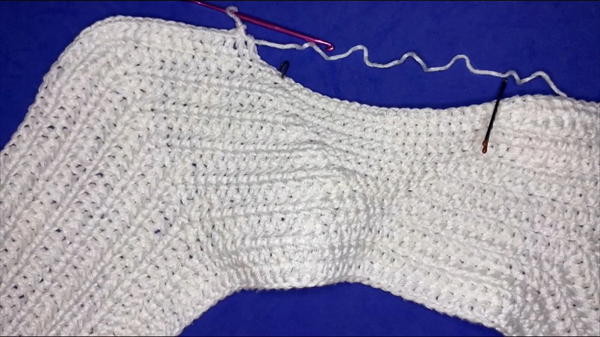
Step 6: Begin Increasing Rows (Shape the Bra Cup)
- On rows with markers, at the marked stitch, work 3 half double crochet stitches in the same stitch to increase (creates a bulge for cup shaping).
- Continue hdc stitches as normal between markers.
- Repeat this increase on the opposite side marker to keep symmetry.

Example Increase:
- Hdc until marker, work 3 hdc in marker stitch, continue normally, repeat on other marker.
Step 7: Continue Working Rows with Increases
- Keep adding 3 hdc clusters on each marker stitch to form triangle-shaped cups.
- You can stop increases once cup matches desired bra cup size. Bia stopped after 17 rows with shaping.
- If larger size desired, increase number of rows accordingly.
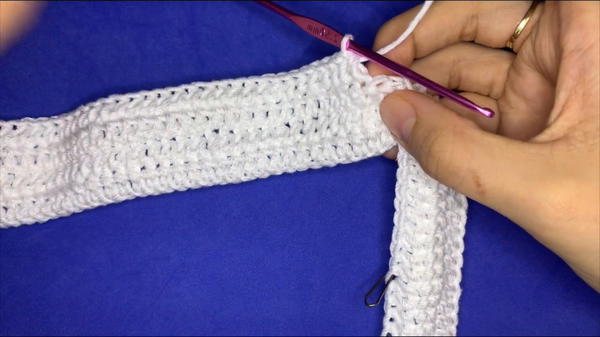
Step 8: Finishing Edges
- Once shaping is complete and height is achieved, finish edges with a neat row of single crochet (sc) stitches all around the piece.
- Make small chain loops at strategic points (underneath the bust edge, sides) for threading straps later.
Step 9: Make Straps (Chain Straps)
- Use two strands of yarn together for sturdier straps.
- With 3.5 mm hook, chain desired length of strap for tying around neck or back.
- Attach straps securely on the chain loops created earlier on the garment.
Step 10: Final Assembly and Finishing
- Weave in all yarn ends neatly with a yarn needle.
- Adjust strap length as needed for comfort and style.
- Block your finished top gently if desired to even out stitches.
Tutor’s Suggestions:
- Maintain consistent tension throughout to ensure even fabric and proper fit.
- Use stitch markers liberally for easy identification of increase points.
- The three-hdc cluster increase technique creates smooth shaping without bulky seams.
- For longer wear, use cotton or cotton-blend yarns as recommended.
- Feel free to modify strap length and width as per personal comfort.
Uses:
- Stylish summer cropped top for casual wear or layering
- Great seller as handmade fashion item
- Perfect beginner-to-intermediate crochet project for garment making
Tip:
Always chain 2 or chain 1 + single crochet before turning to maintain height consistency in half double crochet rows. Also, take time marking increase spots carefully to create symmetrical, flattering cup shaping.
Conclusion:
This simple, beautiful cropped top pattern is a quick and satisfying project ideal for beginners learning half double crochet and garment shaping. By accurately measuring, marking, and increasing, you can easily customize this trendy and wearable piece for yourself or clients. The soft cotton yarn and neat finishing make it both comfortable and stylish, perfect for warm weather or layering.