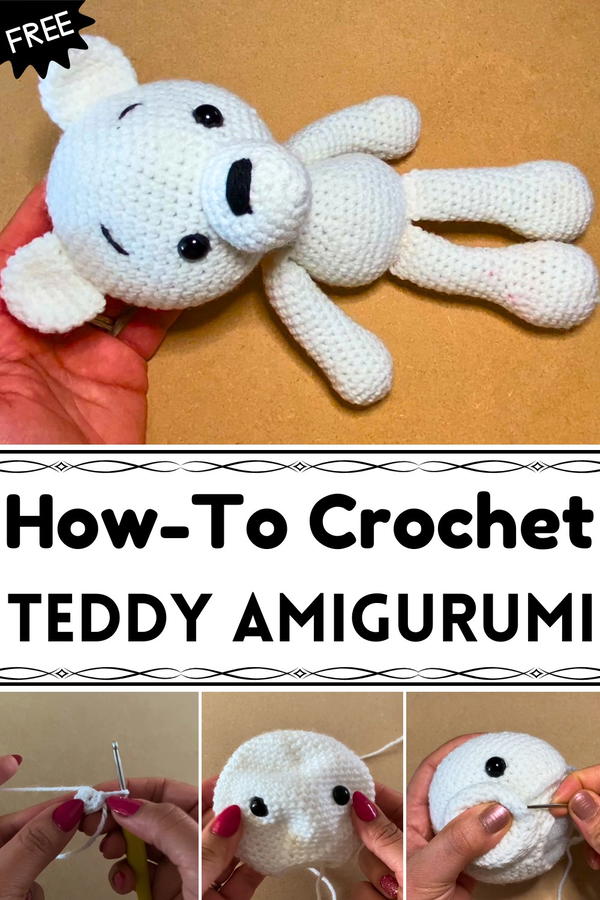
Create heartwarming gifts with this Free Crochet Teddy Pattern, perfect for making adorable, handmade toys that bring joy to all ages.
A tiny tuft of yarn once sat quietly on a table, waiting to become something more than ordinary fiber. With careful stitching, that simple skein transformed into a soft, huggable friend that could bring comfort and joy to anyone who held it. The Free Crochet Teddy pattern allows crafters to craft these charming companions, offering an ideal way to create personalized toys for children, keepsakes for loved ones, or whimsical décor accents.
How to Use Crochet Teddy Pattern to Make Personalized Gifts
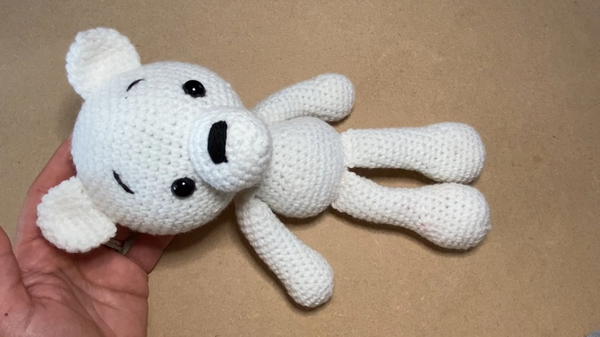
Each stitch builds a plush, structured form, producing a teddy that is both durable and irresistibly cuddly. Beyond their visual and tactile appeal, making these teddies enhances patience, concentration, and fine motor skills, turning the process into a calming, rewarding activity. Finished pieces can be customized through yarn color, facial features, and small accessories, giving each teddy a unique personality.
Lightweight yet resilient, they are perfect for playtime, gifting, or display, making them versatile additions to nurseries, shelves, or seasonal décor. Crafting multiple teddies can inspire creativity and storytelling, encouraging imaginative play or themed collections. The Free Crochet Teddy pattern transforms ordinary yarn into meaningful, charming companions that combine practical comfort with emotional delight, offering crafters a satisfying and hands-on opportunity to produce something both lasting and memorable.
Materials Required
- Yarn: Acrylic, cotton, or any sturdy yarn in your choice of colors (e.g., brown for the bear, white for the muzzle, and black for embroidery).
- Crochet Hook: Size suitable for your yarn, often 4mm.
- Stuffing Material: Fiberfill or polyester stuffing.
- Yarn Needle: For sewing and embroidery.
- Teddy Bear Safety Eyes: Small, secure eyes for toys.
- Scissors: For trimming yarn as needed.
- Stitch Marker: To track rounds during crocheting.
- Optional: Sewing pins for alignment during assembly.
Step-by-Step Instructions
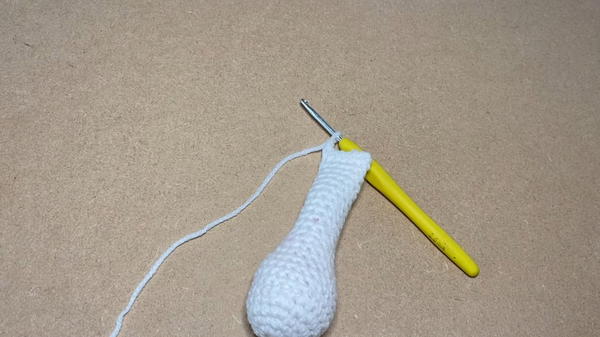
Step 1: Begin with the Head
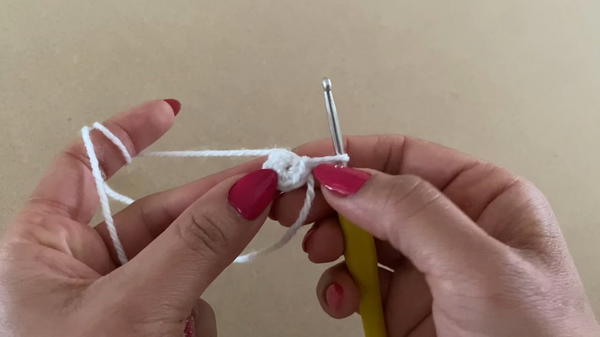
Magic Circle or Slip Knot Start:
- Create a magic circle and work 6 single crochets into the circle. Pull the circle tight to form the base.
- Alternatively, you can chain 2 stitches and work into the second chain.
Increase Stitches Gradually:
- Work 2 single crochets into each stitch (an "increase") around the circle to expand it.
- Continue in concentric rounds, alternating between rows of plain single crochets and rounds with increases.
Maintain Spiral Rounds:
- Keep working in spirals without joining rounds. Use a stitch marker to track the first stitch of each round.
Add Eyes (Between Rounds 16 and 17):
- Place the safety eyes about 10 stitches apart, ensuring they align symmetrically.
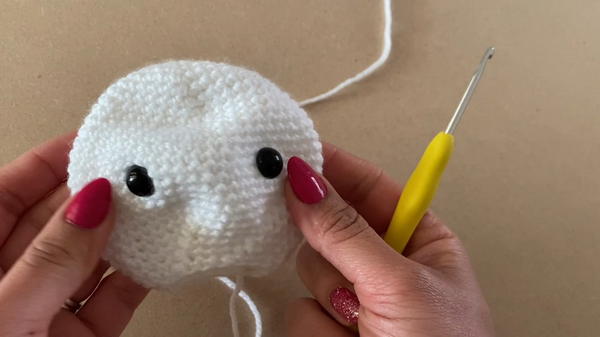
- Place the safety eyes about 10 stitches apart, ensuring they align symmetrically.
Decreasing to Shape the Head:
- Follow the tutorial to decrease by single crocheting two stitches together ("decrease") at regular intervals.
- Continue until the head is nearly closed, leaving space for stuffing.
Stuff and Finish:
- Stuff the head with fiberfill and complete the last stitches.
Step 2: Crochet the Body
Start with a Magic Circle:
- Work 6 single crochets inside the circle, then follow with rounds of increases as instructed in the video.
Shape the Body with Rounds:
- Alternate between rounds of increases and rows of plain single crochet. Work until the body reaches the desired size.
- Alternate between rounds of increases and rows of plain single crochet. Work until the body reaches the desired size.
Add Decreases:
- Decrease stitches in the later rows to taper the shape.
Stuff and Close:
- Add fiberfill and securely sew the body shut.
Step 3: Create the Arms and Legs
Arms:
- Start with a magic circle and work 6 single crochets. Then follow with increases to shape the arms.
- After a few increase rounds, switch to creating straight rows of single crochet for the arm's length.
- Decrease as needed, stuff lightly, and stitch the tops closed.
Legs:
- Begin with a magic circle, increasing rounds at the start to shape the soles.
- Crochet rows of single crochet to form the leg.
- Decrease and close the legs after adding stuffing.
Step 4: Muzzle and Ears
Muzzle:
- Use white yarn. Start with a magic circle and work increases to form a small circular shape.
- Stuff lightly and set aside for assembly.
Ears:
- Start with a magic circle using white yarn. Increase over a few rows to shape the ears.
- Curve them slightly by pulling on the edges.
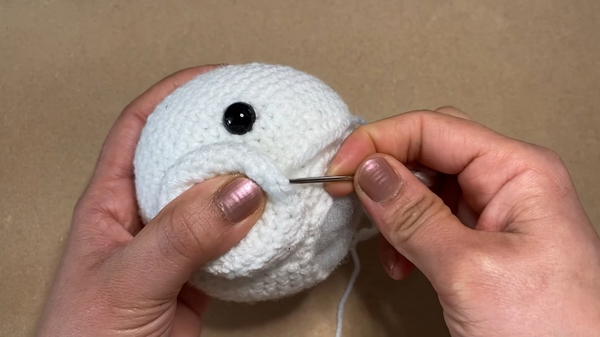
Step 5: Assemble the Teddy Bear
Attach the Muzzle:
- Position the muzzle between the safety eyes using sewing pins or your fingers.
- Sew the muzzle securely to the head.
Embroider the Eyes, Nose, and Mouth:
- Use black yarn or embroidery thread to stitch facial details. This includes the nose, smile, and optional eyebrows.
Sew the Ears:
- Position the ears symmetrically on the head. Attach securely with a yarn needle.
Attach the Limbs:
- Position the arms and legs on the body. Attach them tightly while ensuring they are symmetrical.
Stuff and Shape:
- Make any necessary adjustments by stuffing areas as needed to give the bear its ideal shape.
Special Features
- Customizable Sizes and Colors: You can adapt the teddy bear's size and color scheme to make it unique.
- Beginner-Friendly Techniques: The project uses basic stitches (e.g., single crochet, increase, and decrease), making it a perfect introduction to crocheting stuffed toys (amigurumi).
- Detailed Assembly Guide: The video includes clear instructions for sewing and embroidering features, ensuring a polished final product.
Tutor’s Suggestions
- Take Your Time: Rashmi encourages viewers to work at their own pace, especially during assembly.
- Secure the Eyes: Use safety eyes to ensure the toy is safe for children.
- Use Stitch Markers: Making spiral rounds can be confusing, so use markers to stay on track.
- Experiment with Embroidery: Don’t hesitate to add creative details like eyelashes or patterns.
Level of Difficulty
Beginner to Intermediate
- While the basic crocheting techniques are simple, assembly and symmetry of the bear require attention to detail, making it slightly more suitable for confident beginners or intermediate crafters.
Uses
- Handmade Gifts: Perfect for birthdays, baby showers, and holiday presents.
- Decorations: A cute addition to a nursery, bedroom, or craft shelf.
- Toy for Kids: A soft and safe companion for children when made with child-friendly materials.
Tip
When working on spiral rounds, avoid over-tightening your stitches, as it may create uneven tension. Use a stitch marker consistently, and periodically count your stitches to maintain symmetry throughout the creation process.
Conclusion
This comprehensive tutorial by Rashmi is an excellent project for anyone looking to expand their crochet skills or explore amigurumi-making. The steps are carefully explained, allowing viewers to create an adorable, well-crafted teddy bear.


