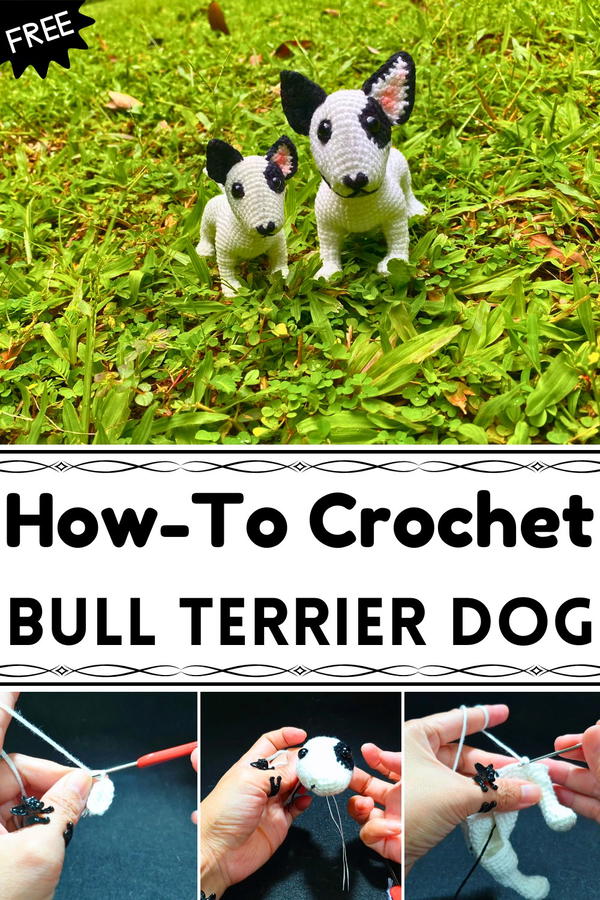
Delight in creating this Free Crochet Bull Terrier Dog Pattern that turns yarn into a cute and huggable companion perfect for any space.
Loyal companions leave lasting impressions, and this cheerful Bull Terrier can bring that same warmth in a small, handmade form. The Crochet Bull Terrier Dog pattern offers an engaging way to make a charming replica of this spirited breed, perfect for display, gifting, or adding personality to a shelf. Using soft yarn and a small hook, each part is carefully formed, capturing the Bull Terrier’s distinctive features, from its expressive face to its perky ears.
Elegant Crochet Bull Terrier Dog Pattern that Looks Fun
The pattern guides crocheters step by step, making it approachable for both beginners and those with intermediate skills. Safety eyes, stitched details, and well-shaped limbs bring the character to life, while the assembly ensures all parts are secure, resulting in a durable and huggable creation. Beyond serving as a decorative item, this project encourages patience, precision, and creativity, offering a rewarding sense of accomplishment when completed.
Handmade toys like this Bull Terrier can also become thoughtful, heartfelt gifts for friends and family, or a playful addition to any collection of amigurumi companions.
Compact, detailed, and full of charm, this crochet project combines fun with functionality, providing an enjoyable crafting experience while producing a keepsake that captures the joyful spirit of one of the most beloved dog breeds.
Materials Needed
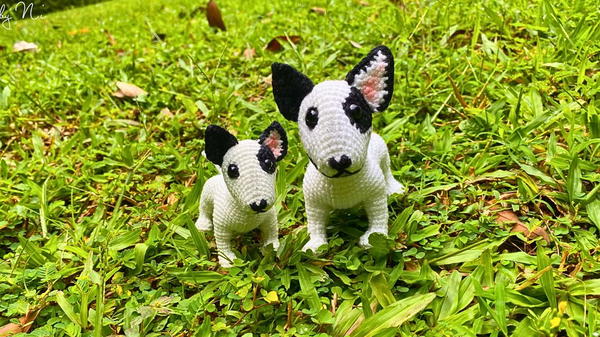
- Yarn: Two yarn types are used in the tutorial—1 mm thick for a smaller puppy (10 cm in height) and 2 mm thick for a larger puppy (12 cm in height). Any yarn can be used, but lighter shades like white or pink add charm.
- Crochet Hook:
- A specific hook size is not mentioned, but it should complement the yarn size.
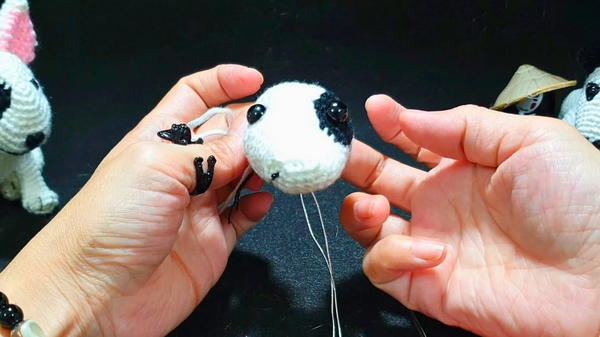
- Buttons: 1.5 cm buttons for the puppy's head spinning feature.
- Wire: A small piece (approximately 20 cm) to attach between rows 15-16 for neck/head movement.
- Scissors: To cut lengths of yarn.
- Stuffing Material: To shape and fill the body.
- Needle: For sewing and finishing fine details.
Special Features
- Custom Size Options: The result varies depending on the yarn size—choose 1 mm for a smaller design or 2 mm for a larger toy.
- Flexible Design: The tutorial allows for personalization with different yarn colors or adding a spinning neck feature with wires and buttons.
- Three-Dimensional Build: Detailed instructions create a well-shaped puppy with realistic proportions.
Level of Difficulty
This project is classified as Intermediate:
- It requires proficiency in basic stitches like single crochet, increases, decreases, and slip stitches.
- The project introduces clusters, shaped rows, and assembling components, which may require patience from beginners.
Tutor’s Suggestions
- Use Yarn that Matches the Hook Size: To achieve the proper texture and density.
- Customize the Eye Placement: Crochet rows are specifically marked for attaching the eyes and creating an expressive face.
- Don't Overstuff: Keep the stuffing minimal to maintain a smooth outer finish.
Uses
- Decorative Piece: A handmade display for your desk or living room.
- Personalized Gift: Perfect for loved ones—ideal for children, friends, or pet lovers.
- Creative Craft to Sell: A unique toy that can be sold as a personalized product in crochet fairs or online.
Materials
- Yarn (1 mm - small puppy, 2 mm - large puppy).
- Crochet hook that matches the yarn.
- Buttons (1.5 cm) for the spinning head.
- Wire (20 cm) for adjustable neck movement.
- Needles and thin sewing thread.
- Stuffing (for head and body).
- Scissors and optional glue for a durable finish.
Tip
Take your time with the assembly. Proper alignment of the legs, head, and ears makes the puppy look balanced and realistic. Use contrasting yarn colors to create an adorable, eye-catching look.
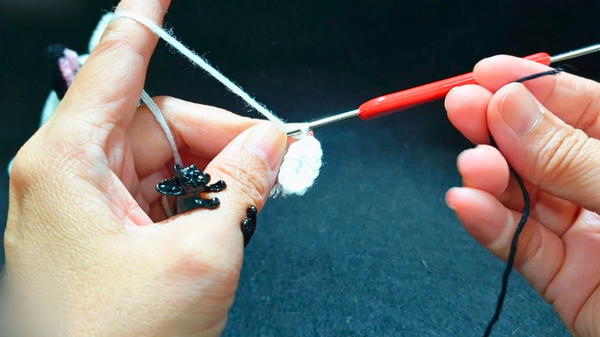
Step-by-Step Process
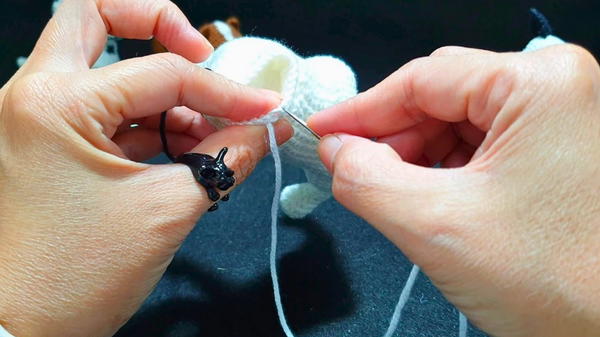
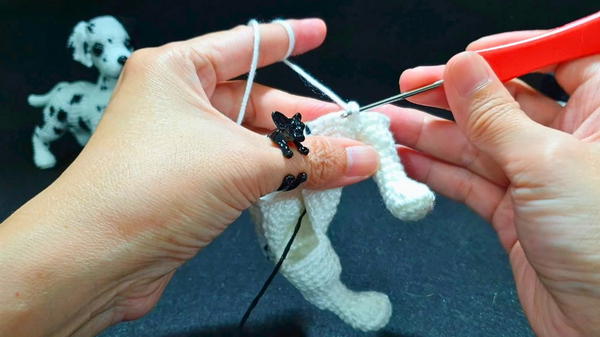
In this tutorial, Creator demonstrates how to crochet a sitting puppy pattern. Creator shares detailed steps for crocheting the body, head, ears, and tail of the puppy, along with tips for customizing the design using different types and sizes of yarn. This project allows you to experiment with different textures, creating a smaller or larger puppy depending on your material choice.
Conclusion
Crocheting this cute puppy is not just a creative endeavor but also a fun and rewarding project to showcase your crochet skills. With Ni’s detailed tutorial, even novice crocheters with some practice can create something delightful.


