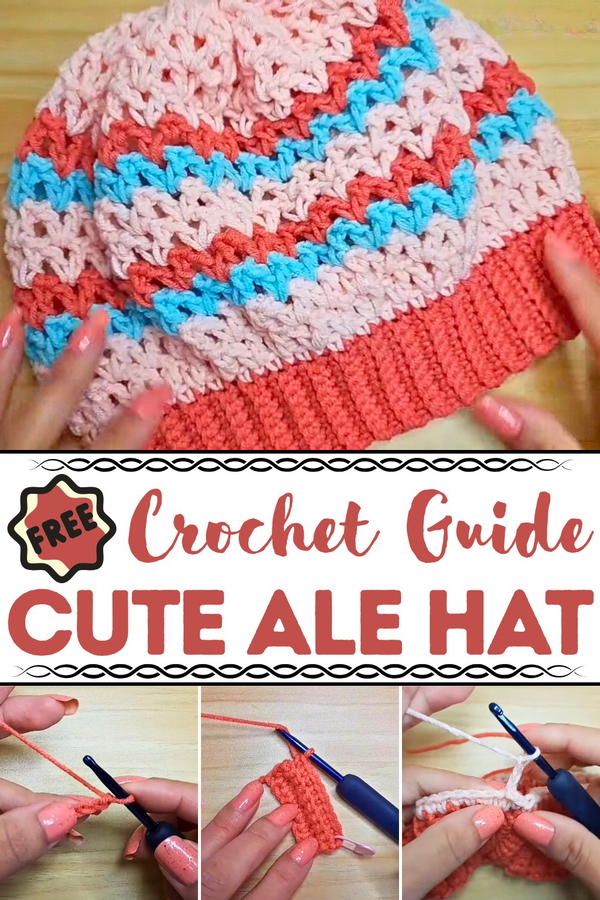
Grace your look with timeless charm using this Free Crochet Beret Type Hat Pattern featuring a soft falling style that drapes with effortless sophistication.
Long before berets became a fashion staple, they spoke of quiet confidence and effortless rhythm. Worn by artists, thinkers, and everyday dreamers, this timeless silhouette still carries that same understated charm. The free crochet beret type hat pattern echoes tradition with a modern twist, soft structure, fluid texture, and a gentle, falling style that rests gracefully over the crown. It’s a go-to piece for crisp mornings, afternoon strolls, or cozy café stops, lending any outfit a touch of poetic flair.
Crocheted Ale hat falling beret type joss clothing fabrics
Lightweight yarns meet a breathable stitch flow, giving the hat a slouchy fit that flatters without fuss. Its gentle ridges and subtle shaping create movement and texture, capturing light and shadow in a way that draws the eye. This hat doesn’t just complete an outfit, it adds intention. Whether worn loosely tipped to one side or pulled snug for warmth, the falling style remains its most charming feature.
An ideal project for thoughtful gifts or personal staples, it adapts across seasons and settings with ease. It’s a piece that feels intuitive to make and satisfying to finish. When style meets softness, and comfort meets confidence, this hat finds its place, falling just right, every time.
Special Features
- Customizable Sizes: Joselyn explains how to adjust the hat for babies, girls, or adults by measuring and adapting accordingly.
- Versatile Design: Can be created in multiple colors or kept in a single shade for a cohesive appearance.
- A Relatable Style: Joselyn describes the hat as a "beret-style design with a fall" that gives it elegance.
- Detail-Oriented Crafting: Incorporates techniques such as single and double crochet stitches, Vs, and finishing zigzag stitches for seamless assembly.
Level of Difficulty
This project falls into the intermediate level, but Joselyn provides clear advice for beginners. If you're new to crocheting, you can watch the linked basic course available in the tutorial description to familiarize yourself with essential stitches. Mastery of slip stitches, single crochet, chain stitches, and double crochet is recommended.
Tutor’s Suggestions
- Use a stitch marker or colored thread to avoid losing track of your progress, especially when working rows using single crochet through the back strand.
- Measure the chain length and overall hat dimension during each stage to ensure the finished item fits perfectly.
- Don’t worry if your yarn brand differs from Joselyn’s—she offers approximate wool weights and dimensions so you can adjust accordingly.
- During color changes, remember to tie knots securely and hide extra strands neatly for a polished look.
Materials
- Acrylic Wool: Thickness: 2mm. (Joselyn uses three colors).
- Crochet Hook: Size 4 mm for a slightly loose stitch.
- Wool Needle: For hiding strands and final assembly.
- Scissors: To trim excess yarn.
- Optional Stitch Marker: To keep track of rows or stitches.
- Approximate Wool Usage:
- Baby hat: 50-100g
- Girl size: ~60g
- Adult size: 100-150g
Step-by-Step Process
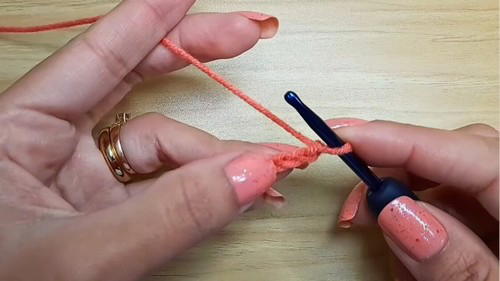
1. Creating the Ribbed Band
- Start with a Slip Knot: Begin with 10 chains (approx. 5 cm). Adjust chain count for larger or smaller sizes.
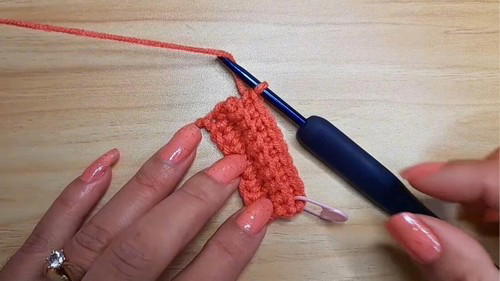
- Single Crochet Rows: In the second chain, begin single crocheting through each chain (total: 9 single crochets).
- Repeat Rows: Turn each row, single crochet through the back strand of stitches. Repeat until desired length is reached (e.g., 45 cm for a girl-sized hat).
2. Joining the Band
- Slip Stitch Closure: Line up the ends of the band and join them using slip stitches across both edges. Ensure a neat closure to form the base.
- Change Yarn Color: Tie a knot with the new yarn if you’re switching colors.
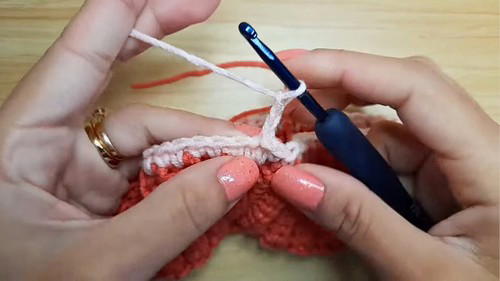
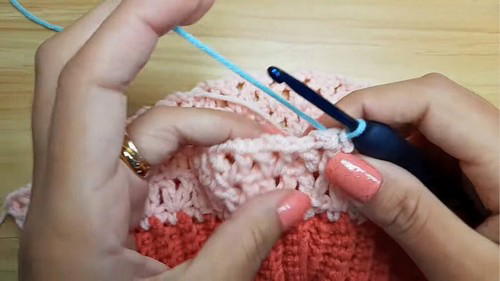
3. Forming the Hat Body with Vs
Start Single Crochets: In the ribbed band's middle points (where rows meet or create a relief), begin single crocheting evenly in each space. This forms the base of the hat.
Introducing Vs: Switch to double crochet stitches to create the V pattern:
- Chain 5 to start the round (counts as a double crochet + 2 chain separations).
- Double crochet back into the same point to form the first V.
- Skip 1 stitch and repeat the V pattern (double crochet → 2 chains → double crochet in same point).
- Continue around the hat.
Repetition of Rounds: In each subsequent round, build Vs directly within the Vs from the previous round. Adjust colors if desired.
4. Measuring and Continuing
- For a girl-sized hat, crochet until the body reaches a height of 16 cm (starting from where the band ends). Adjust measurements based on the desired hat size.
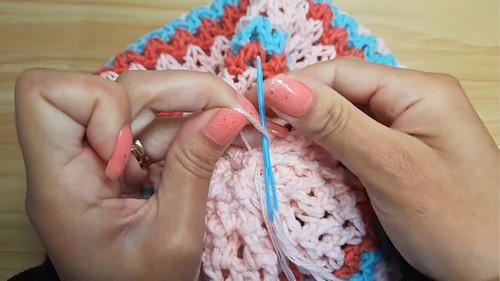
5. Closing the Top
- Use the wool needle and matching yarn strand to thread through the edge points in a zigzag pattern. Pull taut to close the gap. Sew additional stitches if needed to fully secure the top.
6. Hiding Strands and Finesse
- Tidy up by weaving loose strands into their corresponding color rows with the wool needle. Trim excess yarn to complete the look.
Uses of the Beret Hat
This chic accessory is not only functional but also stylish.
- Cold Weather Fashion: Keeps your head warm during winter or autumn.
- Gift Idea: A handmade beret makes a thoughtful present for birthdays or holidays.
- Versatile Design: Looks great on casual or dressy occasions, adding sophistication to any outfit.
Tip for Success
If you’re creating multiple hats in different sizes, use Joselyn’s measurements chart to calculate size variations. However, the best method for accuracy is to measure directly on the recipient or by using a mannequin head for reference.
Conclusion
Crochet Beret Type Hat is an enjoyable project that combines practicality and artistry. The hat is customizable to various sizes and colors, making it a versatile crochet project for individuals of all skill levels.


