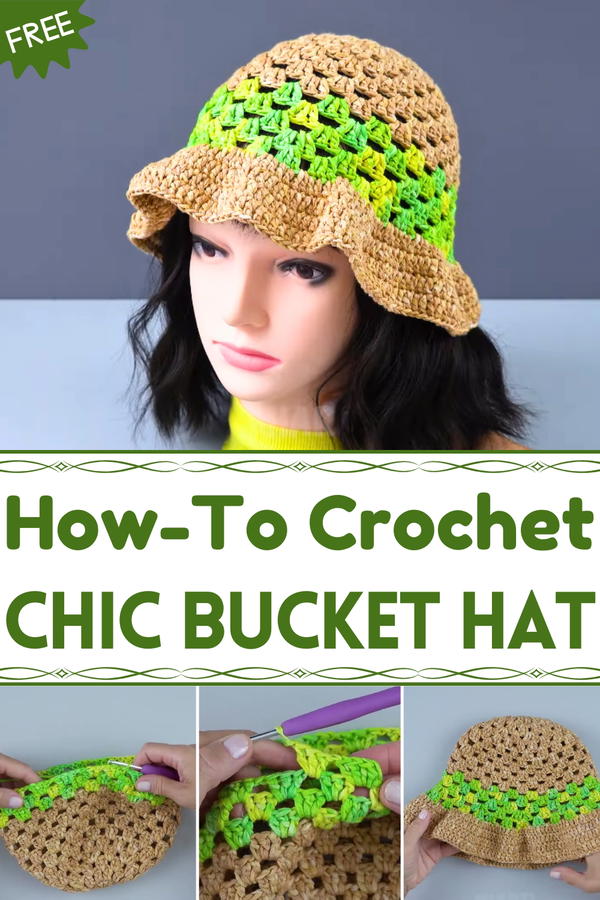
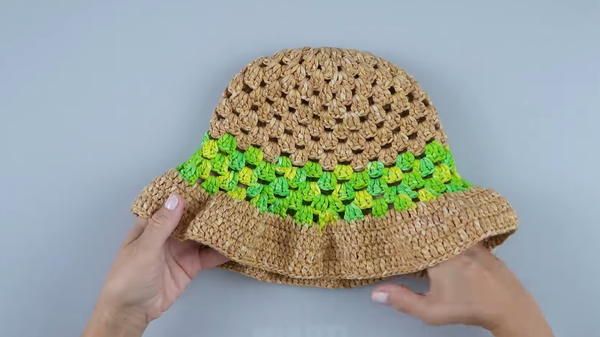
Top off sunny days with this Free Crochet Granny Bucket Hat Pattern, a stylish handmade accessory that adds vintage flair and breezy comfort to any outfit.
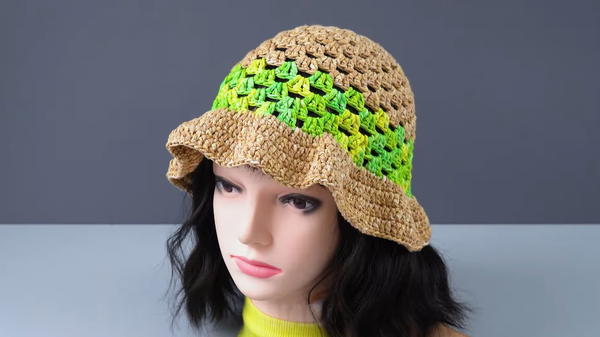
Sunny afternoons and breezy outings call for an accessory that offers both charm and protection. A Free Crochet Granny Bucket Hat pattern meets that need with a lightweight, breathable style that shades the face while adding a splash of personality to any outfit. Ideal for casual strolls, market visits, or beach days, this hat keeps the sun at bay without sacrificing comfort.
Chic Crochet Granny Bucket Hat Pattern Everyone Will Notice
The process of shaping each section invites a steady, calming rhythm, letting the maker enjoy quiet focus as the fabric takes form. Its roomy crown and gentle brim suit a range of head sizes, while the iconic granny motif allows endless color combinations, from subtle neutrals to bright, playful contrasts. Foldable and easy to tuck into a bag, it becomes a travel-ready staple that springs back to shape whenever needed.
Whether worn with sundresses, shorts, or layered outfits, the bucket hat adds a touch of retro flair that works in every season. It also makes a thoughtful handmade gift, offering practicality and style in equal measure. A Free Crochet Granny Bucket Hat pattern delivers both relaxation in the making and lasting usefulness, resulting in an accessory that brings comfort, shade, and timeless appeal to everyday wear.
Materials Needed
Yarn:
- Two colors: Color A and Color B (yarn weight and type not mentioned, but choose based on your project needs).
Crochet Hook:
- Size appropriate for your yarn (not mentioned, but select a size comfortable for your yarn’s weight).
Additional Tools:
- Scissors.
- Measuring tape (to ensure your project reaches the correct circumference).
Step-by-Step Instructions
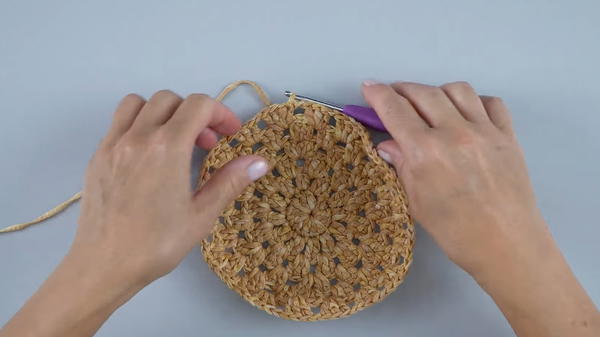
1: Start with a Magic Ring (Base)
- Form a magic ring.
- Create the first row:
- Chain 1 stitch.
- Work 12 double crochets (dc) into the magic ring.
- Close the row with a slip stitch to the first double crochet.

2: Row 2 – Begin the Increase Pattern
- Chain 1 stitch to begin the row.
- Start the pattern: Work 2 double crochets in the same stitch (increase).
- Repeat this pattern 11 more times around the row.
- Close with a slip stitch when the row is complete.
3: Row 3 – Increasing Stitches
- Chain 1 stitch to start the row.
- Start the pattern: Work 3 double crochets in the same stitch.
- Repeat this pattern 11 more times across the row.
- Close with a slip stitch.
4: Row 4 – Create Alternating Groups of Double Crochets
- Chain 1 stitch to begin.
- Start the pattern: Work 4 double crochets together and then 3 double crochets.
- Repeat this pattern across the row.
- Close the row with a slip stitch.
5: Row 5 – Repeat Groups of 3 Double Crochets
- Chain 1 stitch to begin the row.
- Start the pattern: Work 3 double crochets as a group.
- Repeat this pattern across the row.
- Close with a slip stitch.
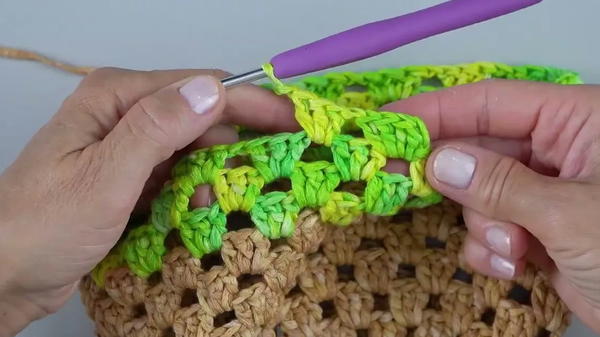
6: Rows 6 through 12 – Add Chains to the Double Crochets
- Chain 1 stitch to start each row.
- Start the pattern: Work 3 double crochets, followed by 1 chain stitch.
- Repeat this alternating pattern across the row.
- For rows 7 through 12, repeat the pattern established in Row 6.
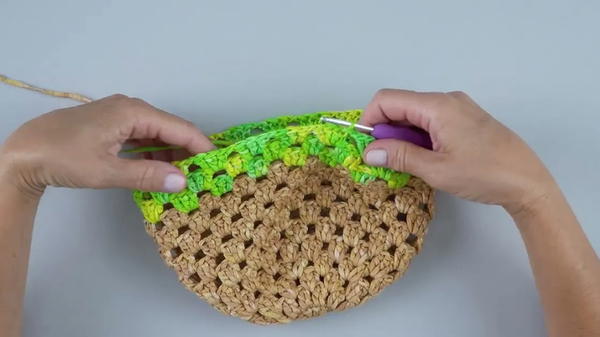
7: Rows 13 to 15 – Switch to Color B
- Begin with a slip stitch to change to Color B.
- Continue with the established pattern:
- 4 double crochets, 1 chain stitch, 3 double crochets, 1 chain stitch.
- Repeat this sequence for the entire row.
- Close each row with a slip stitch.
8: Row 17 – Decrease Stitches Slightly
- Chain 1 stitch to begin.
- Start the pattern: Work 3 double crochets, followed by 1 chain stitch.
- Repeat this pattern for the row.
9: Row 18 – Switch Back to Color A and Work a Modified Increase Pattern
- Change back to Color A with a slip stitch.
- Chain 1 stitch to start.
- Start the pattern:
- Work 3 double crochets followed by 2 double crochets worked into the same stitch (increase).
- Repeat this sequence for the row.
10: Rows 19 to 21 – Continue the Pattern
- Repeat the pattern established in Row 18, gradually building your desired shape and texture.
Special Features
- Magic Ring Foundation: Creates a seamless and professional base for circular projects.
- Alternating Patterns: The use of increases and chain stitches introduces texture and interest to the design.
- Color Changes: Switching between Color A and Color B adds visual dimension to the project.
- Customizable Circumference: The guide works up to a 56 cm head circumference, but adjustments can be made by adding or subtracting rows.
Level of Difficulty
This project is intermediate:
- Requires familiarity with the magic ring, working in the round, double crochet, chain stitches, and slip stitches.
- Consistent stitch counting and maintaining symmetry are essential to ensure the pattern develops evenly.
Tutor’s Suggestions
- Mark the Start of Rows: Use a stitch marker to track the first stitch of each row to avoid losing your place.
- Check Gauge Frequently: Keep measuring your circumference to ensure the project fits the desired size.
- Maintain Consistent Tension: Working in the round requires even tension to prevent large gaps or uneven rows.
- Practice Color Changes: If you're new to switching colors, practice creating clean transitions between Color A and Color B to avoid yarn gaps.
Uses
- Hats or Beanies: The circular and textured design suggest that this could be turned into a stylish hat.
- Decorative Mats: The pattern could serve as a design for table or wall decorations.
- Storage Basket Base: If stiff yarn is used, the circular pattern could make for a basket base.
Tip for Success
Be meticulous with your stitch count—especially during increases—to ensure the circular pattern stays flat and doesn't buckle or ripple.
Conclusion
This tutorial lays out an engaging and detailed project for creating a pattern with depth and visual interest. Using double crochets, chain stitches, and slip stitches, it builds a circular design that can be adapted for various applications.


