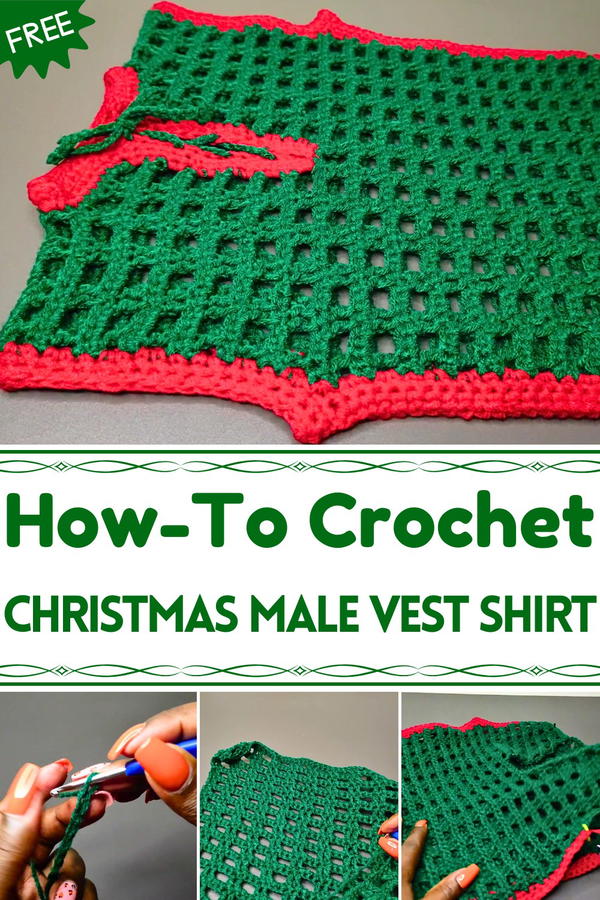
Step into festive style with this Free Crochet Christmas Male Vest Shirt Pattern, adding cozy charm and cheerful holiday flair to your wardrobe.
The vest shirt’s beauty lies in its clean lines and structured fit, making it suitable for layering over shirts or wearing on its own during festive occasions. Its specialty rests in versatility, it can be customized in size, color, and detailing to suit individual taste, from classic holiday tones to playful accents.
The vest encourages creativity in personal styling while maintaining an approachable and timeless appeal. Perfect for family gatherings, office parties, or casual winter outings, this garment combines festive cheer with everyday comfort. The thoughtful construction and cheerful accents make it more than clothing—it becomes a symbol of holiday warmth, style, and handmade charm that adds character and joy to any celebration.
Materials Needed
- Yarn:
- Green medium-weight yarn for the main body.
- Lightweight red yarn for the accents (which will be doubled to achieve a medium-weight effect).
- Hook: 4.0 mm crochet hook.
- Notions:
- Measuring tape.
- Darning (yarn) needle.
- Stitch markers.
- Scissors.
Special Features
- Customizable for Any Size: The vest is entirely measurement-based, allowing you to adapt the pattern to fit any size, whether for children, teens, or adults.
- Christmas-Themed Colors: The green and red yarn combination provides a festive touch for the holiday season.
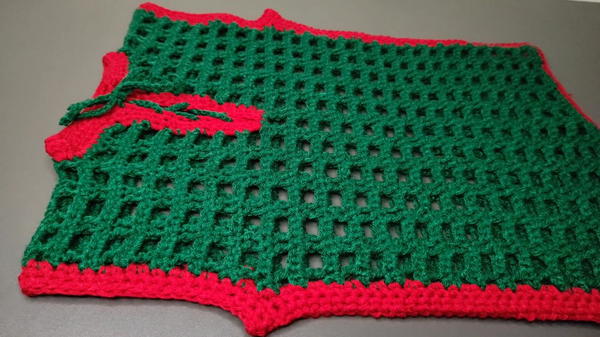
- Two Panel Construction: The vest comprises a front and back panel, joined together at the shoulders and sides.
- Clean Finishing Touches: Includes neat armholes, neckline shaping, and a red stripe detail at the bottom for added style.
- Beginner Friendly: The stitch pattern is simple yet effective, alternating rows of single crochet and double crochet.
Level of Difficulty
This project is intermediate-beginner friendly. It involves basic crochet techniques like chaining, single crochets (SC), and double crochets (DC). Additionally, you'll practice techniques for shaping the neckline, adding panels, and assembling pieces.
Tutor's Suggestions
Measurement Tips:
- You can either measure the person you're making the vest for or take measurements from a shirt of similar size. Create the necessary width (half the chest measurement) and length based on these measurements.
Consistency with Yarn Weight:
- Since the red yarn is lightweight, the tutor suggests doubling the strand to match the medium-weight green yarn for even stitching tension.
Proper Stitch Markers:
- Stitch markers are invaluable when dividing the panels or marking armhole placements.
Keep an Even Chain Count:
- Your starting chain must be an even number (e.g., 46, 50). When divided by two, the answer should be an odd number.
Step-by-Step Instructions
Step 1: Take Measurements
- Measure the person's chest width (half the chest circumference). For Liz’s son, it was 15 inches.
- Measure the full length of the vest (e.g., 17 inches).
- Measure the distance from the armpit to the waist (e.g., 12 inches).
- Measure the width of the neckline opening (e.g., 11 inches).
These measurements will help you calculate the exact starting chain, rows, and armhole shaping for your project.
Step 2: Back Panel
Create the Foundation Chain:
- Begin with a slip knot. Chain an even number that matches half the chest measurement (e.g., Liz chained 46 for a 15-inch width).
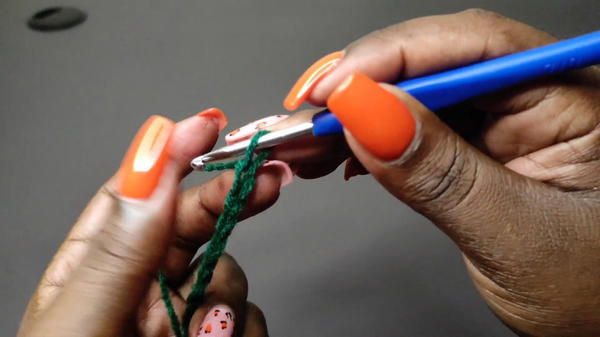
- Begin with a slip knot. Chain an even number that matches half the chest measurement (e.g., Liz chained 46 for a 15-inch width).
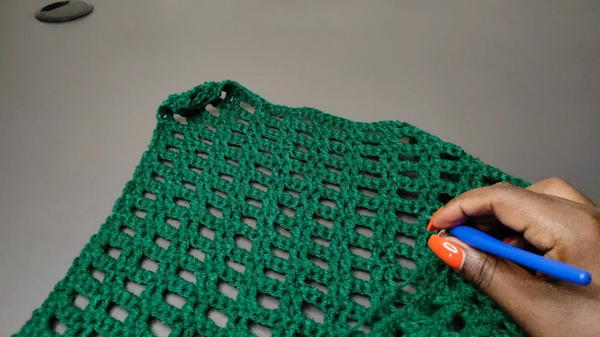
Row 1 (Single Crochets):
- Skip the last chain, then work 1 SC into each chain across. At the end of the row, chain 1 and turn.
Row 2 (Double Crochets):
- Chain 2 (acts as the first DC), skip the first stitch, and place a DC into the second stitch.
- Chain 2, skip 2 stitches, and place a DC into the next stitch. Repeat this pattern to the end.
Row 3 (Single Crochets):
- Chain 1, place 1 SC into every stitch, including stitch gaps from the row below.
Alternate between single crochet rows and double crochet rows until you achieve the desired panel length (e.g., 34 rows or approximately 12 inches in Liz’s case).
Red Accent Edge:
- Once you complete the green section, switch to the red yarn and add a few rows to complete the required length (e.g., 3 inches in Liz’s case).

- Once you complete the green section, switch to the red yarn and add a few rows to complete the required length (e.g., 3 inches in Liz’s case).
Step 3: Front Panel
Follow the same process as the back panel up to the point where the neckline shaping begins (e.g., 11.5 inches).
Neckline Shaping:
- Divide the panel into two halves. Place stitch markers at the center and move them outward by 2 stitches on each side to create a 4-stitch neckline gap.
- Work each side of the panel separately to reduce the neckline opening.
Complete rows for each shoulder by gradually reducing rows toward the neckline.
Step 4: Joining the Panels
- Place the front panel on top of the back panel with right sides facing inward.
- Use a darning needle or slip stitches to sew the shoulder seams together (e.g., 14 stitches on each side).
- Leave the appropriate armhole opening (e.g., 6 inches for a child, 7–9 inches for older sizes). Use stitch markers to designate the area to skip.
- Join the sides of the vest using the same method, leaving the armhole space open.
Step 5: Finishing Touches
Armhole Edges:
- Work 2–3 rows of single crochets around the armhole opening for a clean, finished look.
Neckline:
- Work single crochet rows (3 rows) evenly around the neckline, ensuring smooth edges.
Bottom Edge:
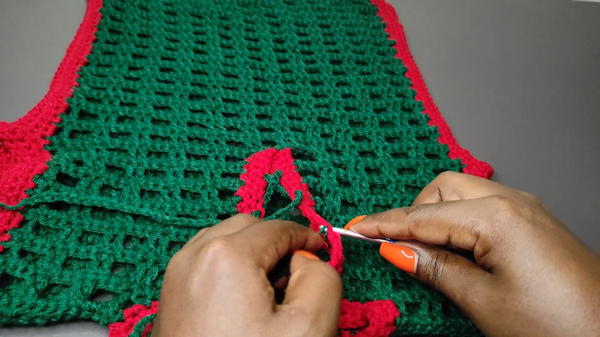
- Use red yarn to add decorative single crochet edging to the bottom of the vest. This step is optional but adds a festive touch.
Ties (Optional):
- Make a chain of 100 stitches for ties at the neckline. Attach them securely on each side of the opening and use them for a decorative bow.
Conclusion
Congratulations! You’ve completed the Christmas-themed crochet vest. This functional yet festive piece is perfect for a cozy holiday outfit or as a handmade gift to cherish. The project combines simplicity with creativity, allowing for size adjustments and color customizations.
Bonus Tip
For a smoother edge, block your vest before wearing it. Lightly steam or use a damp towel to set the stitches and achieve a clean, polished look.


