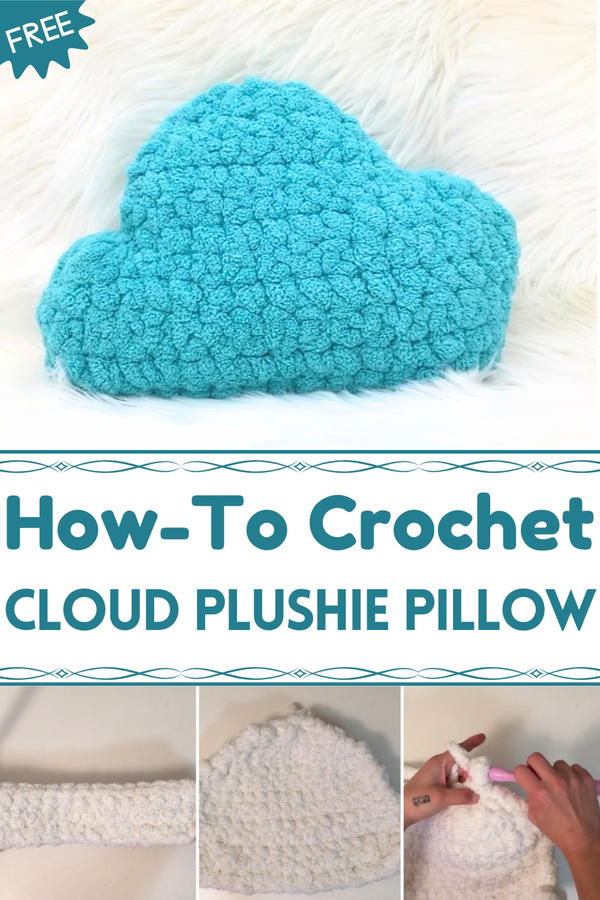
Float into coziness with this Free Crochet Cloud Plushie Pillow Pattern, that's for soft, adorable decor that adds charm and comfort anywhere.
Soft shapes have always held a comforting presence in homes, from the gentle curve of a well-worn pillow to the whimsical forms that spark warmth in any space. Among these, cloud-inspired forms offer an immediate sense of calm and playfulness, inviting relaxation and gentle moments of rest. The Free Crochet Cloud Plushie Pillow Pattern brings this concept to life, offering a cozy companion that is as decorative as it is functional. Perfect for nurseries, bedrooms, or lounging corners, these plushie pillows provide a soft, tactile experience that soothes both children and adults alike.
How to Use a Crochet Cloud Plushie Pillow in Creative Ways
Lightweight yet resilient, they maintain their shape while offering comfort during naps, reading sessions, or quiet relaxation. The airy, rounded structure encourages imaginative placement on beds, sofas, or even as standalone accent pieces, enhancing the overall atmosphere with subtle charm.
Beyond aesthetic appeal, working on each pillow supports mindful engagement, allowing crocheters to focus, unwind, and enjoy the therapeutic rhythm of stitching. The step-by-step approach ensures accessibility for all skill levels, making it simple to customize colors or sizes according to personal preference. Each completed cloud pillow embodies warmth and comfort, turning ordinary spaces into inviting retreats where softness and serenity coexist beautifully.
Special Features
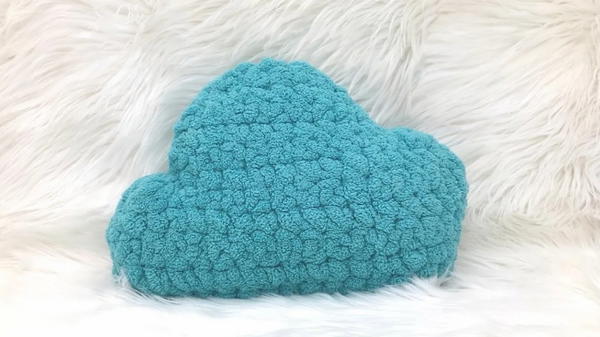
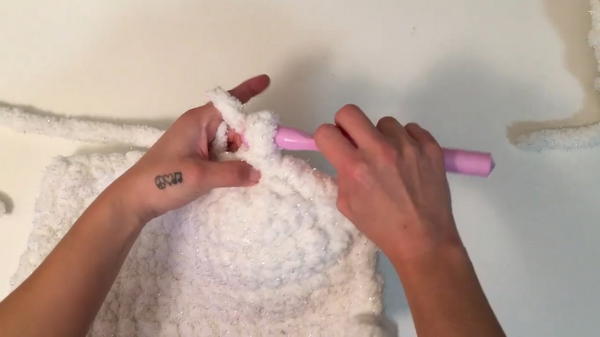
- Chunky and Plush Design: The pillow is made with super bulky chenille yarn, offering a cloud-like softness and a cozy appearance.
- Simple Construction: The project involves crocheting two flat panels, which are sewn together to create the shape.
- Customizable Size: By adjusting the number of stitches and rows, you can customize the pillow’s size to your liking.
- Eco-friendly Option: Can be made using leftover or recycled stuffing for a plush, finished interior.
- Gift-worthy: The unique aesthetic makes it an ideal handmade gift.
Level of Difficulty
The tutor describes this project as beginner-friendly, using basic crochet techniques (such as chains, single crochet, and whip stitching). However, beginners should work slowly and follow the tutorial closely, especially when shaping the panels.
Suggested Materials
- Yarn: Chunky chenille yarn (Super Bulky #6). The tutor recommends Walmart’s yarn for affordability and softness.
- Approximately 2 skeins of yarn are required, but if you crochet loosely, you may need 3 skeins.
- Hook: A crochet hook sized 19mm (slightly smaller than the recommended size for this yarn to ensure tight stitches).
- Stuffing: Polyester fiberfill or any plush stuffing material.
- Scissors: For cutting yarn ends.
- Tapestry Needle: To sew the panels together using a whip stitch.
Tutor’s Suggestions
- Preview the Video: Watch the tutorial from start to finish before you begin crocheting. This will help you understand the process and reduce mistakes.
- Measure Yarn for Sewing: Before finishing the panels, measure the yarn along the edge of your shape and ensure you have enough length (double the perimeter with extra length) to sew the two panels together.
- Stuffing Advice: Avoid overstuffing, as it can stretch the stitches, exposing the stuffing. However, ensure sufficient filling to maintain the plush shape.
- Work Consistently: Keep tension even across stitches, particularly when increasing and decreasing, to ensure a clean and uniform shape.
Step-by-Step Instructions
Part 1: Creating the Panels
Step 1: The Foundation Chain
- Begin with a slip knot on your 19mm crochet hook.
- Chain 16 stitches (this represents 15 stitches + 1 for turning).

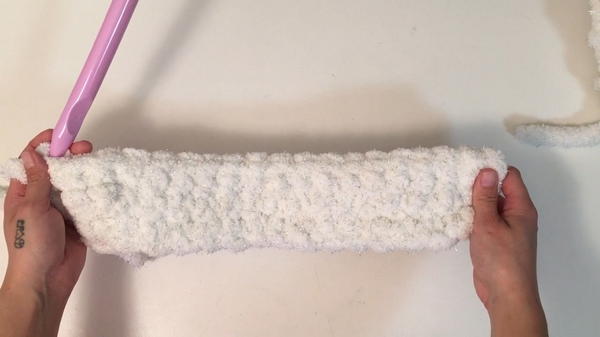
Step 2: Row 1
- Single crochet into the second stitch from the hook, then continue with 1 single crochet in each stitch across the row.
- At the end of the row, you’ll have 15 single crochets.
Step 3: Row 2
- Turn your work, chain 1 (does not count as a stitch), and work 1 single crochet in each stitch across.
- You’ll retain 15 single crochets.
Step 4: Row 3 - Increases
- Turn, chain 1. Work 2 single crochets into the first stitch, 1 single crochet into the next 13 stitches, then 2 single crochets into the last stitch.
- At the end of Row 3, you will have a total of 17 single crochets.
Step 5: Rows 4-5
- Row 4: Single crochet across all 17 stitches.
- Row 5: Chain 1, work 2 single crochets in the first stitch, single crochet into each stitch across except the last stitch, and then work 2 single crochets in the last stitch. (You’ll have 18 stitches by the end of Row 5).
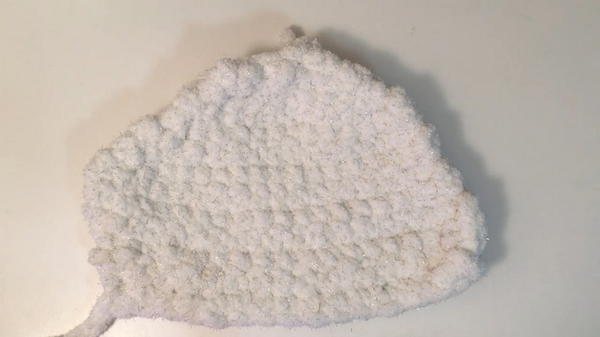
Step 6: Row Decreases (Row 6-13)
From Row 6 onward, decrease the number of stitches using single crochet two together (sc2tog) gradually:
- Row 6: Decrease the first two stitches, single crochet across, then increase at the last stitch (18 stitches).
- Row 7: Decrease the first two stitches, single crochet across, (17 stitches).
- Row 8: Increase at the start and decrease at the end (16 stitches).
- Repeat similar shaping until Row 13, finishing with 3 stitches total during the final row.
Make a second panel by repeating the same steps above.
Part 2: Sewing Panels Together
- Align the two panels with their edges and shapes matching.
- Use a tapestry needle and yarn to sew them together with a whip stitch. Insert the needle through the top and corresponding bottom stitches, wrapping and pulling the yarn evenly.
- Leave a hand-sized opening, ensuring neat stitching.
Part 3: Stuffing the Pillow
- Carefully place fiberfill or any chosen stuffing inside the partially sewn pillow. Push the stuffing into all corners to ensure a consistent shape.
- Avoid overstuffing, which could stretch out stitches and leave gaps.
Part 4: Finishing the Pillow
- Close the remaining hole with a whip stitch to ensure all stuffing stays secure.
- Fasten off the yarn with a knot, weave in the remaining ends, and hide the tail within the plushie.
- Shape and fluff the pillow to finalize the look.
Uses of the Chunky Crochet Cloud Pillow
- Home Décor: Perfect for adding a soft, whimsical element to beds, sofas, or reading nooks.
- Gifts: Ideal as a handmade gift for friends, children, or loved ones.
- Photo Props: Great for photography settings with a cozy or dreamy vibe.
- DIY Projects: A fun and rewarding project for crochet enthusiasts.
Tip for Success
Work with tight tension throughout the project to avoid gaps where stuffing might show. If needed, experiment with using a slightly smaller hook to maintain the pillow's structure and ensure durability.
Conclusion
The Chunky Crochet Cloud Plushie Pillow is an adorable and functional project that brings together creativity and practicality. With its simple construction and cozy feel, it’s beginner-friendly yet produces stunning results.


