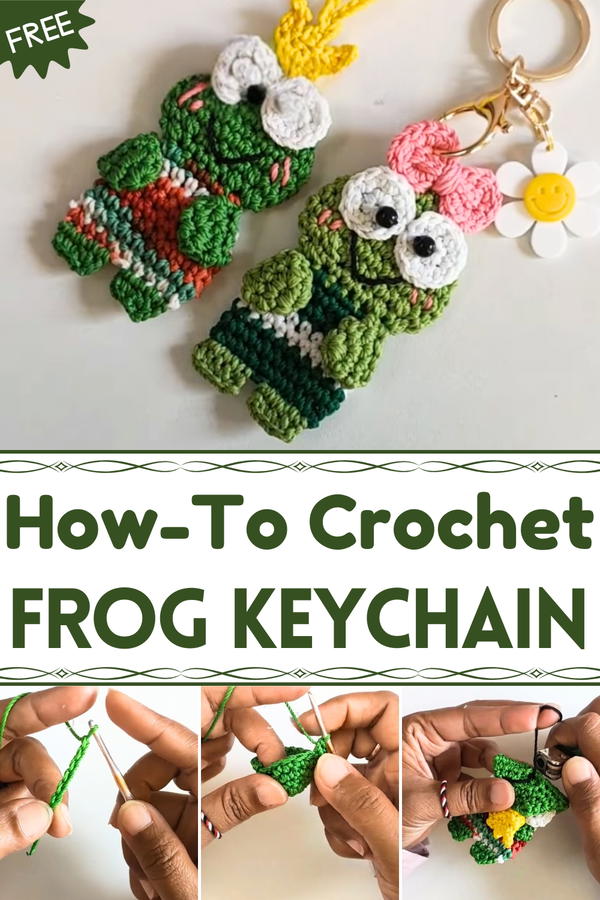
Hop into fun with the Free Crochet Frog Keychain Pattern, bringing a cute and playful accent to bags, keys, gifts, or whimsical accessories.
A tiny splash of green can bring a smile on the dullest of days, reminding us of ponds, gardens, and the playful energy of nature. The Free Crochet Frog Keychain pattern captures that charm in a small, portable accessory that merges fun with practicality.
Playful Crochet Frog Keychain Pattern for Kids and Teens
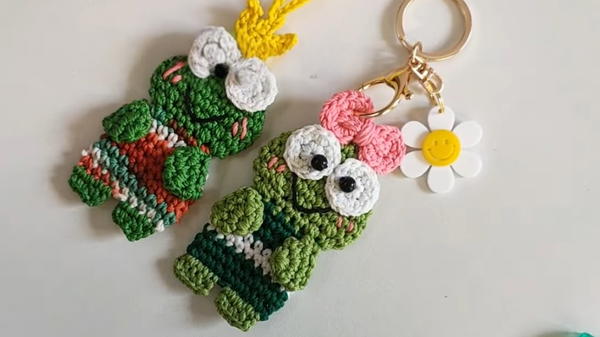
This keychain features a soft yet durable crochet structure that retains its shape while remaining lightweight. Its detailed frog motif, complete with expressive eyes and a cheerful posture, adds personality to keys, bags, or backpacks. Ideal for both children and adults, it provides a whimsical accent to everyday items while keeping essentials organized and easy to locate. Various yarn colors allow customization, from classic frog greens to vibrant alternatives, letting each keychain reflect individual style or mood.
Beyond visual appeal, the Free Crochet Frog Keychain pattern delivers tangible benefits. It serves as a practical identifier for keys or bags, a thoughtful gift that combines charm and functionality, and a small creative project that can be completed quickly. Perfect for adding character to personal belongings, this keychain transforms a simple accessory into a cheerful companion that carries a hint of nature’s playfulness. It proves that even the tiniest handmade creation can bring joy, organization, and style to everyday routines.
Special Features
- Creative Design: A whimsical frog shape makes this hanger a one-of-a-kind decorative item.
- Skill-Building: Involves working with techniques like magic rings, single crochet increases, decreases, and color changes.
- Customizable: You can adjust the colors and details to fit your personal style or décor.
- Multi-Part Assembly: Learn how to make components like the body, legs, eyes, and smile, then assemble them into the finished product.
- Practical and Decorative: Acts as a functional hanger while adding charm to any space.
Materials Needed
- Polycherry Onitsuga Yarn: Used in multiple colors (green, gradient, red, and black).
- Crochet Hook: 4/0 (2.5 mm) from Tulip.
- Sewing Thread: Pink thread (for blush) and black thread (for the smile).
- Plastic Eyes: 6 mm Mujin eyes.
- Tapestry Needle: For sewing and assembling components.
- Scissors: For cutting yarn.
- Lighter or Matches: To secure and tidy thread ends.
Step-by-Step Instructions
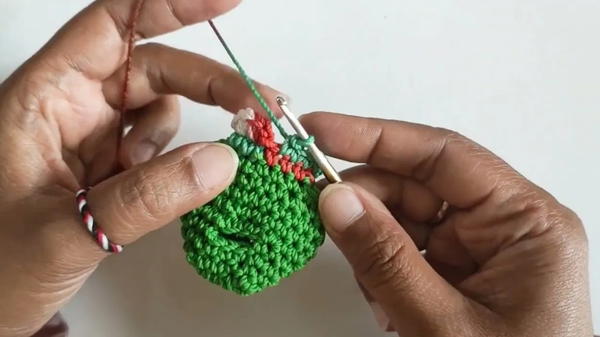
1. Creating the Frog Body
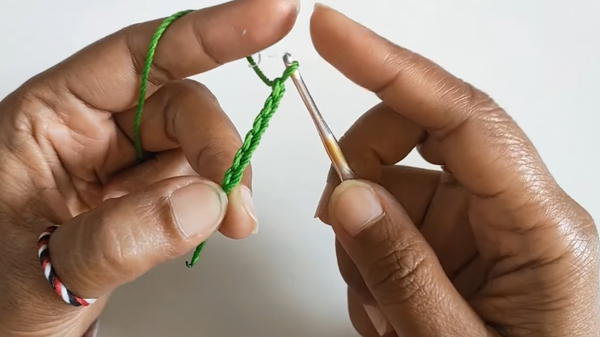
Make a Slip Knot: Start by creating a slip knot to begin the foundation of the frog’s body.
Chain 6: Create a chain of six stitches.
First Round:
- In the last chain, make 3 single crochets (sc) in the same stitch.
- Continue with 3 single crochets in the next stitches.
- In the first chain, make 3 single crochets again.
- Finish the round with 3 single crochets in the next stitches to form an oval. Join with a slip stitch (ss) into the first stitch.
- Total: 12 single crochets.
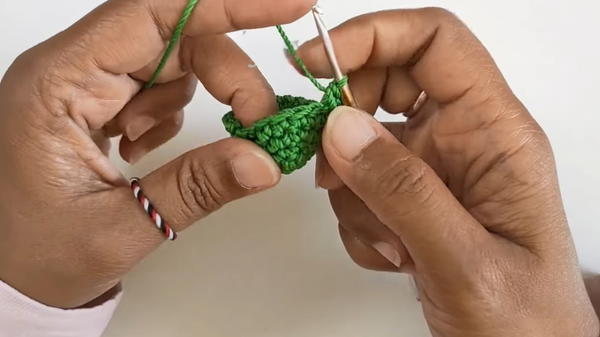
Second Round:
- Chain 1.
- Make 12 single crochets — one in each stitch.
- Join with a slip stitch.
Third Round:
- Chain 1.
- Start with 2 single crochets in one stitch (increase), followed by 1 single crochet in the next 2 stitches. Repeat this pattern across the round.
- Total: 18 stitches.
- Join with a slip stitch.
Fourth Round:
- Chain 1.
- Make 15 single crochets. Then chain 3, skip the next 3 stitches, and join the round with a slip stitch.
Fifth Round:
- Chain 1.
- Make a pattern of 1 single crochet, 1 increase (repeat 3 times). Follow with 3 single crochets. Repeat this pattern again across the round, filling the chain-3 spaces with single crochets.
- Total: 24 single crochets.
- Join with a slip stitch.
Rows 6-7:
- Chain 1.
- Work 24 single crochets in each row and join with a slip stitch.
Eighth Round (Decrease row):
- Chain 1.
- Make a pattern of 1 single crochet, 1 decrease (sc2tog) 3 times. Follow with 3 single crochets. Repeat the entire pattern again.
- Total: 18 single crochets.
- Join with a slip stitch.
Ninth Round:
- Chain 1, work 3 repeats of sc2tog, followed by 3 single crochets. Repeat the pattern one more time.
- Total: 12 single crochets.
- Switch to gradient yarn.
Rows 10-12: Work 12 single crochets per round and join with a slip stitch. Break the yarn and finish off.
2. Creating Frog Legs
- Back and Front Loop Work:
- Attach yarn to the front or back loop of the frog’s body.
- Chain 1 and make 4 single crochets. Turn and work 4 single crochets in the opposite loop.
- Join with a slip stitch.
- Repeat the process to create all 4 legs.
3. Creating the Frog Eyes
Magic Ring Foundation:
- Create a magic ring and make 6 single crochets into the loop. Tighten it.
Second Round:
- Chain 1 and make 6 increases (12 stitches total).
Add Plastic Eyes: Sew or glue the 6 mm eyes in place.
Make Two Eyes: Repeat the process to create the second eye.
4. Assembling the Frog
- Attach Eyes and Legs: Sew the eyes and legs to the body using a tapestry needle.
- Add the Smile: Use black thread to sew a smile on the frog’s face.
- Blush Details: Add pink blush using a tapestry needle and pink yarn.
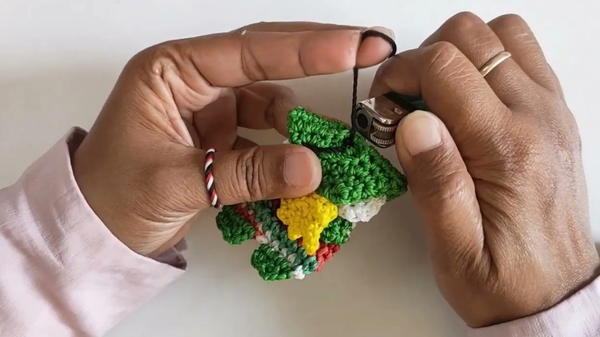
5. Adding the Hanging Strap
- Create the Chain: Make a slip knot and chain 40.
- Form the Loop: Attach the chain's end to the top of the frog’s crown using a slip stitch.
- Secure and Finish Off: Break the yarn and tidy the ends with a lighter.
Tutor’s Suggestions
- Practice Basic Stitches: Familiarize yourself with single crochet, increases, and decreases before starting the project.
- Work Neatly on Small Pieces: Take care to secure each small part (like the legs and eyes) for a polished look.
- Use Light-Colored Yarn for Beginners: This makes it easier to see your stitches.
Level of Difficulty
This project is intermediate. It requires familiarity with basic stitches, decreases, and assembling components. Beginners can follow with focus and practice.
Uses
- Decorative Item: Adds a cute, personal touch to your home.
- Gift Idea: Makes a thoughtful, handmade gift.
- Children’s Room Decor: A whimsical and fun addition to any child’s space.
Tip
When switching yarn colors, make sure to leave a clean and secure transition by tying and weaving in the threads, or use a lighter to tidy the ends.
Conclusion
Crocheting a frog-shaped hanger is a fun and rewarding project that combines functionality and creativity. With its charming design and utility, this hanger makes a great decorative piece or thoughtful gift.


