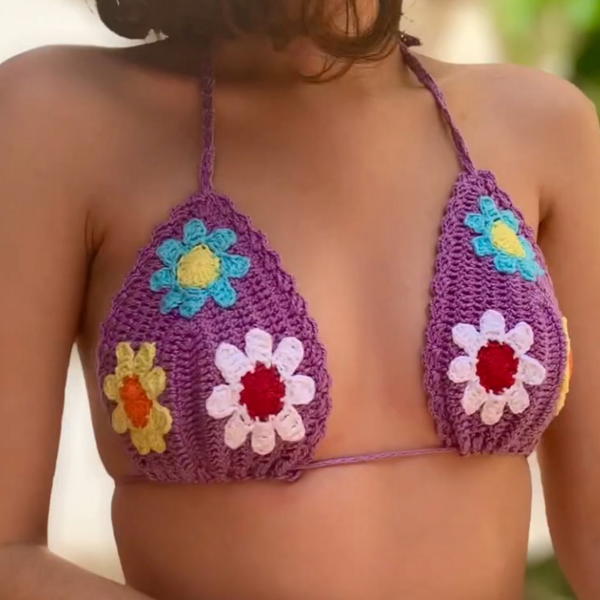
Shine bright this summer with a Crochet Star Bikini Top Pattern that adds bold shape, trendy flair, and a standout handmade look for sunny beach days.
This fun and bright bikini top is made to make you feel special and shine like the stars in the sky! Soft and light, it fits comfortably on your body and shows off beautiful star shapes that catch everyone’s eye. Whether you’re at the beach, swimming in the pool, or enjoying sunny days with friends, this top makes you look fresh and lively.
Cozy Crochet Star Bikini Top Pattern for Relaxed Days
The stars are handmade with care, adding a lovely touch that’s playful and full of charm. It moves easily with you, so you can dance, swim, or relax without any trouble. Perfect for all ages, it’s an easy-to-wear piece that brings joy and a bit of magic to your summer fun. Wear it and feel the happy, twinkling energy of the stars wherever you go, making every moment bright and full of smiles!
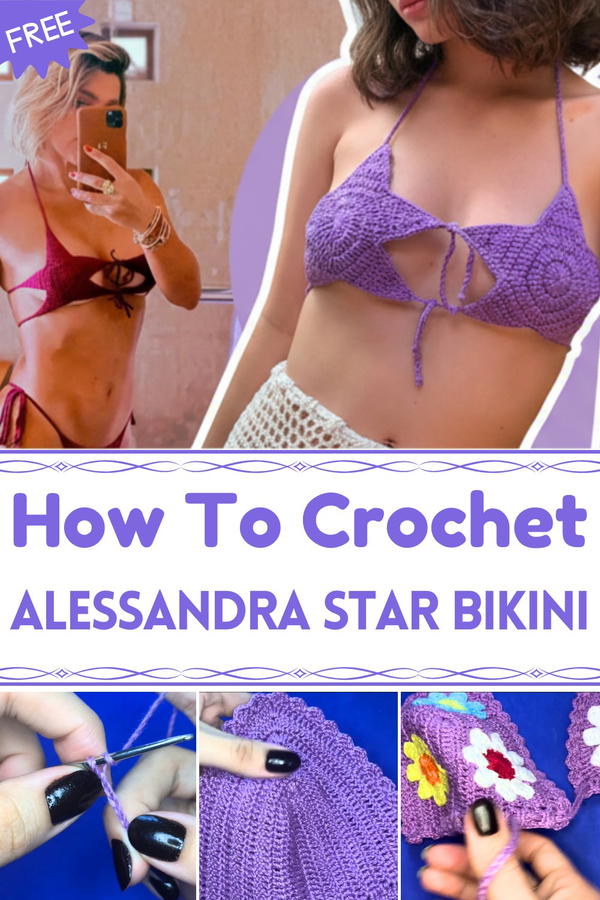
Crochet Star Bikini Top Pattern
Special Features
- Star-shaped cups created with increases and decreases
- Uses a magic ring start for a flawless center
- Finishing with a smaller hook to create a clean edge
- Adjustable size by adding rounds
- Simple stitches: chain, double crochet, single crochet, slip stitch
- Neat join technique to avoid bulky seams
Difficulty Level
Beginner to Easy-Intermediate – Requires knowledge of basic crochet stitches, magic ring, increasing, and finishing techniques.
Materials
- Medium-thick yarn (e.g., Circle’s Duna yarn or equivalent)
- Crochet hook size 2.5 mm for main piece
- Smaller crochet hook (about 2.0 mm) for edging
- Yarn needle for weaving ends
- Scissors
Step-by-Step Pattern
Step 1: Begin with Magic Ring
- Make a magic ring by crossing the yarn around two fingers forming an “X”.
- Insert your hook under the front loop, yarn over, pull up a loop.
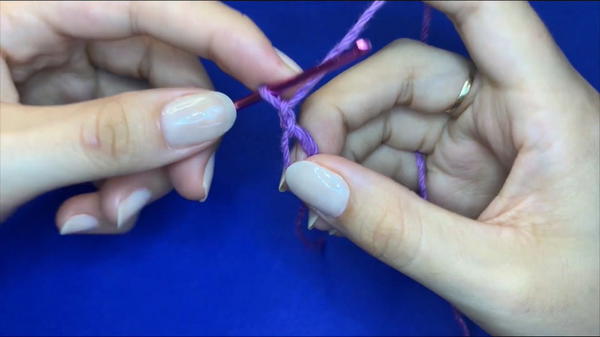
- Chain 1 or 2 (this chain counts as the first stitch, typically 2 for double crochet).
- Make a small closing chain to secure the ring so it doesn't loosen (adjustable size of the ring by pulling tail).
Step 2: Round 1 – First Round of Double Crochets
- Chain 2 to serve as the first double crochet count.
- Work 15 double crochets (dc) into the magic ring, counting the initial 2 chains as the first dc.
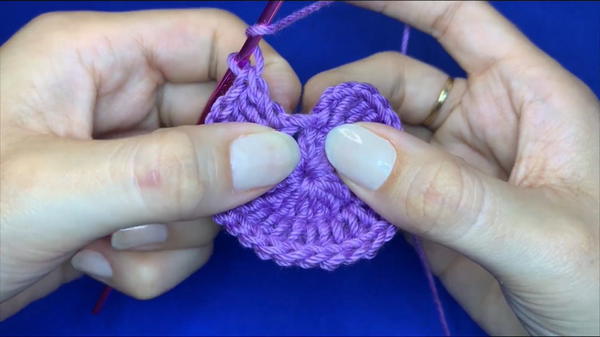
- Pull the magic ring tightly to close the center hole.
- You now have 15 dc + 2 ch = 16 stitches total (including counted chains).
Step 3: Join Round Neatly Without a Slip Stitch Bulge
- Instead of joining with a slip stitch, insert hook from behind into the top of the starting 2 chains.
- Yarn over and pull yarn through loop to create a sleek join without a visible seam.
- This results in a neat, seamless round start.
Step 4: Round 2 – Increase Each Stitch
- For shaping, you will double the number of stitches: place 2 double crochets in each stitch around.
- This gives you 30 double crochets by the end of this round.
- Use the same seamless joining technique as Step 3 to finish this round.
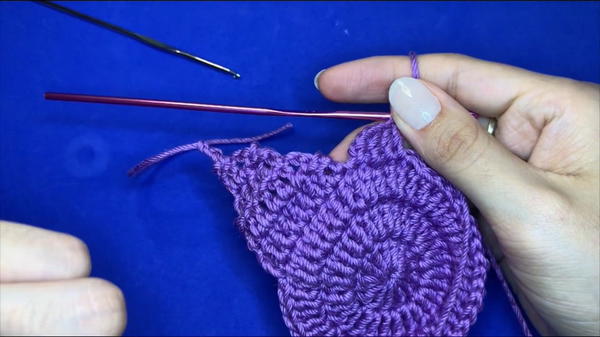
Step 5: Round 3 – Begin Forming Star Points
- Work rounds to create star points by alternating stitch heights: single crochet (sc), double crochet (dc), and treble crochet (tr).
- Follow the increase and decrease pattern across the 30 stitches to shape five points of the star around the circle.
- No additional increase in this round; focus on shaping using stitches of different heights.
Step 6: Subsequent Rounds – Continue Star Formation
- Increase the number of stitches to 45 by adding more dc increases in a pattern alternating between pinecone-like doubles and single stitches to form texture.
- Work the foundation and star points by alternating single and double crochet stitches, keeping five points evenly spaced.
- Adjust stitch count based on desired cup size (small (P), medium (M), large (G)) by adding or subtracting rounds.
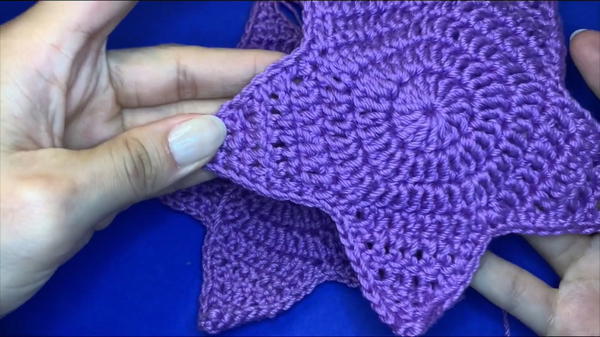
Step 7: Decreasing to Form Sharp Star Tips
- After reaching desired size, decrease stitches in the points starting from 9 dc stitches in a point, reducing by two stitches each round (9 → 7 → 5 → 3 → 1).
- Use half-double crochet (hdc) at the tips to round edges softly.
- End points with single crochets and small chains for neat shaping.
Step 8: Finishing Edging
- Switch to a smaller hook (approx. 2.0 mm) for edging.
- Work single crochet stitches all around the edge to tidy and stabilize the piece.
- Crochet a smooth, straight border by alternating between side and base of stitches, adjusting tightness evenly.
- This step helps to straighten any curling edges and improves fit.
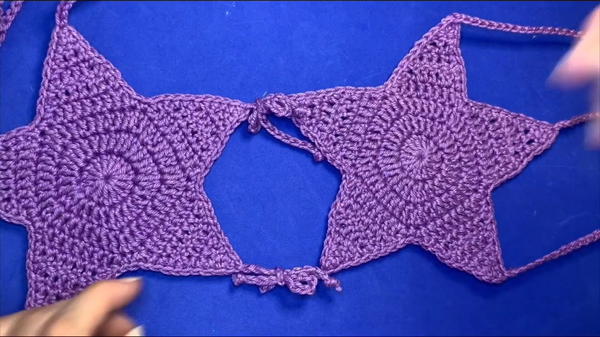
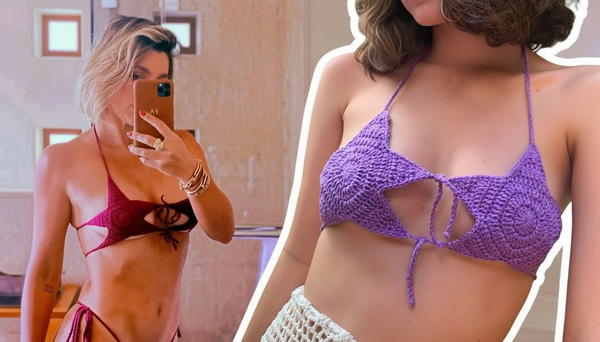
Step 9: Create and Attach Straps
- Make five chain-ended straps (similar to Flávia Alessandra’s bikini).
- Two longer straps to tie around the back and one strap for the neck.
- Attach straps securely by crocheting or sewing them at the respective star points.
- Keep strap thickness moderate to avoid too bulky knots.
Tutor’s Suggestions
- Keep your tension even for smooth shaping.
- Use a cotton or swim-appropriate yarn for comfort and durability.
- To customize size, count your stitches in each round and increase or decrease rounds accordingly.
- Blocking your finished cups lightly can help them keep shape.
- For a more filled look, add lining or padding inside the cups if desired.
Uses
- Ideal as a trendy bikini top for beach or pool seasons.
- Also wearable as a bralette or festival crop top with accessories.
- A perfect handmade gift or starter project for summer crochet wardrobe additions.
Final Tip
Practice the seamless joining technique early – it gives your project a professional, neat finish while avoiding bulky seams around the beginning of rounds.
Conclusion
This star-shaped crochet bikini top pattern combines creativity and simplicity, making it accessible for beginners while producing a stunning finished look. Inspired by Flávia Alessandra, it balances style and comfort perfectly for summer wear.