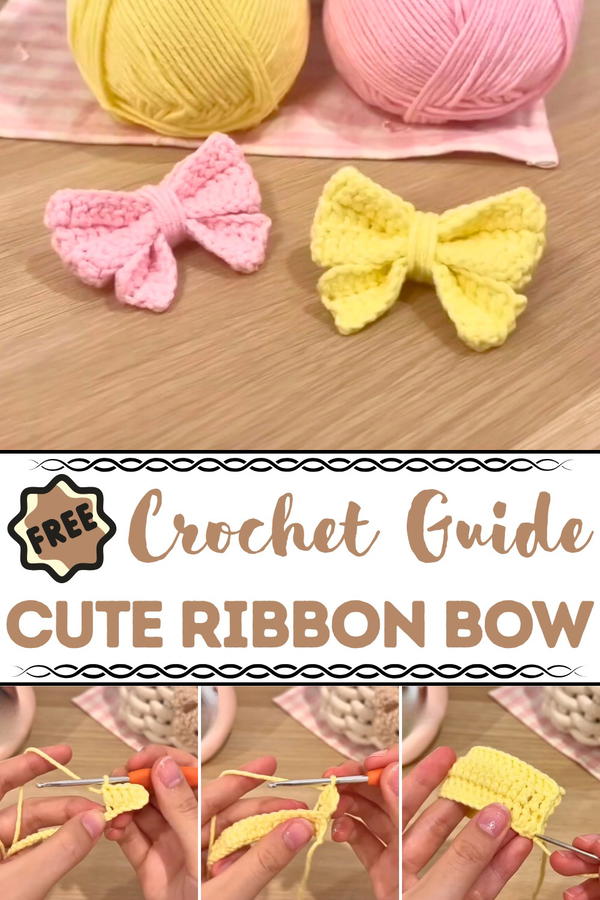
Brighten handmade gifts with the Free Crochet Ribbon Bow Pattern for an easy touch of charm that adds personality to hair accessories and home décor.
Ever noticed how the smallest touches leave the longest impressions? A delicate bow tied around a gift box, a dainty accent on a hairstyle, or a sweet embellishment sewn onto a baby dress—these subtle details often steal the spotlight. That’s where a crochet ribbon bow becomes both practical and stylish. The Free Crochet Ribbon Bow Pattern offers a lightweight and charming way to personalize everyday accessories. Whether added to headbands, bags, or even seasonal garlands, this bow adds a graceful finish without overwhelming the base item.
Free Crochet Ribbon Bow Pattern for Beginners Who Want Fast Results
Made with minimal yarn and effort, it’s a quick yet satisfying project that suits both beginners and seasoned makers. The texture offers just enough firmness to hold shape, while remaining soft and flexible for versatile use. The neat, symmetrical form complements anything from children’s clothing to festive packaging, allowing for endless creative placement. Its reusability and durability also make it an eco-conscious choice compared to traditional fabric or paper bows.
This crochet bow is more than just decoration—it’s a thoughtful accent that speaks to care and attention. With so many color and yarn options, the bow easily adapts to match themes, moods, or special occasions, making it a timeless staple in your handmade accessory collection.
Step-by-Step Details
1. Materials
You’ll need the following materials for this project:
- Yarn: 5-ply milk cotton yarn (pink for the top part, yellow for the bow center)
- Crochet Hook: 3mm size
- Darning Needle: Useful for sewing and finishing details
- Scissors
2. Foundation Chain (Top Part of Ribbon)
- Step 1: Start with a slip knot. Create a loop using two fingers and tightly secure it by pulling the yarn tail with your thumb.
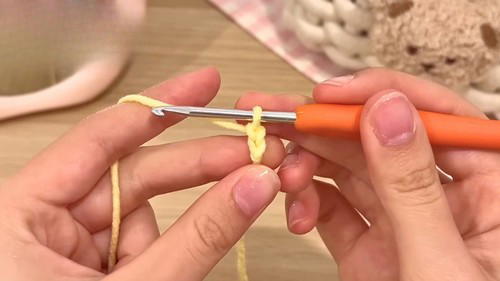
- Step 2: Insert your crochet hook into the slip knot hole. Pull the yarn tail until it wraps snugly around the hook.
- Step 3: Make 32 foundation chain stitches. Count the stitches as you go.
- If you accidentally make extra chains, don’t worry. Simply pull out the extra loops carefully to unravel them.
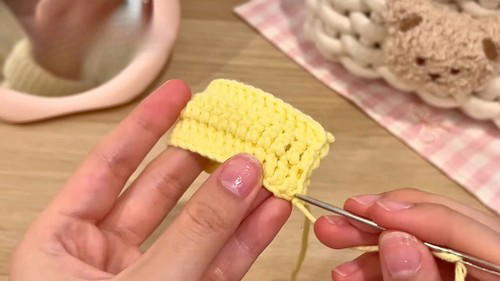
3. Row One
- Attach your hook to the third chain from the hook.
- Begin your double crochet:
- Yarn over, insert the hook into the chain, and pull the yarn through to form three loops.
- Yarn over again, pull through the first two loops, then pull through the remaining two loops. This forms a single double crochet stitch.
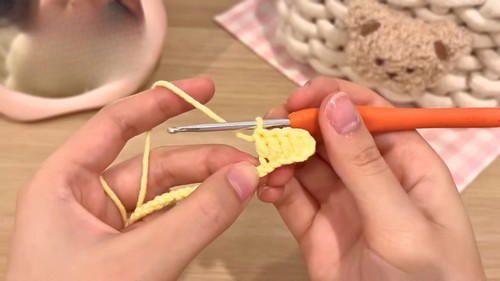
- Repeat the double crochet until you complete the row. Count your stitches to ensure you have 30.
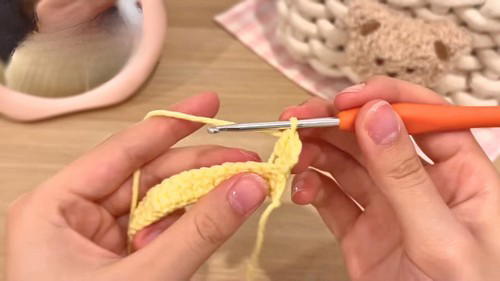
4. Subsequent Rows
Row Two:
- Chain 2 stitches at the beginning to give height to the row.
- Turn your work to crochet from right to left.
- Insert the hook only into the back loops of each stitch to create textured layers.
- Continue double crocheting until you complete the row.
Row Three:
- Row three uses the same technique as row two. Chain 2, flip your work, and crochet exclusively into the back loops of each stitch.
- Finish the row and fasten off.
5. Bow Tail (Bottom Part of Ribbon)
- Start with a slip knot and attach 17 foundation chains (15 chains + 2 for height).
- Repeat the process of creating two rows using double crochet, inserting the hook into the back loops of each stitch.
- Weave in the yarn tails and finish the bow tail.
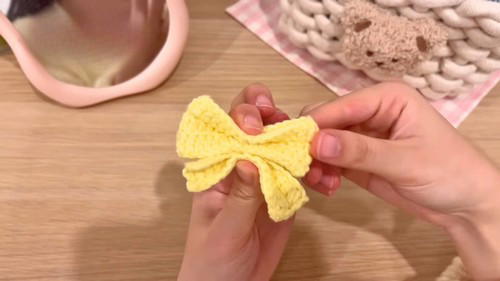
6. Assembly and Final Touch
- Align the thicker top piece and the thinner bow tail together by folding the top in half over the tail piece.
- Wrap yarn tightly around the middle section to secure the bow shape.
- Tie the yarn ends at the back of the ribbon to secure, fasten off, and weave in the tails with a darning needle to hide them.
Special Features
- No Knot Design: This ribbon doesn’t require tying, making it beginner-friendly and hassle-free.
- Textured Finish: By crocheting into the back loops, the ribbon has a refined, layered texture.
- Customizability: The ribbon can be made in various colors, sizes, and styles depending on the yarn used.
- Website Integration Idea: The tutor suggests selling these creations and provides details about a drag-and-drop website builder, Universe, for setting up an online storefront.
Level of Difficulty
The overall tutorial is beginner-friendly, but mastering the slip knot and double crochet may take a few tries for complete beginners. Repetition and patience are recommended to achieve consistency.
Tutor Suggestions
- Mindset: Don’t get discouraged at first—crochet takes practice, and everyone starts somewhere. With persistence, each try results in better outcomes.
- Selling Crochet Creations: If you love crocheting, why not monetize it? The tutor encourages viewers to start a crochet account or sell their creations as there’s a supportive community on Instagram.
- Expand Your Skills: Once you master these techniques, explore additional patterns and projects.
Uses
The crocheted ribbon can be utilized in various creative ways:
- Accessories for clothing, bags, or hats
- Decorative Embellishments for gifts and crafts
- Home Décor such as ornaments or napkin ties
Tip
Practice Before Starting: If you’re new to crocheting, practice making consistent chains and double crochet stitches on scrap yarn before starting your ribbon project. It helps build confidence and improves precision.
Short Conclusion
This pattern offers beginner-friendly guidance on crocheting a ribbon, complete with a clear step-by-step process and valuable advice. The project is perfect for those eager to try something creative, whether for personal use or sharing with others. With practice and persistence, you can create a beautiful crochet ribbon to suit any occasion.


